×
- Live Chat
- 1-888-984-2011

My Garage
My Account
Cart
Genuine Honda Passport Rack And Pinion
Steering Rack And Pinion- Select Vehicle by Model
- Select Vehicle by VIN
Select Vehicle by Model
orMake
Model
Year
Select Vehicle by VIN
For the most accurate results, select vehicle by your VIN (Vehicle Identification Number).
7 Rack And Pinions found
Honda Passport Box, Steering Gear
Part Number: 53601-T6Z-A01$970.15 MSRP: $1399.93You Save: $429.78 (31%)Honda Passport Steering Unit (Reman)
Part Number: 8-97224-541-0RM$544.04 MSRP: $779.00You Save: $234.96 (31%)Honda Passport Steering Unit
Part Number: 8-97101-354-0$2194.80 MSRP: $3167.10You Save: $972.30 (31%)Honda Passport Steering Unit
Part Number: 8-97102-289-0$2194.80 MSRP: $3167.10You Save: $972.30 (31%)Honda Passport Steering Unit
Part Number: 8-97101-354-1$2194.80 MSRP: $3167.10You Save: $972.30 (31%)
Honda Passport Rack And Pinion
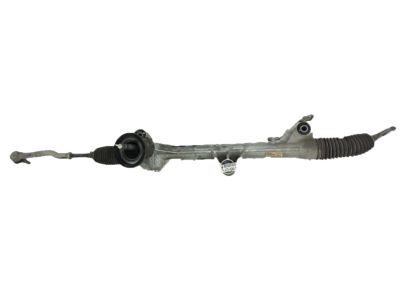
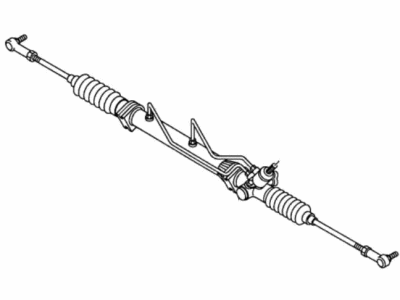
The prime example of this is the Steering Rack in Honda Passport vehicles that makes the lateral movement of the front wheels in response to the rotations of the steering wheel. The system is a rack and pinion type in which the pinion gear is affixed to the steering column while the rack gear is contained within a metal tube. This configuration enables good control of the steering with the power assistance commonly through hydraulic system. During the production of Honda Passport models in the past, the automobiles have used power steering that is the rack and pinion steering to improve the steering responsiveness and decrease the steering torque exerted by the driver. Whereas prior models of the Honda Passport had mechanical racks particularly in compact vehicles, the current generation of this vehicle uses hydraulic systems which use fluid to help in turning the wheel. Gear type differences for instance straight helical racks may affect performance, straight gears are normally recommended for their efficiency and lower temperature work conditions. Altogether, the Steering Rack is crucial to the handling and the driving experience of the Honda Passport.
In search of affordable OEM Honda Passport Rack And Pinion? Consider browsing through our extensive inventory of genuine Honda Passport Rack And Pinion. Not only do we provide market-leading prices and a manufacturer's warranty, but we also pride ourselves on exceptional customer service and swift delivery.
Honda Passport Rack And Pinion Parts Questions & Experts Answers
- Q: Is it advisable to overhaul a defective steering gear, and How to remove and install it on Honda Passport?A: If the Rack And Pinion is found to be defective, it is not recommended that one overhaul it with special tools being necessary; it is advised that this service is done by the dealer service department, or install a factory rebuilt unit. Nonetheless, you can remove it yourself, and here is how to do it: For models of the year 1989-1997 first use the parking brake loosen the lug nuts of the left front wheel, then jack up the front of the model securely using jackstands and finally take off the left front wheel. Next, unscrew the splash shield to reach up to the steering shaft to Rack And Pinion coupling and it is necessary to mark up the circumstance and finally, get rid of the two power steering hoses, cap them so that they will not be spilt on the ground. First, unlatch and unbolt the Pitman arm and the bolts fastening the Rack And Pinion onto the frame after which you should be able to unhook the Rack And Pinion. For installation, follow the removal procedures but reconnect the centre link to the Pitman arm nut then tighten the nut before tightening other nuts and bolts to the recommended torque. Starting with models from 1998 and onwards they include applying the parking brake, nuts of the front wheel loosening, lifting the front end of the car using jackstands and finally removing the front wheels. Lift the engine under-cover and detach the tie-rod ends from the steering knuckle arms. Remove power steering line fittings with a wrench for indicating the position of the U-joint connector between transfer gear output shaft and Rack And Pinion input shaft. Lose the two pinch bolt on the U-joint connector, in addition to that, you will have to remove the nuts and clamps which attached the Rack And Pinion assembly to the cross member before you can finally remove the Rack And Pinion assembly. In the case of installation process, all the explained steps should be performed in reverse with an additional torque requirement in an effort to tighten the Rack And Pinion nuts and the bolting of U-joint connectors to a recommended value.


