×
- Live Chat
- 1-888-984-2011

My Garage
My Account
Cart
Genuine Honda CR-V Cylinder Head
Head- Select Vehicle by Model
- Select Vehicle by VIN
Select Vehicle by Model
orMake
Model
Year
Select Vehicle by VIN
For the most accurate results, select vehicle by your VIN (Vehicle Identification Number).
26 Cylinder Heads found
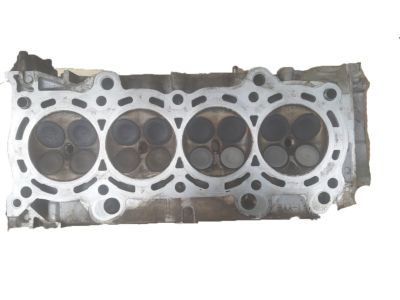
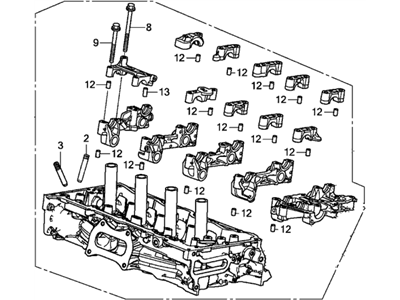
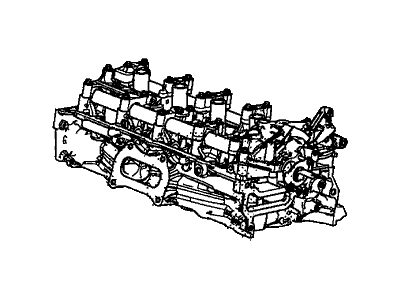
Honda CR-V Cylinder Head Assembly
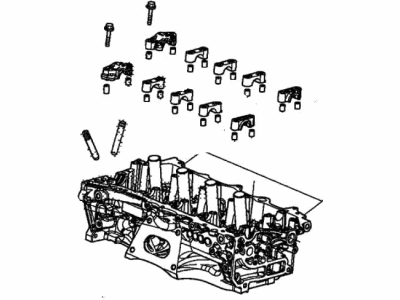
Part Number: 12100-RAA-A01$871.48 MSRP: $1160.82You Save: $289.34 (25%)Honda CR-V Head Assembly, Cylinder
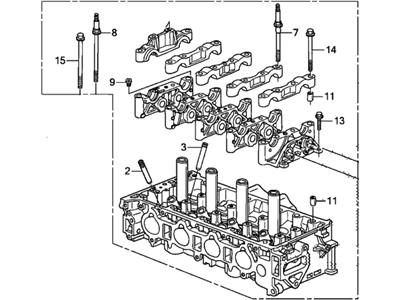
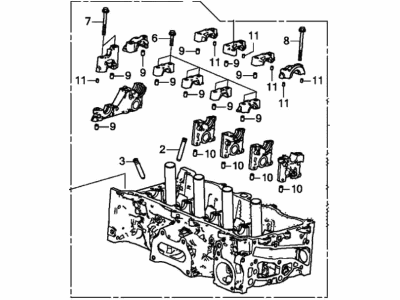
Part Number: 12100-59B-000$1164.69 MSRP: $1531.78You Save: $367.09 (24%)Honda CR-V Cylinder Head Assembly
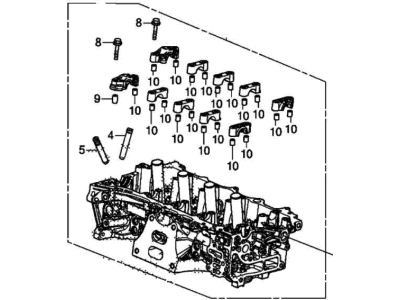
Part Number: 12100-R40-A02$987.10 MSRP: $1314.82You Save: $327.72 (25%)Honda CR-V Cylinder Head Assembly
Part Number: 12100-6A0-A00$961.16 MSRP: $1260.69You Save: $299.53 (24%)Honda CR-V Cylinder Head Assembly
Part Number: 12100-RDF-A00$1127.18 MSRP: $1481.83You Save: $354.65 (24%)Honda CR-V Cylinder Head Assembly
Part Number: 12100-6C1-A00$1981.25 MSRP: $2639.03You Save: $657.78 (25%)Honda CR-V General, Cylinder Head
Part Number: 10003-R5C-A03$2610.62 MSRP: $3457.77You Save: $847.15 (25%)Honda CR-V General Assembly, Cylinder Head
Part Number: 10003-PPL-A02$2426.38 MSRP: $3501.27You Save: $1074.89 (31%)Honda CR-V Cylinder Head Assembly
Part Number: 12100-PPA-A01$1293.19 MSRP: $3531.60You Save: $2238.41 (64%)Honda CR-V General Assembly, Cylinder Head
Part Number: 10003-RZA-A01$4130.50 MSRP: $8460.03You Save: $4329.53 (52%)Honda CR-V General Assembly, Cylinder Head
Part Number: 10003-5SJ-E00$3555.90 MSRP: $4736.46You Save: $1180.56 (25%)Honda CR-V Engine Sub-Assembly (Head)
Part Number: 10003-R5A-A03$5521.14 MSRP: $7354.17You Save: $1833.03 (25%)Honda CR-V General Assembly, Cylinder Head
Part Number: 10003-PJS-A01$2240.64 MSRP: $3671.40You Save: $1430.76 (39%)Honda CR-V General Assembly, Cylinder Head
Part Number: 10003-PPA-A00$4233.09 MSRP: $5638.49You Save: $1405.40 (25%)Honda CR-V General Assembly, Cylinder Head
Part Number: 10003-PPA-A01$4233.09 MSRP: $5638.49You Save: $1405.40 (25%)Honda CR-V General Assembly, Cylinder Head
Part Number: 10003-R11-A00$6762.19 MSRP: $9007.25You Save: $2245.06 (25%)Honda CR-V General Assembly, Cylinder Head
Part Number: 10003-REZ-A00$6762.19 MSRP: $9007.25You Save: $2245.06 (25%)Honda CR-V Engine Sub-Assembly (Head)
Part Number: 10003-5A2-A11$2559.82 MSRP: $3390.11You Save: $830.29 (25%)
| Page 1 of 2 |Next >
1-20 of 26 Results
Honda CR-V Cylinder Head
In search of affordable OEM Honda CR-V Cylinder Head? Consider browsing through our extensive inventory of genuine Honda CR-V Cylinder Head. Not only do we provide market-leading prices and a manufacturer's warranty, but we also pride ourselves on exceptional customer service and swift delivery.
Honda CR-V Cylinder Head Parts Questions & Experts Answers
- Q: How do you remove and install the cylinder head on 2.4L engine on Honda CR-V?A: Before the removal of the cylinder head, reduce the fuel system pressure and then detach the connection of the negative terminal of the battery. First turn off the water and use the drain to empty a coolant, then remove the drivebell and the drivebelt tensioner. Then remove the exhaust manifold (catalytic converter), and at last-the intake manifold. If you are working on 2015 and later CR-V models, rip off the fuel rail, fuel injectors, and the high-pressure fuel pump. Move forward and remove the Timing Chain, the camshafts as well as the rocker arm assembly. Some electrical connectors on the cylinder head might hamper its removal; label and remove these connectors, and separate all the coolant hoses you locate. The cylinder head bolts need to be loosened following a specific sequence, old bolts discarded and the cylinder head has to be raised off the engine. If there is any resistance then it is advisable to use wood block and hammer for loosening and ensure do not pry on the mated surface. Place the cylinder head on wooden blocks in order not to dent it, then pull of the old gasket. To install part, clean the areas where the mating surfaces are going to make contact with a gasket scraper and brake cleaner In addition, one has to cover several areas of the engine if they are open in order to avoid entry of contaminants. You should also look out for any signs of damage anywhere on the mating surfaces and then use tap to scrape the threads as those seen on the bolt holes. Align the new gasket into the correct place, fit the cylinder head to block without shifting the gasket and use new bolts to fasten the head in the prescribed manner, using the torque angle. Install the rocker arm assembly, camshafts, timing chain and cover, exhaust manifold, and intake manifold, as follows: Last but not least, connect the battery back, replace the engine oil and oil filter, refill the cooling system, and turn on the engine adding a note to check for such indications as existence of oil/coolant leakage.
Related Honda CR-V Parts
Browse by Year
2023 Cylinder Head 2022 Cylinder Head 2021 Cylinder Head 2020 Cylinder Head 2019 Cylinder Head 2018 Cylinder Head 2017 Cylinder Head 2016 Cylinder Head 2015 Cylinder Head 2014 Cylinder Head 2013 Cylinder Head 2012 Cylinder Head 2011 Cylinder Head 2010 Cylinder Head 2009 Cylinder Head 2008 Cylinder Head 2007 Cylinder Head 2006 Cylinder Head 2005 Cylinder Head 2004 Cylinder Head 2003 Cylinder Head 2002 Cylinder Head 2001 Cylinder Head 2000 Cylinder Head 1999 Cylinder Head 1998 Cylinder Head 1997 Cylinder Head
