×
- Live Chat
- 1-888-984-2011

My Garage
My Account
Cart
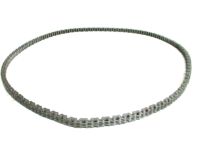
Genuine Honda CR-V Timing Chain
Engine Timing Chain- Select Vehicle by Model
- Select Vehicle by VIN
Select Vehicle by Model
orMake
Model
Year
Select Vehicle by VIN
For the most accurate results, select vehicle by your VIN (Vehicle Identification Number).
11 Timing Chains found
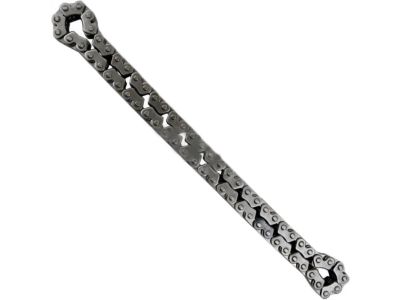
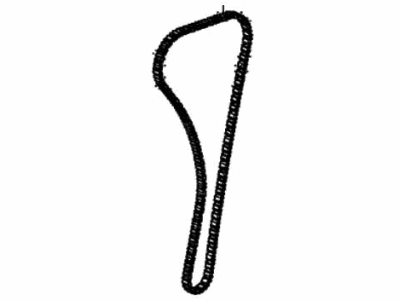
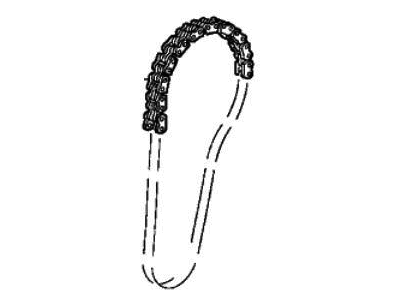
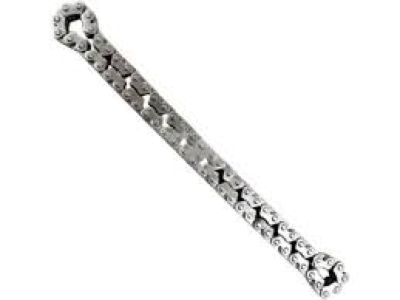
Honda CR-V Timing Chain
In the Honda CR-V specifically, Timing Chain is responsible for the synchronization of the rotation of the camshaft and crankshaft with a view of facilitating proper valve timing to enhance work of the car's engine. Used at the front of the engine, this metal chain ought to be lubricated so that it might move smoothly, favored in high displacement engines that exhibit higher loads as opposed to rubber timing belts that usually wear out often and hence, have to be replaced frequently. Starting from the CR-V models of 199os, Honda has adopted the use of the timing chains as a replacement of the belts, since chain systems require less maintenance as opposed to the belts, though its disadvantage is the possibility of running into problems occasioned by the lack of proper lubrication or tensioner. Besides, a timing chain system gives signs such as a rattle sound coming from the front end of the engine, which is a typical sign that the timing chain is worn.
In search of affordable OEM Honda CR-V Timing Chain? Consider browsing through our extensive inventory of genuine Honda CR-V Timing Chain. Not only do we provide market-leading prices and a manufacturer's warranty, but we also pride ourselves on exceptional customer service and swift delivery.
Honda CR-V Timing Chain Parts Questions & Experts Answers
- Q: How to remove and install a Timing Chain and Sprocket on 1.8L engine on Honda CR-V?A: The timing system is a bit complicated and one wrong move will result in rather intolerant and downright destructive behavior by the engine. This procedure should only be done by very experienced people and if in any doubt about ability an expert should be consulted. Reverify all jobs in order to be assured of correctness before switch on the engine. Starting with the cable, it is necessary to remove it from the negative terminal of the battery in addition to the lower splash shields. Take the TDC number 1 position for the engine and then disconnect the Valve Cover and the timing chain cover. Turn the crankshaft slightly anti-clockwise to compress the chain tensioner, insert a 0.040 inch pin into the alignment holes and turn the crankshaft slightly clockwise to lock the pin; also ensure the marking on the crankshaft sprocket aligns with the one on the engine block. Check the tensioner rod length; if found to be in excess of 0.571 inch the timing chain should be replaced. Undo the timing chain sprocket mounting bolts as well as the timing chain tensioner; afterwards, also undo the cam chain guide and the camshaft chain tensioner arm; and finally, the timing chain. It will not be safe to rotate the crankshaft or camshaft after the timing chain has been pulled out. Wipe all the parts with solvent and blow with compressed air; visually check the chain tensioner, timing chain guides, timing chain and sprockets for wear or damage and renew them if doubtful. Make sure the timing mark on the crank shaft sprocket is lined up with the 'TDC' mark and the 'UP' mark on the cam shaft sprocket is on top of the cylinder head with index marks on it at the top edge. Slide the timing chain over the crank sprocket positioning the plated link over the dot on the sprocket, place the timing chain over the camshaft sprocket positioning the chain dot on a coloured chain link. Dex: camshaft timing chain guide and tensioner arm, the bolts to the specified torque and the timing chain tensioner. Pull the pin out in the tensioner at this time and make sure that the mark on the sprocket is facing up at 12 o'clock position, and the other two lines on camshaft sprocket atop the cylinder head. With the slow speed rotate the crankshaft at least two revolutions towards clockwise and realign the timing marks along with the index marks of the camshaft sprocket. If the crankshaft binds, do not force it because that will only be an indication of improper valve timing; take off the chain and then reinstall it. Last, fit valve cover and timing chain cover, while other procedures are the inverse of the removal procedure reinstall the battery, start and check for any signs of leakage.
Related Honda CR-V Parts
Browse by Year
2023 Timing Chain 2022 Timing Chain 2021 Timing Chain 2020 Timing Chain 2019 Timing Chain 2018 Timing Chain 2017 Timing Chain 2016 Timing Chain 2015 Timing Chain 2014 Timing Chain 2013 Timing Chain 2012 Timing Chain 2011 Timing Chain 2010 Timing Chain 2009 Timing Chain 2008 Timing Chain 2007 Timing Chain 2006 Timing Chain 2005 Timing Chain 2004 Timing Chain 2003 Timing Chain 2002 Timing Chain


