×
- Live Chat
- 1-888-984-2011

My Garage
My Account
Cart
Genuine Honda Fit Cylinder Head
Head- Select Vehicle by Model
- Select Vehicle by VIN
Select Vehicle by Model
orMake
Model
Year
Select Vehicle by VIN
For the most accurate results, select vehicle by your VIN (Vehicle Identification Number).
8 Cylinder Heads found
Honda Fit Engine Sub-Assembly
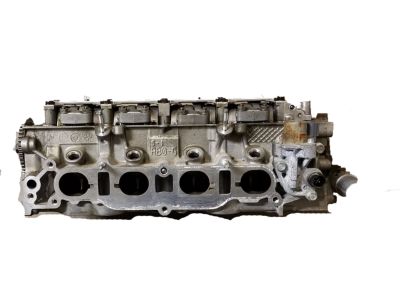
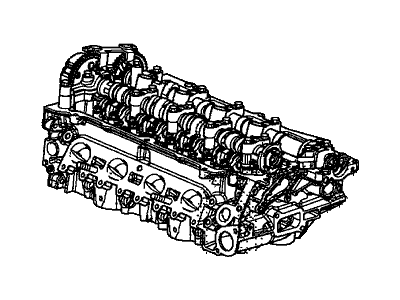
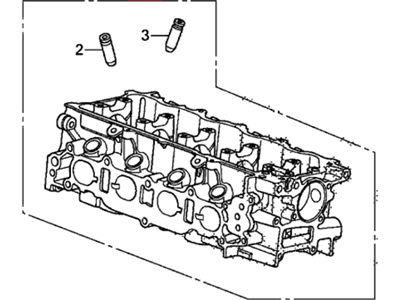
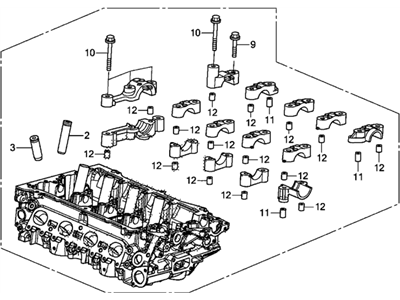
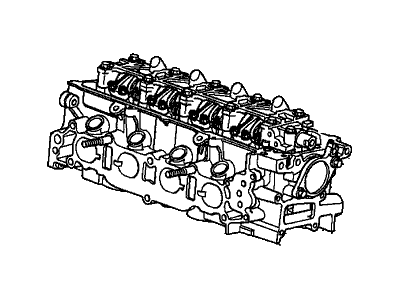
Part Number: 10003-5R7-A12$4537.62 MSRP: $6024.54You Save: $1486.92 (25%)Honda Fit Cylinder Head Assembly
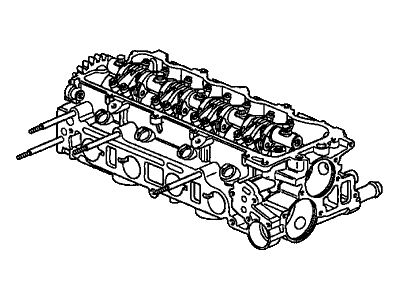
Part Number: 12100-5R1-000$1962.78 MSRP: $2594.85You Save: $632.07 (25%)Honda Fit Engine, Sub-Assembly (Hea
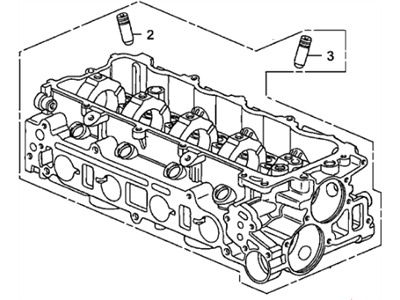
Part Number: 10003-RP3-A03$6144.84 MSRP: $8184.94You Save: $2040.10 (25%)Honda Fit General Assembly, Cylinder Head
Part Number: 10003-RME-A00$3814.72 MSRP: $5081.22You Save: $1266.50 (25%)
Honda Fit Cylinder Head
In search of affordable OEM Honda Fit Cylinder Head? Consider browsing through our extensive inventory of genuine Honda Fit Cylinder Head. Not only do we provide market-leading prices and a manufacturer's warranty, but we also pride ourselves on exceptional customer service and swift delivery.
Honda Fit Cylinder Head Parts Questions & Experts Answers
- Q: How to remove and reinstall a cylinder head on Honda Fit?A: Relieve the fuel system pressure, then disconnect the cable from the negative terminal of the battery. Position the number one piston at Top Dead Center. Drain the cooling system and remove the spark plugs. Remove the air filter housing. Disconnect the heater hoses, the upper and lower radiator hoses, and the bypass hose from the water outlet thermostat housing. Remove the drive belt. Disconnect the EVAP canister hose, the brake booster vacuum hose, the PCV hose, and the intake breather hose. Remove the Intake Manifold. For 2008 and earlier models, remove the Exhaust Manifold; for 2009 and later models, disconnect the catalytic converter from the cylinder head. Disconnect the electrical connectors from the fuel injector connectors, the ECT sensor, the TP sensor, the MAP sensor, oxygen sensor, EGR sensor, the CKP sensor, the CMP sensor, and the VTEC solenoid, labeling each connector to prevent incorrect reassembly. Remove the harness clamps and holders from the transaxle end of the cylinder head and the ground cable. Remove the fuel rail. Remove the coolant bypass hose from the coolant housing and the coolant pipe that runs across the front of the engine block. Remove the Timing Chain and sprocket. Remove the Rocker Arm assembly. Loosen the cylinder head bolts in 1/4-turn increments until they can be removed by hand, working in a pattern that's the reverse of the tightening sequence to avoid warping the cylinder head, and discard the old bolts, obtaining new ones. Lift the cylinder head off the engine, avoiding prying between the head and block gasket mating surfaces, and set the head on blocks of wood to prevent damage to the gasket sealing surfaces. Have an automotive machine shop inspect the cylinder head for cracks and check for warpage. The mating surfaces of the cylinder head and block must be perfectly clean when the head is installed. Use a gasket scraper to remove all traces of carbon and old gasket material, then clean the mating surfaces with brake system cleaner, ensuring no oil is present to avoid sealing issues. Stuff the cylinders with clean shop rags to keep out debris and use a vacuum cleaner to remove any material that falls into the cylinders, being careful not to damage the aluminum surfaces. Check the block and cylinder head mating surfaces for nicks, deep scratches, and other damage, using a file for slight damage and machining for excessive damage. Use a tap of the correct size to chase the threads in the cylinder head bolt holes and a wire brush to remove corrosion and clean the bolt threads. Place a new gasket on the engine block, ensuring any markings face UP, and set the cylinder head in position. Lubricate the threads and seats of the new cylinder head bolts with clean engine oil, then install and tighten them in the recommended sequence, in stages, to the specified torque, using a beam-type or dial-type torque wrench for accuracy. If any bolt makes a sound while tightening, loosen it completely and retighten in the specified stages. Install the timing chain and rocker arm assembly. Rotate the crankshaft clockwise slowly by hand through two complete revolutions and recheck the alignment marks on the sprockets, stopping to re-check the camshaft timing if any resistance is felt. It is recommended to install a new thermostat of the proper heat specification for the vehicle during installation. Reinstall the remaining parts in the reverse order of removal, using a new O-ring on the coolant pipe and any other components using O-rings. Refill the cooling system and change the engine oil and filter. Reconnect the battery and run the engine until normal operating temperature is reached, checking for leaks and proper operation. The idle speed and crankshaft position sensor pattern clear/learn procedure may need to be performed after replacing the head or head gasket, which would be indicated by a Check Engine light, requiring specialized diagnostic equipment available at a dealer or independent repair shop.
