×
- Live Chat
- 1-888-984-2011

My Garage
My Account
Cart
Genuine Honda Crosstour Timing Cover
Engine Timing Cover- Select Vehicle by Model
- Select Vehicle by VIN
Select Vehicle by Model
orMake
Model
Year
Select Vehicle by VIN
For the most accurate results, select vehicle by your VIN (Vehicle Identification Number).
7 Timing Covers found
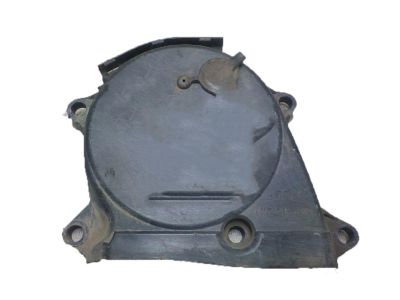
Honda Crosstour Cover Assembly, Timing Belt (Lower)
Part Number: 11810-RCA-A01$67.74 MSRP: $95.68You Save: $27.94 (30%)Honda Crosstour Cover Assembly, Front Timing Belt (Upper)
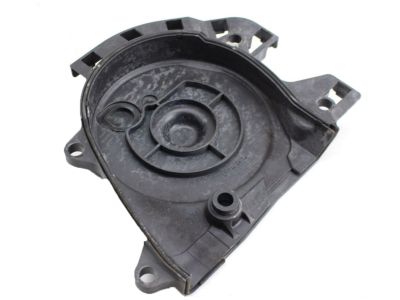
Part Number: 11820-RCA-A00$22.43 MSRP: $31.68You Save: $9.25 (30%)Honda Crosstour Cover Assembly, Rear Timing Belt (Upper)
Part Number: 11830-RCA-A00$38.01 MSRP: $53.68You Save: $15.67 (30%)Honda Crosstour Case Assembly, Chain
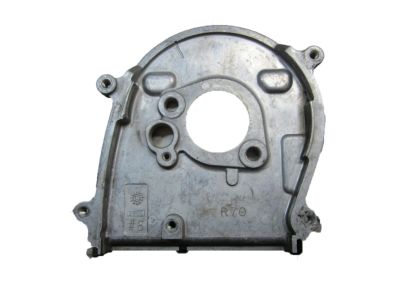
Part Number: 11410-R40-A01$119.56 MSRP: $170.32You Save: $50.76 (30%)Honda Crosstour Plate Assembly, Rear Timing Belt Back Cover
Part Number: 11870-RCA-A00$23.62 MSRP: $33.37You Save: $9.75 (30%)Honda Crosstour Cover Assembly, T/B Up
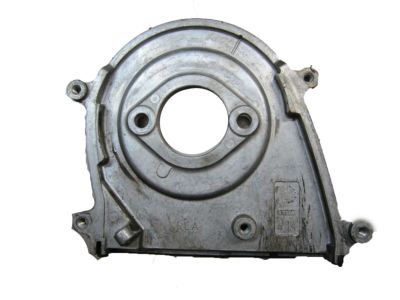
Part Number: 11830-5G0-A00$16.64 MSRP: $23.50You Save: $6.86 (30%)Honda Crosstour Plate Assembly, Front Timing Belt Back Cover
Part Number: 11860-R70-A00$30.04 MSRP: $42.43You Save: $12.39 (30%)
Honda Crosstour Timing Cover
The Timing Cover of Honda Crosstour vehicles is as very important as the protection of its engine timing which may use timing belts, timing chains or cam belt. Made of utterly durable materials like aluminum, plastic or steel, the Timing Cover helps in avoiding troubles being fetched by debris to the tiny teeth of the mentioned parts. Huge numbers of Honda Crosstour Timing Covers already come with gaskets that add to the safeguard of the timing belt. Despite them being strong parts, Timing Covers can break at a one point and this is why it is very important that it be replaced on time to avoid any further issues with the car. Although the general description does not pinpoint the differences with respect to Timing Cover types varying from one Honda Crosstour model to another it continues to put an emphasis on the fact that their main purpose is to protect and the fact that they are made of certain materials. Maintenance of the Timing Cover should therefore be done often so that the Honda Crosstour can last long and also work as expected.
In search of affordable OEM Honda Crosstour Timing Cover? Consider browsing through our extensive inventory of genuine Honda Crosstour Timing Cover. Not only do we provide market-leading prices and a manufacturer's warranty, but we also pride ourselves on exceptional customer service and swift delivery.
Honda Crosstour Timing Cover Parts Questions & Experts Answers
- Q: How do you remove and install the engine front cover and its components on Honda Crosstour?A: In order to remove the components the cable leading to the negative terminal should be disconnected. After that, it is necessary to take out the VTC oil control solenoid valve and the Valve Cover. Lose the right front wheel lug nuts, lift the front part of the vehicle and set it on jackstands, then remove the right front wheel. Slip off the splash shield off the lower side of the engine bay and then pull off the drivebelt. Next, it is necessary to take off the Crankshaft Pulley and to disconnect the crankshaft position sensor harness together with other electrical connectors that will hinder the process of Timing Cover loosening. Expel the motor oil and place the car on the floor jack securing it with a wooden plank on the Oil Pan not to harm the motor. Disconnect the ground cable and then take off the upper engine mount bracket, the side engine mount bracket and the mounting bolts of Timing Cover and then pull out the Timing Cover of motor and then, pull out the engine cover-to-block gasket. For installation, clean all the sealing surfaces of both the Timing Cover and the block but are most careful with aluminum component. If needed replace the Crankshaft Seal on the Timing Cover with a new one. Cure RTV sealant to the Timing Cover mating surfaces, upper contact surface areas and the oil pan mating surface and small quantity into the inner threaded holes. Replace a new Timing Cover O-ring and then the Timing Cover and its fasters should be correctly located and hand tightened to cover make contact with the block. Torque the bolts to the recommended values, fit the crankshaft pulley and join the wiring connectors and fasten them with clips. Replace the other parts in reverse sequence; add the deserved engine oil into the crankcase; join the battery terminals; and start the engine, to see that there are no leaks and to check the fluids.


