×
- Live Chat
- 1-888-984-2011

My Garage
My Account
Cart
Genuine Honda CR-V Valve Cover
Cylinder Head Cover- Select Vehicle by Model
- Select Vehicle by VIN
Select Vehicle by Model
orHonda
CR-V
Year
Select Vehicle by VIN
For the most accurate results, select vehicle by your VIN (Vehicle Identification Number).
9 Valve Covers found
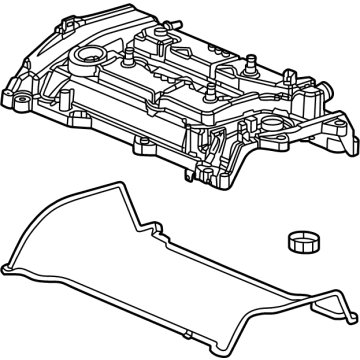
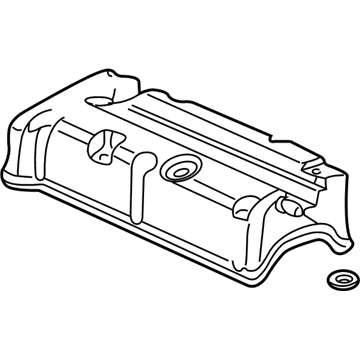
Honda CR-V Cover, Cylinder Head
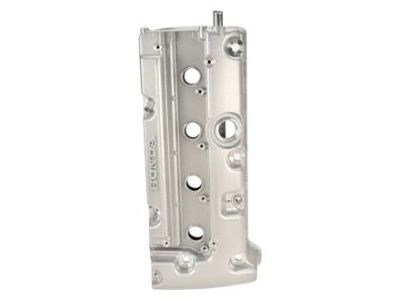
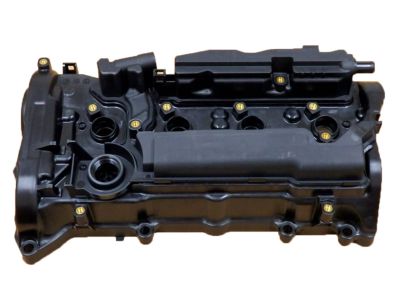
Part Number: 12310-R40-A00$154.39 MSRP: $219.93You Save: $65.54 (30%)Honda CR-V Cover, Cylinder Head
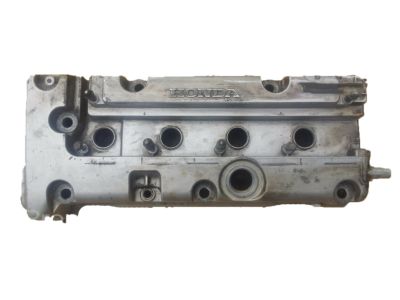
Part Number: 12310-RAA-A00$371.44 MSRP: $529.12You Save: $157.68 (30%)Honda CR-V Cover Assy., Cylinder Head
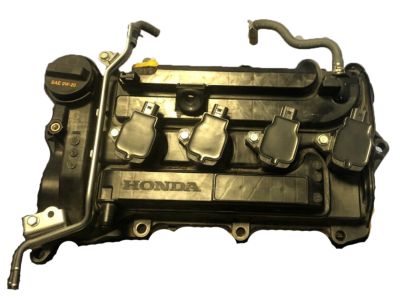
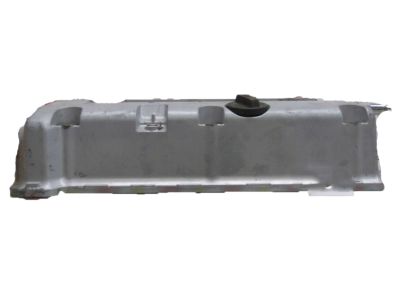
Part Number: 12310-6A0-A01$115.27 MSRP: $162.82You Save: $47.55 (30%)Honda CR-V Cover, Cylinder Head
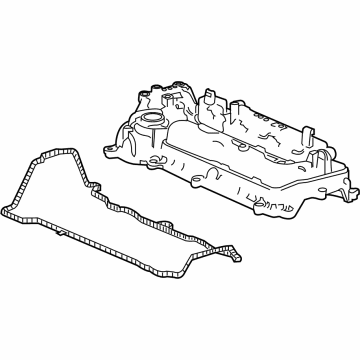
Part Number: 12310-6C1-A01$248.27 MSRP: $353.67You Save: $105.40 (30%)Honda CR-V COVER, CYLINDER HEAD
Part Number: 12310-6MA-J01$960.90 MSRP: $1386.58You Save: $425.68 (31%)Honda CR-V Cover Assy., Cylinder Head
Part Number: 12310-RDF-A01$167.01 MSRP: $237.90You Save: $70.89 (30%)Honda CR-V Cover, Cylinder Head
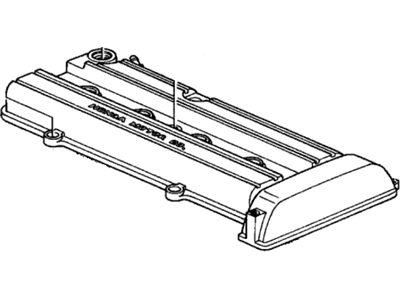
Part Number: 12310-PND-030$364.16 MSRP: $518.75You Save: $154.59 (30%)
Honda CR-V Valve Cover
The Valve Cover of Honda CR-V vehicles provides a numerous purpose of shielding the engine since it holds a major duty of closing the cylinder head hence keeping oil in the valvetrain while keeping out the unwanted grime. These covers can be made of plastic or metal although most of them may have finning or other customized scripts on them. The design can be somewhat flexible with the choice of metallic hood covering, for example aluminum lids that are generally thicker and are better positioned to take the stresses of frequent removal as opposed to stamped steel covering. Gaskets from Honda CR-V Valve Covers may gradually become rigid over time resulting to formation of oil leaks which may be dangerous when hot oil falls on parts of the engine. The Valve Cover and gaskets should always be maintained frequently and replaced on time in order to facilitate the right lubrication and performance of the engine. Switching from a plastic to a metal Valve Cover improves looks and possibly reliability especially when more space is needed due to performance changes.
In search of affordable OEM Honda CR-V Valve Cover? Consider browsing through our extensive inventory of genuine Honda CR-V Valve Cover. Not only do we provide market-leading prices and a manufacturer's warranty, but we also pride ourselves on exceptional customer service and swift delivery.
Honda CR-V Valve Cover Parts Questions & Experts Answers
- Q: How do you remove and install a valve cover on 1.8L engine on Honda CR-V?A: Before removing the valve cover, unbolt the cable from the negative terminal of the battery to prevent any electrical short circuiting. After that, take out the bolts that hold the Engine cover and then take out this cover from the valve cover. Purge and remove any hoses or wires connecting the throttle body, alternator or valve cover, pull the connectors off the ignition coils and neatly lay down the harness to one side. After doing this, take out the engine oil dipstick and, ensure that the valve cover is clean to avoid cases where particles get to the exposed cylinder head or Camshaft/valve train assembly. After that, loosen and take out the valve cover bolts in the direction opposite to that followed while tightening them and, finally, gently raise the valve cover and the gasket off with your hands, although trying to pry with a rubber mallet gently between the cover and the cylinder head if the cover is very stuck to the head and its gasket seal is really very tight. For installation, one has to un-fasten the old gasket and than clean the surfaces to be gasketed; these are the cylinder head surface and the valve cover surface, using the breaker system cleaner and a rag. Place a new molded rubber gasket to the groove raised at the perimeter of the valve cover; use beads of RTV sealant at the joint area of the timing chain cover and the cylinder head. Fit the cover into place and install the bolts with equations to the recommended torque. Lastly, return to procedures of the removal section and connect the battery again.
Related Honda CR-V Parts
Browse by Year
2024 Valve Cover 2023 Valve Cover 2022 Valve Cover 2021 Valve Cover 2020 Valve Cover 2019 Valve Cover 2018 Valve Cover 2017 Valve Cover 2016 Valve Cover 2015 Valve Cover 2014 Valve Cover 2013 Valve Cover 2012 Valve Cover 2011 Valve Cover 2010 Valve Cover 2009 Valve Cover 2008 Valve Cover 2007 Valve Cover 2006 Valve Cover 2005 Valve Cover 2004 Valve Cover 2003 Valve Cover 2002 Valve Cover 2001 Valve Cover 2000 Valve Cover 1999 Valve Cover 1998 Valve Cover 1997 Valve Cover
