×
- Live Chat
- 1-888-984-2011

My Garage
My Account
Cart
Genuine Honda Civic Connecting Rod
- Select Vehicle by Model
- Select Vehicle by VIN
Select Vehicle by Model
orMake
Model
Year
Select Vehicle by VIN
For the most accurate results, select vehicle by your VIN (Vehicle Identification Number).
31 Connecting Rods found
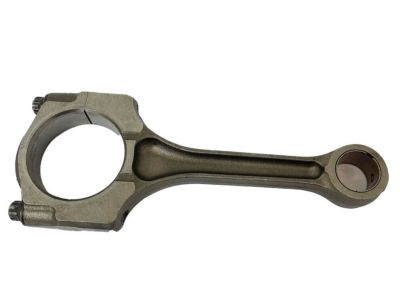
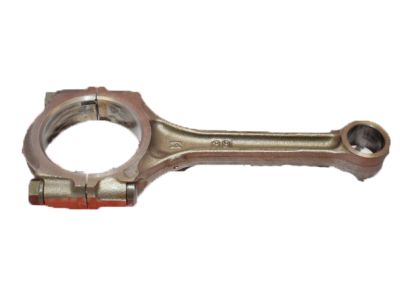
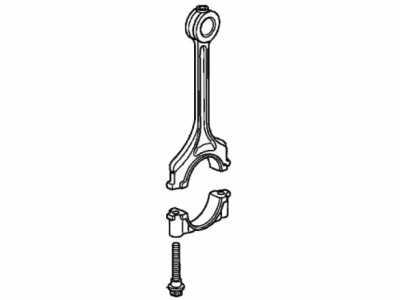
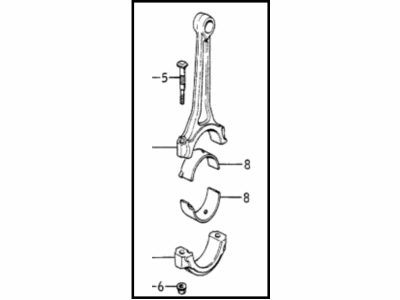
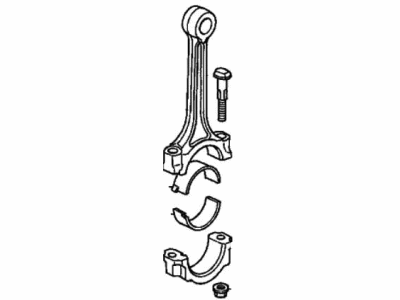
Honda Civic Rod Assy., Connecting
Part Number: 13210-PA0-000$96.70 MSRP: $136.58You Save: $39.88 (30%)
| Page 1 of 2 |Next >
1-20 of 31 Results
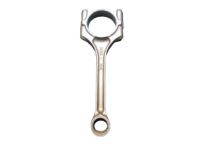
Honda Civic Connecting Rod
In search of affordable OEM Honda Civic Connecting Rod? Consider browsing through our extensive inventory of genuine Honda Civic Connecting Rod. Not only do we provide market-leading prices and a manufacturer's warranty, but we also pride ourselves on exceptional customer service and swift delivery.
Honda Civic Connecting Rod Parts Questions & Experts Answers
- Q: What steps must be taken before removing the piston and connecting rod assemblies on Honda Civic?A: Before the piston and connecting rod assemblies can be pulled out the cylinder head and oil pan must be pulled off. The first operation should be to look for any ridge at the upper limit of ring travel in each cylinder if any the ridge should be removed by the use of a ridge reamer so as not to cause the breaking of the piston. Finally after removing the ridges, fix the engine in such a way that the crank shaft is in up position. Using feeler gauges, it is necessary to check the connecting rod end play, which has to be in a certain range; if it is out of this range, new connecting rods may be needed. Paint the connecting rods and caps in order to differentiate between them, then remove the connecting rod cap screw and the cap where you will find the bearing insert, be careful not to drop it. Remove the connecting rod and piston assembly out through the top of the engines with a wooden dowel and perform the above in each cylinder. After that, screw the caps of the connecting rods and both bearing inserts back in, while retaining the old inserts for the purpose of preserving the surfaces. In piston ring installation ensure that the ring end gaps and the piston ring side clearance are in order. Place the rings on the pistons with the compression ring at the top then the scavenge ring above it and the oil control ring at the bottom. Before fitting of the piston and connecting rod clean the cylinder walls and give a edge cutting to it. The new bearing inserts are installed without any lubrication and it is posted up in the correct position with correct gap of the piston rings. Oil the piston as well as the rings before putting into the cylinder with the arrow situated at the front side of the engine. Some of the things that should be done include: examining the connecting rod bearing oil clearance by the aid of Plastigage while at the same time making sure that the surfaces where the checking is to be done have no oil on them. If the clearance is other than that specified, then check for bearing size and journal diameter. After confirming the clearance, the grease should be applied to the bearing faces, the new rod cap and bolts should be put back then tightened to the exact torque. Follow the same process for the other assemblies always making sure they are clean and are in the right orientation. Last but not the least; rotate the Crankshaft with your fingers, thus check for binding or anything by way of ill-tolerance and also to measure the connecting rod end play to see whether it still fits the engine or not.
Related Honda Civic Parts
Browse by Year
2023 Connecting Rod 2022 Connecting Rod 2021 Connecting Rod 2020 Connecting Rod 2019 Connecting Rod 2018 Connecting Rod 2017 Connecting Rod 2016 Connecting Rod 2015 Connecting Rod 2014 Connecting Rod 2013 Connecting Rod 2012 Connecting Rod 2011 Connecting Rod 2010 Connecting Rod 2009 Connecting Rod 2008 Connecting Rod 2007 Connecting Rod 2006 Connecting Rod 2005 Connecting Rod 2004 Connecting Rod 2003 Connecting Rod 2002 Connecting Rod 2001 Connecting Rod 2000 Connecting Rod 1999 Connecting Rod 1998 Connecting Rod 1997 Connecting Rod 1996 Connecting Rod 1995 Connecting Rod 1994 Connecting Rod 1993 Connecting Rod 1992 Connecting Rod 1991 Connecting Rod 1990 Connecting Rod 1989 Connecting Rod 1988 Connecting Rod 1987 Connecting Rod 1986 Connecting Rod 1985 Connecting Rod 1984 Connecting Rod 1983 Connecting Rod 1982 Connecting Rod 1981 Connecting Rod 1980 Connecting Rod 1979 Connecting Rod 1978 Connecting Rod 1977 Connecting Rod 1976 Connecting Rod 1975 Connecting Rod 1974 Connecting Rod 1973 Connecting Rod
