×
- Live Chat
- 1-888-984-2011

My Garage
My Account
Cart
Genuine Honda Civic Crankshaft Pulley
Crankshaft Pulley Engine Harmonic Balancer- Select Vehicle by Model
- Select Vehicle by VIN
Select Vehicle by Model
orMake
Model
Year
Select Vehicle by VIN
For the most accurate results, select vehicle by your VIN (Vehicle Identification Number).
44 Crankshaft Pulleys found
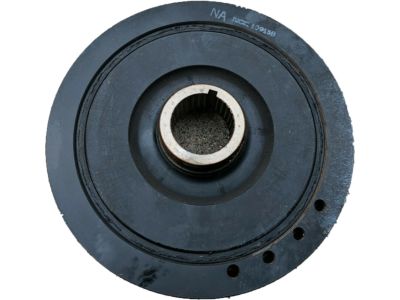
Honda Civic Pulley Complete Crank
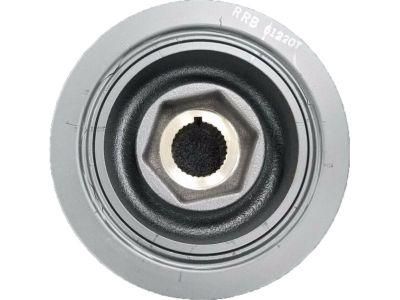
Part Number: 13810-59B-003$274.19 MSRP: $390.58You Save: $116.39 (30%)Honda Civic Pulley Complete Crank
Part Number: 13810-5BA-A01$84.42 MSRP: $119.23You Save: $34.81 (30%)Honda Civic Pulley, Crankshaft
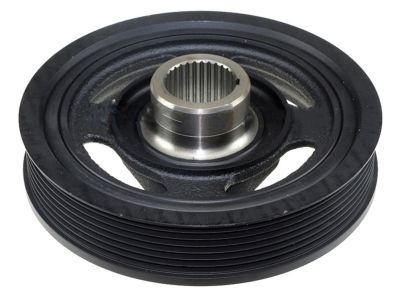
Part Number: 13810-PLM-A01$396.13 MSRP: $571.62You Save: $175.49 (31%)Honda Civic Pulley Complete Crank
Part Number: 13810-R1A-A02$274.70 MSRP: $391.32You Save: $116.62 (30%)Honda Civic Pulley, Crankshaft
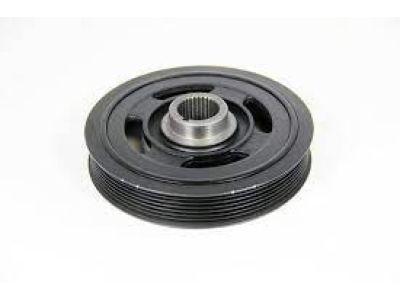
Part Number: 13810-R1A-G02$274.70 MSRP: $391.32You Save: $116.62 (30%)Honda Civic Pulley, Crankshaft (Power Steering)
Part Number: 56990-PE0-900$137.69 MSRP: $196.13You Save: $58.44 (30%)
| Page 1 of 3 |Next >
1-20 of 44 Results
Honda Civic Crankshaft Pulley
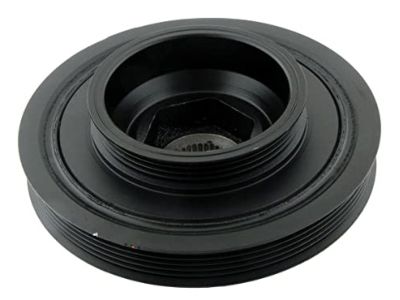
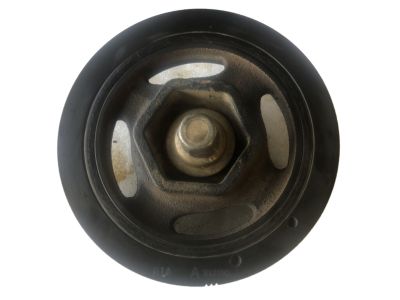
The Performance Crankshaft Pulley in Honda Civic vehicles is a very vital component that helps to enhance performance by providing power to different components in the car including the power steering pump, the A/C compressor and the alternator among others. This pulley also known as harmonic balance wheel helps in not only in transmitting the torque coming from the engine crankshaft but also in reducing the engine vibrations for better performing. Depending on the year of the Honda Civic model, there has been an installation of different Performance Crankshaft Pulley styles over the years that aims at enhancing power delivery while at the same time reducing the car's weight. These variations include differences in materials and in the way the shock path is transmitted, which can define how well the shock is dampened with regards the amount of vibration as well as how well power is transferred. In regard to the Performance Crankshaft Pulley, new technologies embarked upon mirror Honda Civic's learnings on performance boost and reliability.
In search of affordable OEM Honda Civic Crankshaft Pulley? Consider browsing through our extensive inventory of genuine Honda Civic Crankshaft Pulley. Not only do we provide market-leading prices and a manufacturer's warranty, but we also pride ourselves on exceptional customer service and swift delivery.
Honda Civic Crankshaft Pulley Parts Questions & Experts Answers
- Q: How to disconnect the cable from the negative battery terminal and replace the Crankshaft Pulley on Honda Civic?A: Disconnect the cable from the negative battery terminal, loosen the right front wheel lug nuts, raise the vehicle, and support it securely on jackstands. Remove the wheel and the splash shield from below the engine compartment. Remove the drivebelt. Unscrew the crankshaft pulley bolt using a special tool that engages with the recessed hex in the pulley opening to prevent the crankshaft from turning; if unavailable, remove the flywheel/driveplate inspection cover and wedge a screwdriver into the starter ring gear teeth. Slip the pulley off the crankshaft, noting that the crankshaft pulley bolt can be incredibly tight, and an impact tool may be necessary if pulley holding tools are not used. Carefully pry the seal out of the housing with a seal removal tool or a screwdriver, ensuring not to nick or scratch the crankshaft or oil pump housing, as this could cause the new seal to leak. Clean the bore in the seal housing and coat the outer edge of the new seal with engine oil or multi-purpose grease. Using a seal driver or a socket with an outside diameter slightly smaller than the seal, carefully drive the seal into place with a hammer until the inner edge is 7/32 to 15/64-inch deep, checking afterward to ensure the spring did not pop out. Lubricate the lip of the seal with a thin film of engine oil or multi-purpose grease, then lubricate the crankshaft bolt with oil between the head of the bolt and the washer and the first few threads of the oil only before installing the crankshaft pulley, ensuring the flats on the sleeve align with the inner oil pump gear. Complete the installation in reverse order and run the engine to check for leaks.
Related Honda Civic Parts
Browse by Year
2023 Crankshaft Pulley 2022 Crankshaft Pulley 2021 Crankshaft Pulley 2020 Crankshaft Pulley 2019 Crankshaft Pulley 2018 Crankshaft Pulley 2017 Crankshaft Pulley 2016 Crankshaft Pulley 2015 Crankshaft Pulley 2014 Crankshaft Pulley 2013 Crankshaft Pulley 2012 Crankshaft Pulley 2011 Crankshaft Pulley 2010 Crankshaft Pulley 2009 Crankshaft Pulley 2008 Crankshaft Pulley 2007 Crankshaft Pulley 2006 Crankshaft Pulley 2005 Crankshaft Pulley 2004 Crankshaft Pulley 2003 Crankshaft Pulley 2002 Crankshaft Pulley 2001 Crankshaft Pulley 2000 Crankshaft Pulley 1999 Crankshaft Pulley 1998 Crankshaft Pulley 1997 Crankshaft Pulley 1996 Crankshaft Pulley 1995 Crankshaft Pulley 1994 Crankshaft Pulley 1993 Crankshaft Pulley 1992 Crankshaft Pulley 1991 Crankshaft Pulley 1990 Crankshaft Pulley 1989 Crankshaft Pulley 1988 Crankshaft Pulley 1987 Crankshaft Pulley 1986 Crankshaft Pulley 1985 Crankshaft Pulley 1984 Crankshaft Pulley 1983 Crankshaft Pulley 1982 Crankshaft Pulley 1981 Crankshaft Pulley 1980 Crankshaft Pulley 1979 Crankshaft Pulley 1978 Crankshaft Pulley 1977 Crankshaft Pulley 1976 Crankshaft Pulley 1975 Crankshaft Pulley 1974 Crankshaft Pulley 1973 Crankshaft Pulley
