×
- Hello
- Login or Register
- Quick Links
- Live Chat
- Track Order
- Parts Availability
- RMA
- Help Center
- Contact Us
- Shop for
- Honda Parts
- Honda Accessories

My Garage
My Account
Cart
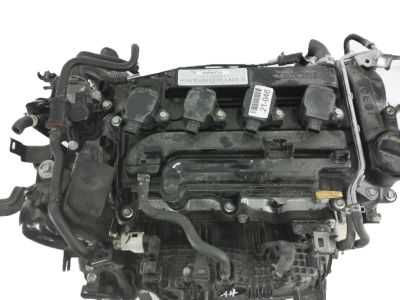
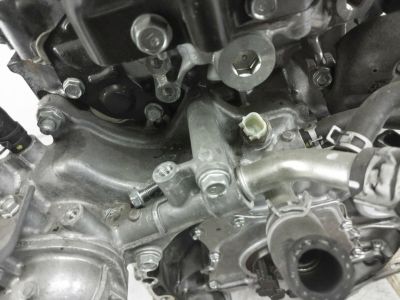
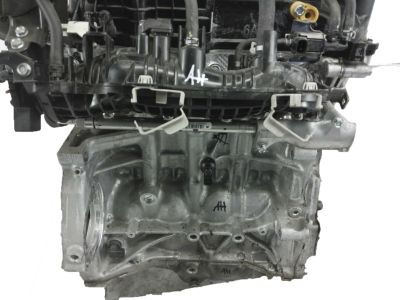
Genuine Honda Civic Engine
- Select Vehicle by Model
- Select Vehicle by VIN
Select Vehicle by Model
orMake
Model
Year
Select Vehicle by VIN
For the most accurate results, select vehicle by your VIN (Vehicle Identification Number).
70 Engines found


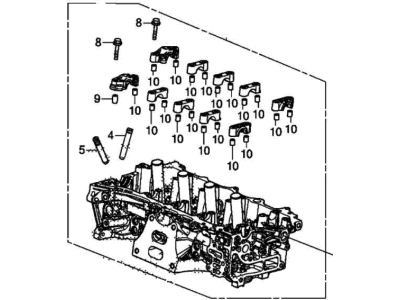
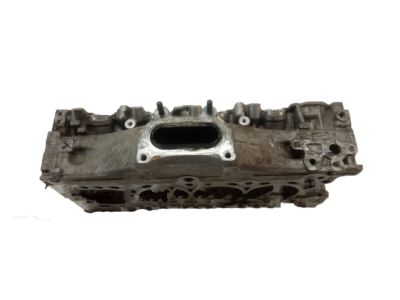
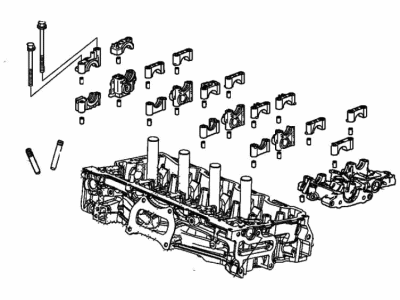
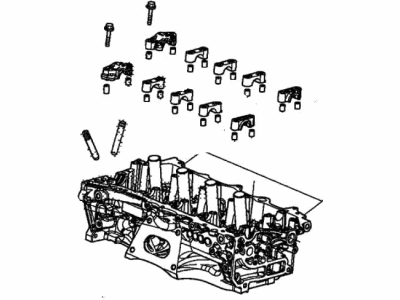
Honda Civic Cylinder Head Assembly
Part Number: 12100-6A0-A00$1045.70 MSRP: $1373.29You Save: $327.59 (24%)
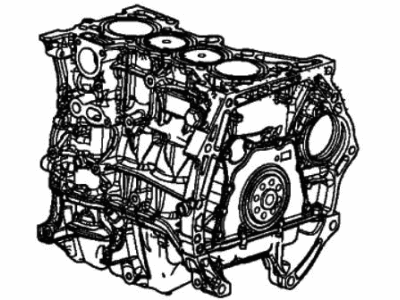
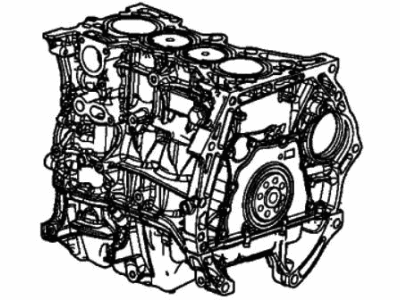
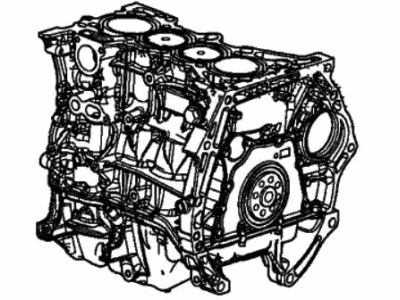
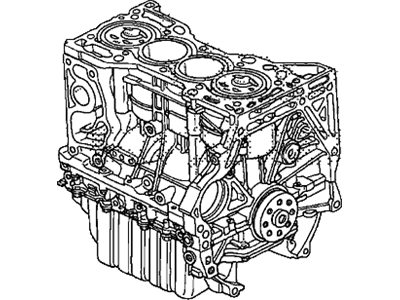
Honda Civic General Assy., Cylinder Block (DOT)
Part Number: 10002-RNA-A50$2282.81 MSRP: $3021.12You Save: $738.31 (25%)
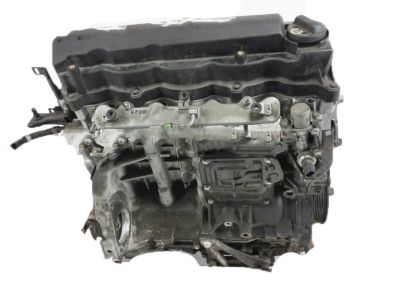
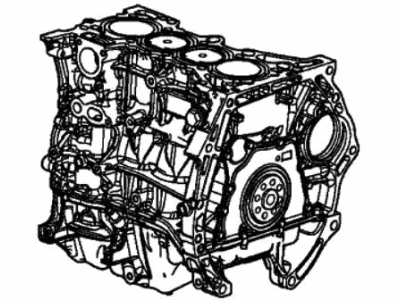
Honda Civic General Assy. (DOT)
Part Number: 10002-RX0-A01$7925.96 MSRP: $10537.82You Save: $2611.86 (25%)
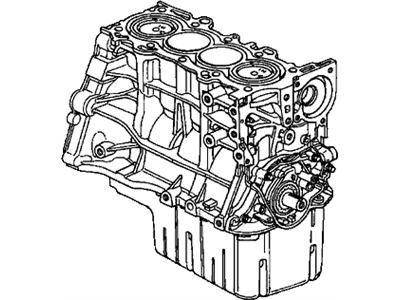
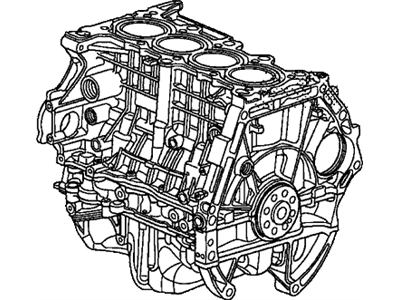
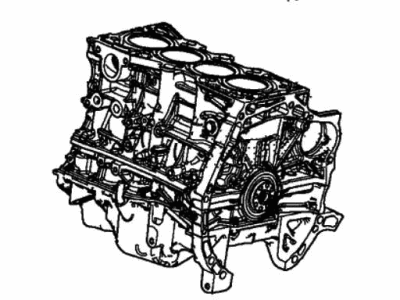
Honda Civic General Assy., Cylinder Block
Part Number: 10002-PLM-A01$3066.34 MSRP: $6280.43You Save: $3214.09 (52%)
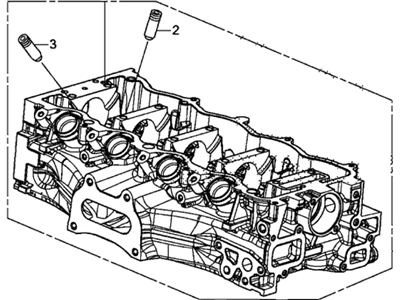
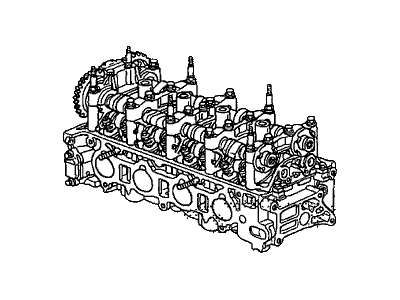
Honda Civic Head Assembly, Cylinder
Part Number: 12100-5BA-A00$1095.33 MSRP: $1439.40You Save: $344.07 (24%)Honda Civic General Assy., Cylinder Block
Part Number: 10002-5AN-A02$2074.10 MSRP: $2743.12You Save: $669.02 (25%)Honda Civic General Assy., Cylinder Block
Part Number: 10002-R1A-U00$2349.26 MSRP: $3129.22You Save: $779.96 (25%)Honda Civic Engine Sub-Assembly (Head)
Part Number: 10003-RRB-A03$6899.00 MSRP: $9189.48You Save: $2290.48 (25%)Honda Civic General Assy. (DOT)
Part Number: 10002-RRB-A05$8645.59 MSRP: $11496.35You Save: $2850.76 (25%)Honda Civic General Assy., Cylinder Block
Part Number: 10002-P2E-A03$3353.29 MSRP: $4466.59You Save: $1113.30 (25%)Honda Civic General Assy., Cylinder Block
Part Number: 10002-P2F-A02$3353.29 MSRP: $4466.59You Save: $1113.30 (25%)Honda Civic General Assy., Cylinder Block (DOT)
Part Number: 10002-RW0-A01$7419.21 MSRP: $9882.40You Save: $2463.19 (25%)Honda Civic General Assy., Cylinder Block
Part Number: 10002-P2E-A04$3353.29 MSRP: $4466.59You Save: $1113.30 (25%)
Honda Civic Engine Sub-Assy
Part Number: 10002-5BF-A01$3489.67 MSRP: $4628.66You Save: $1138.99 (25%)
Honda Civic Head Assembly, Cylinder
Part Number: 12100-59B-000$1267.18 MSRP: $1668.31You Save: $401.13 (25%)
| Page 1 of 4 |Next >
1-20 of 70 Results
Honda Civic Engine
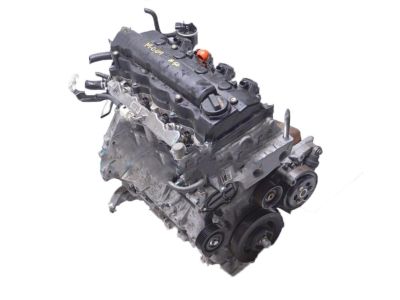
In search of affordable OEM Honda Civic Engine? Consider browsing through our extensive inventory of genuine Honda Civic Engine. Not only do we provide market-leading prices and a manufacturer's warranty, but we also pride ourselves on exceptional customer service and swift delivery.
Honda Civic Engine Parts Questions & Experts Answers
- Q: How to remove and install Engine on Honda Civic?A:It is therefore relatively laborious to undertake engine removal on these models especially for the independent mechanic. Because of its structural configuration the engine and transaxle must be withdrawn from the bottom as a single unit which is most effectively accomplished and safely done using a frame contact type vehicle lift. Start with placing the car on the hoist and the engaging the arms with the jacking points, pulling them up until they are touching the vehicle, but not the wheels. Open the fuel cap, depress the fuel pumpprime switch, remove the negative battery terminal and the fuel line. The outer and inner fenders splash shields; the engine and hood splash shields and the hood must be removed while the fenders and the cowl area must be blanked off. Empty the cooling and lubrication systems, then; uninstall the drives/belts, intake resonator, air filter housing, battery and battery tray. All vacuum lines should be clearly blanked off, the emissions hoses, the wiring harness connectors, and the fuel lines should be similarly disconnected and the parts marked with masking tape where necessary. Take out the PCM; unplug the positive cables and electrical connectors of the fuse/relay box; take off all ground straps as well as the other electrical connectors. Loosen the front wheel lug nuts, lift up the car and then take off the front wheels. Remove the heat shields, the brackets and pipes which attach to the exhaust manifold, take off the alternator and, also, disconnect the electrical connection close to the steering gear. Retain only the rear end of the exhaust system, remove any floor brace if fitted and disconnect the lower hose from the radiator. Lower the vehicle to remove the heater hoses at the firewall, upper morn radiator hose, cooling fan or fans, the shroud or shrouds and radiator. For manual transaxle models, the clutch release cylinder and hydraulic line are to be detached, while for automatic type, the shift control cable should be disconnected. Take out the front brace mounting bolts, get rid of the links in the stabilizer bar and ball joints in the lower control arms, then expel the drive axles as well as the downstream oxygen sensor connectors. Disconnect and unbolt the air conditioning compressor; this was done by unscrewing the bolts on the hoses, and then fastening it to a bracket. Place a lifting sling or chain to the engine to counterweight with the transaxle or be equal to it. Disconnect the through bolts of the front and rear engine/transaxle mount and then the mounts. Inspection for any connection before the removal of subframe mounting bolts as well as the removal of the subframe from the chassis and engine/transaxle assembly. Lower the assembly down so that no hoses or wiring are trapped and then use more blocks of wood or another jack to hold it up whilst removing the transaxle. Remove the lifting chain and reconnect it to the engine then bolt it to an engine stand. Installment is the reverse of the removal process, where attention should be given to worn out mounts and correct reconnection of the transaxle to the engine as well as subframe mounting bolt tightening, required fluids, battery reconnection and a road test to check proper running and mechanical fluid leaks.
Related Honda Civic Parts
Browse by Year
2023 Engine 2022 Engine 2021 Engine 2020 Engine 2019 Engine 2018 Engine 2017 Engine 2016 Engine 2015 Engine 2014 Engine 2013 Engine 2012 Engine 2011 Engine 2010 Engine 2009 Engine 2008 Engine 2007 Engine 2006 Engine 2005 Engine 2004 Engine 2003 Engine 2002 Engine 2001 Engine 2000 Engine 1999 Engine 1998 Engine 1997 Engine 1996 Engine 1995 Engine 1994 Engine 1993 Engine 1992 Engine 1991 Engine 1990 Engine
