×
- Live Chat
- 1-888-984-2011

My Garage
My Account
Cart
Genuine Honda Passport Valve Cover
Cylinder Head Cover- Select Vehicle by Model
- Select Vehicle by VIN
Select Vehicle by Model
orMake
Model
Year
Select Vehicle by VIN
For the most accurate results, select vehicle by your VIN (Vehicle Identification Number).
15 Valve Covers found
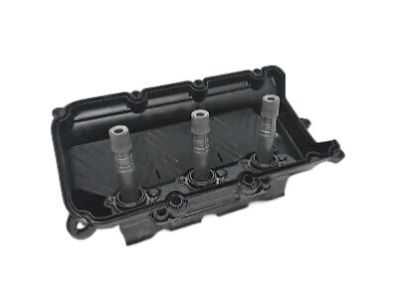
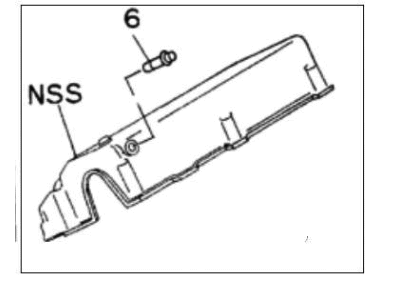
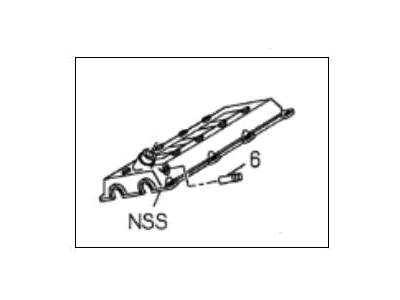
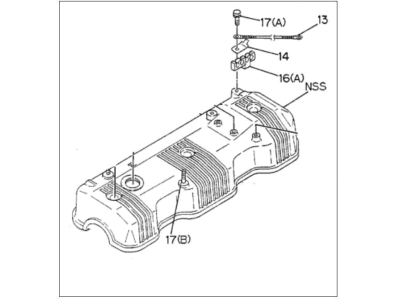
Honda Passport Cover Assy., FR. Cylinder Head
Part Number: 12310-5J6-A00$166.82 MSRP: $237.63You Save: $70.81 (30%)Honda Passport Cover Assy., RR. Cylinder Head
Part Number: 12320-5J6-A00$166.13 MSRP: $236.65You Save: $70.52 (30%)Honda Passport Cover, R. Cylinder Head
Part Number: 8-97117-346-1$182.88 MSRP: $260.52You Save: $77.64 (30%)Honda Passport Cover, L. Cylinder Head
Part Number: 8-97289-505-0$159.58 MSRP: $227.33You Save: $67.75 (30%)Honda Passport Cover, Cylinder Head
Part Number: 8-97114-064-0$268.47 MSRP: $382.43You Save: $113.96 (30%)
Honda Passport Valve Cover
The automobile component called the Valve Cover is very important in the Honda Passport vehicles since its main function is to cover the cylinder head in order to keep oil in while excluding any debris from affecting the functioning of the valvetrain assembly. Usually, they are produced from plastic or metal, sometimes the part may possess a decoration, however, all the covers needs to have a gasket. In the course of the Honda Passport production, different models have featured diverse kinds of Valve Covers alongside the aluminium ones being more popular due to their durability, and beautiful looks more than the common plastic or stamped steel ones. Another issue with the Honda Passport is that with time the Valve Cover gaskets can become very rigid to the extent of causing oil leaks, which if engulfed in hot engine parts is dangerous. These problems can be solved by having a much more durable and thick Metal Valve Cover, particularly for performance engines often requiring tuning. In general, the Valve Cover plays a crucial role in satisfying the needs of lubricating the engine and contributing to the optimal performance of a Honda Passport car brand.
In search of affordable OEM Honda Passport Valve Cover? Consider browsing through our extensive inventory of genuine Honda Passport Valve Cover. Not only do we provide market-leading prices and a manufacturer's warranty, but we also pride ourselves on exceptional customer service and swift delivery.
Honda Passport Valve Cover Parts Questions & Experts Answers
- Q: How to remove and install a valve cover on 2.2L four cylinder engine on Honda Passport?A: Disconnect the negative battery cable and remove the air intake duct. The wire routed across the forward end of the valve cover is the Crankshaft Position (CKP) sensor wire; disengage it from the small guides on the valve cover. Disconnect the two PCV hoses from the valve cover and detach the intake duct bracket from the cylinder head by removing the two bolts, noting the ground wire attached to the forward bracket bolt to ensure it is reattached during installation. Remove the spark plug wire cover, disconnect the spark plug wires from the plugs, and set the plug wires aside. Disconnect the electrical connector from the Camshaft Position (CMP) sensor and set the CMP sensor electrical lead aside. Remove the 10 valve cover bolts and take off the valve cover. Remove the old valve cover gasket and the sealing rings around each bolt hole, discarding them. Installation is the reverse of removal, ensuring to use a new valve cover gasket and new sealing rings for the bolt holes while tightening the valve cover bolts to the specified torque.


