×
- Live Chat
- 1-888-984-2011

My Garage
My Account
Cart
Genuine Honda Passport Connecting Rod
- Select Vehicle by Model
- Select Vehicle by VIN
Select Vehicle by Model
orMake
Model
Year
Select Vehicle by VIN
For the most accurate results, select vehicle by your VIN (Vehicle Identification Number).
4 Connecting Rods found
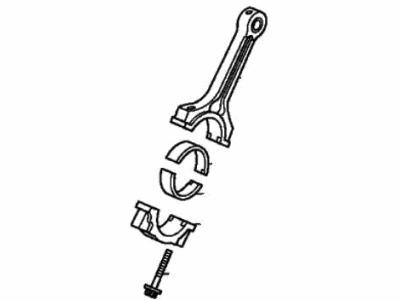
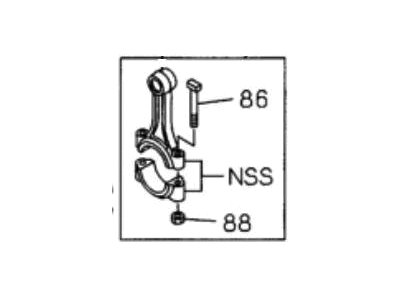
Honda Passport Rod Assy., Connecting
Part Number: 8-94319-046-3$27.45 MSRP: $224.85You Save: $197.40 (88%)Honda Passport Rod Assy., Connecting
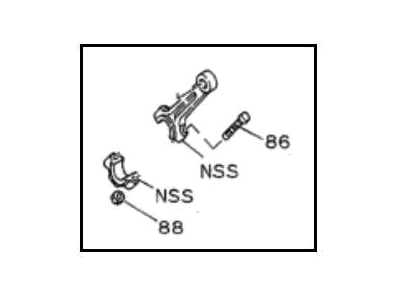
Part Number: 8-94220-365-2$137.86 MSRP: $196.39You Save: $58.53 (30%)
Honda Passport Connecting Rod
In search of affordable OEM Honda Passport Connecting Rod? Consider browsing through our extensive inventory of genuine Honda Passport Connecting Rod. Not only do we provide market-leading prices and a manufacturer's warranty, but we also pride ourselves on exceptional customer service and swift delivery.
Honda Passport Connecting Rod Parts Questions & Experts Answers
- Q: What steps must be taken before removing the piston and connecting rod assemblies on Honda Passport?A: Before dismantling of the piston and connecting rod assemblies, cylinder head(s), oil pan and oil pump have to be dismantled first. Start with the elimination of the ridge on the top of the cylinder employing a ridge reaming tool in strict compliance with the guidelines availed by the manufacturer because when the process is improperly done, pistons may break. After clearing the cylinder ridges, right the engine so that its Crankshaft is up, on 2.2L engines, the balancer unit has to be detached before one can gauge or take out the connecting rods or crankshaft; this requires unbolting the oil pump pickup tube and also the balancer unit as well as removing the balance unit spacer shim. In 3.2L V6 engines, the connecting rod assemblies must not be handled without removing the oil gallery assembly. Prior to removing the connecting rods, check the endplay with feeler gauges, and if the endplay exceeds the dimension listed under 'service limit', new connecting rods may be required; if new rods or a new crankshaft are fitted, then the endplay may have to be machined. If they are not already marked, determine the connecting rods and capsules that bear marks or indents, then unscrew the connecting rod's cap nuts gently and progressively as they could be unscrewed bare handed. Take out the number one connecting rod cap and bearing insert as cautiously as possible, accommodating each connecting rod cap bolt by a short piece of the plastic or rubber hose. Cautiously extrude the part from the top of the engine, if you meet some resistance push hard but then again if there is much resistance be sure to remove all the ridge material. Last of all, the aforementioned steps on the remaining pistons: replace the connecting rod caps and bearing inserts in the respective rods and tighten the cap nuts only to finger tightness to minimize the bearing contact surface damage.


