×
- Live Chat
- 1-888-984-2011

My Garage
My Account
Cart
Genuine Honda Passport Harmonic Balancer
Engine Harmonic Balancer- Select Vehicle by Model
- Select Vehicle by VIN
Select Vehicle by Model
orMake
Model
Year
Select Vehicle by VIN
For the most accurate results, select vehicle by your VIN (Vehicle Identification Number).
5 Harmonic Balancers found
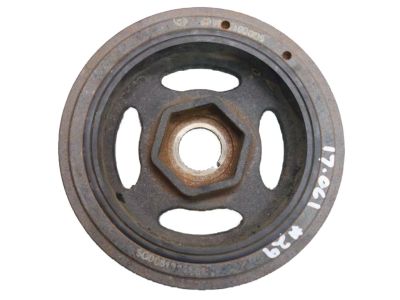
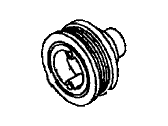
Honda Passport Pulley Complete, Crank
Part Number: 13810-5G0-A01$88.77 MSRP: $125.38You Save: $36.61 (30%)Honda Passport Pulley, Crankshaft (2-Grv)
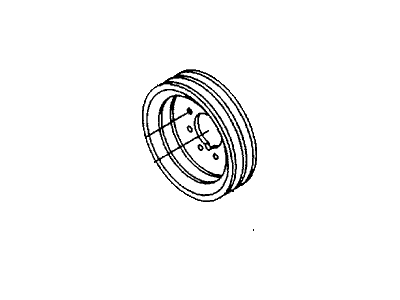
Part Number: 8-97073-157-0$132.77 MSRP: $189.13You Save: $56.36 (30%)
Honda Passport Harmonic Balancer
Harmonic Balancer in Honda Passport: The Harmonic Balancer plays the function of the balance of the engine and isolating motions resulting from combustion in the automobile. This camber is also known as a vibration damper and comprises of a metal hub coupled with the crankshaft, an additional metal inertia ring and a rubber ring which deforms to counter crankshaft torsional movement. The harmonic balancer when in good form provides for the smooth running of the engine and when the rubber part of the balancer wears off due to age or external conditions, it results in high vibration which may caus For the years that Honda Passport vehicles have been manufactured, there were multiple harmonic balancers used - from the factory-standard OE harmonic balancers and even performance harmonic balancers. Although OE harmonic balancers are built for premised engine capacity, performance harmonic balancers are for modified car engines and the ones that offer the anti vibration protection in all RPM beyond the normal standard capacity. These performance options consist of traditional, viscous fluid and multi-piece designs that have been safety checked for performance levels that are beyond high RPMs, and contain additional features such as 360 degree timing marks for fine tuning the engine.
In search of affordable OEM Honda Passport Harmonic Balancer? Consider browsing through our extensive inventory of genuine Honda Passport Harmonic Balancer. Not only do we provide market-leading prices and a manufacturer's warranty, but we also pride ourselves on exceptional customer service and swift delivery.
Honda Passport Harmonic Balancer Parts Questions & Experts Answers
- Q: How do you remove and install the radiator shroud, cooling fan, and crankshaft damper on Honda Passport?A: The bolts are then removed to detach the radiator shroud from the radiator and then the cooling fan and the radiator shroud can be easily detached by removal of the mounting bolts. Unbolt the suspension crossmember as required if there is any interference in pick-up models. If necessary or for easier reinstallation loosen the adjusting bolts and then proceed to detach all the drivebelts on the car and mark on them for easy identification in the future. Take off the bolts to the crankshaft pulley using a screwdriver to preciously lock the starter ring gear on the flywheel to ensure that it does not rotate while removing the crankshaft pulley hub; this will require the removal of the four bolts that hold the drivebelt pulley to the crankshaft harmonic balancer. Take out the harmonic balancer to crankshaft bolt, and if necessary, pull off the flywheel inspection plate or starter motor, while an assistant places a large screwdriver between the ring gear teeth to prevent the engine from rotating as the bolt is loosened using a breaker bar and socket. The puller must be placed on the balancer and then draw off the crankshaft very gently, especially not to let it drop; never use the common gear puller because it may pull the outer part of the balancer out of the hub. We should use a puller which screws on the hub, thereby avoiding the scratching of the crankshaft threads by the big puller bolt. Before installation apply moly-base grease on the oil seal journal part of the balancer, put the balancer over the key on the crankshaft such that the keyway in the balancer matches up with the key. A balancer installation tool should be used to fit the balancer to the crankshaft, applying pressure from all angles on the hub; if not available, a bolt that screws into the crankshaft with a large washer may be used. After that, unscrew the installation tool; screw the balancer bolt and tighten it as per the recommended torque. To complete the process the procedures of the removal should be reversed and the drivebelts should be realigned.
Related Honda Passport Parts
Browse by Year
2023 Harmonic Balancer 2022 Harmonic Balancer 2021 Harmonic Balancer 2020 Harmonic Balancer 2019 Harmonic Balancer 2002 Harmonic Balancer 2001 Harmonic Balancer 2000 Harmonic Balancer 1999 Harmonic Balancer 1998 Harmonic Balancer 1997 Harmonic Balancer 1996 Harmonic Balancer 1995 Harmonic Balancer 1994 Harmonic Balancer
