×
- Live Chat
- 1-888-984-2011

My Garage
My Account
Cart
Genuine Honda CRX Intake Valve
Engine Intake Valve- Select Vehicle by Model
- Select Vehicle by VIN
Select Vehicle by Model
orMake
Model
Year
Select Vehicle by VIN
For the most accurate results, select vehicle by your VIN (Vehicle Identification Number).
3 Intake Valves found
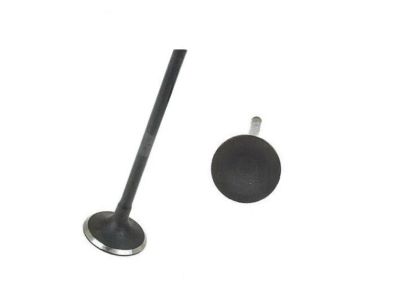
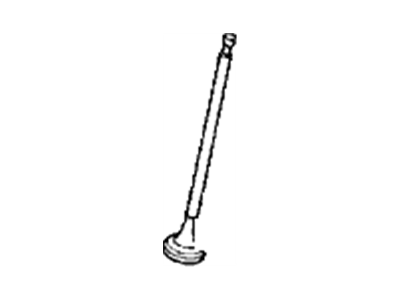
Honda CRX Intake Valve
After a brief background on the role of the Intake Valve in Honda CRX vehicles, this paper seeks to explore how the Intake Valve functions, the impact it has on engine performance and the factors that affect the efficiency of the Intake Valve and the combustion process. One of its main uses is controlling the flow of air-fuel mixture into the engine's cylinder and this is vital in the achievement of desirable power. Many times, when the Intake Valve fails to work well, combustion becomes poor and the power produced by the engine reduces making the replacement crucial always to avoid hefty costs. For Intake Valves used in Honda CRX models there has been different types over the years and all were meant for different performance levels. Some of the steps that are carried out in the replacement process of damaged Intake Valves include some tools such as the valve spring compressor and retainer. Proper installation is important in the preservation of the engines features and possible performance making the Intake Valve crucial in the functionality of Honda CRX productions.
In search of affordable OEM Honda CRX Intake Valve? Consider browsing through our extensive inventory of genuine Honda CRX Intake Valve. Not only do we provide market-leading prices and a manufacturer's warranty, but we also pride ourselves on exceptional customer service and swift delivery.
Honda CRX Intake Valve Parts Questions & Experts Answers
- Q: How do you remove and install the Exhaust or Intake Valve on Honda CRX?A: To get rid of the Cylinder Head with some parts, it is required to detach the cylinder head from the engine, and the Camshaft from the cylinder head. Take the cylindrical shaped plastic mallet and using it strike the next part of the valve stem in order to release the keepers. Use valve spring compressor to compress the valve springs and unscrew the keepers, then unscrew the retainers and springs and valves from the other side of cylinder head while making sure that every part is in order to reuse it. For valve seal, you have to remove the seal from the valve guide, and if reusing the seals, then it is advisable to change the spring around the neck of the seal with exhaust valve seal having black spring and the intake valve seal having white spring. Check the valves for wear, damage or cracks and if so, reface them in that case, if new valve string have to be fitted then assure that the closely wound ends of new valve springs are towards the cylinder head. Replace the cylinder head with new valve seals, apply a thin layer of clean engine oil on the valve parts and then reverse the above procedure, give the cylinder head two to three taps after removing the spring compressor in order to set the keepers and valves correctly. One should be very careful when removing the valve spring compressor tool, as the springs might get shot off. Finish installing new gaskets to the part so that the job is thoroughly done. For examination, examine the check valve faces and seats for pits or burned spots and relegate to scrap any valve having a face which is in any way damaged. Valve faces should be at a 45-degree angle and refacing should be done by a professional machine shop. Check for any resultant scoring on the external surface of the valve stem, if none use solvent to wipe the part. Valve stem-to-guide clearance can be done with the help of a dial indicator if the tools are not available then take the components to a machine shop. Valve grinding operation must be done by a professional machine shop while valve lapping can be done by an inexperienced mechanic. For valve lapping turn the cylinder head upside down; apply a layer of oil on the valve stems and spread the grinding compound on the valve seats and fix the valves. Generally a valve lapping tool is used to lap until the valve seat has a polished finish to the seat with no sign of the grinding compound. The other way is applying suction cup to a drill rod for lapping; however, grooving the seat may occur at higher speeds.


