×
- Live Chat
- 1-888-984-2011

My Garage
My Account
Cart
Genuine Honda CRX Rocker Shaft Spring Kit
Rocker Shaft Spring Set- Select Vehicle by Model
- Select Vehicle by VIN
Select Vehicle by Model
orMake
Model
Year
Select Vehicle by VIN
For the most accurate results, select vehicle by your VIN (Vehicle Identification Number).
10 Rocker Shaft Spring Kits found
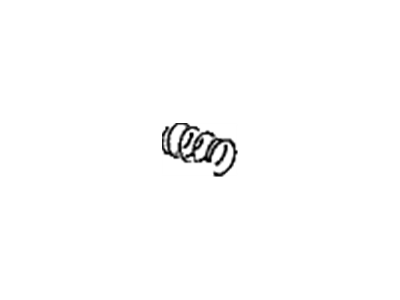
Honda CRX Spring A, Valve Rocker Arm (Chuo Hatsujo)
Part Number: 14645-PJ7-004$2.36 MSRP: $3.34You Save: $0.98 (30%)
Honda CRX Rocker Shaft Spring Kit
In search of affordable OEM Honda CRX Rocker Shaft Spring Kit? Consider browsing through our extensive inventory of genuine Honda CRX Rocker Shaft Spring Kit. Not only do we provide market-leading prices and a manufacturer's warranty, but we also pride ourselves on exceptional customer service and swift delivery.
Honda CRX Rocker Shaft Spring Kit Parts Questions & Experts Answers
- Q: What steps should be followed to remove and reinstall valve springs from a cylinder head on Honda CRX?A: If, after performing the Cylinder Head removal operation in the engine, the valve springs have to be removed. First, the Rocker Arm assembly has to be unbolted; for this use old rocker arm shafts to avoid any scratches on the new ones. After that, remove the spark plug(s) from the cylinder head and turn the Crankshaft in a certain manner so that the cylinder currently under work reaches the top dead centre of the compression stroke. The cylinder has been designed to fit a tool called a Spark Plug Air Hold to introduce compressed air to the cylinder in order to lock up the valves. Using a Spring Compressor tool squeeze the spring(s) and remover the valve keepers; when you ready to put the parts back, back off the tool to extract the valve retainer, spring(s), and the valve seal. If the valve seals are going to be reused it is recommended that the neck springs are replaced with the black spring for the exhaust valve seal or the white spring for the intake valve seal because they are not interchangeable. Check the springs for signs of fatigue, failure or thickness variation and replace them as required, clean the gasket mounting surfaces with a putty knife. For reassembly, apply new seal, if required and the process can proceed in the reverse order of disassembling while ensuring that the valve keepers lay properly in place by gently striking the valve with a plastic mallet. When installing the springs put the closely wound coils or painted part adjacent to the cylinder head: fit new gaskets and seals and reverse the removal procedure. Last, turn the engine on and look for any sign of leakage. For inspection lay the valve spring flat on a clean surface beside a square and rotate the spring round the square to check for distortion, where possible the height of similar springs should not vary by more than 1.6mm, if it does replace the spring.


