×
- Hello
- Login or Register
- Quick Links
- Live Chat
- Track Order
- Parts Availability
- RMA
- Help Center
- Contact Us
- Shop for
- Honda Parts
- Honda Accessories

My Garage
My Account
Cart
Genuine Honda CRX Evaporator
A/C Evaporator Core- Select Vehicle by Model
- Select Vehicle by VIN
Select Vehicle by Model
orMake
Model
Year
Select Vehicle by VIN
For the most accurate results, select vehicle by your VIN (Vehicle Identification Number).
4 Evaporators found
Honda CRX Evaporator
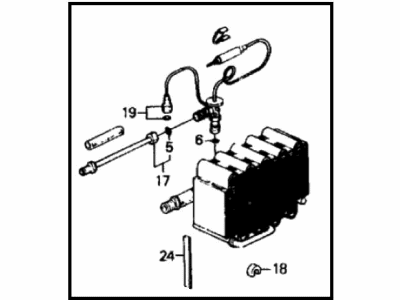
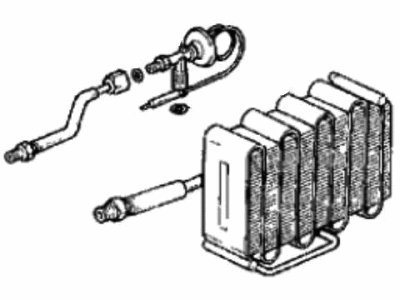
The Evaporator in Honda CRX plays the strategic role of pulling cool air from the dashboard and circulating it in the car by meeting and absorbing heat from the air on its surface. Sited just below the fascia it conducts heat by letting warm air pass over a series of aluminium fins and the expanding gas that is the liquid refrigerant evaporates inside it. This work not only cools the air, but also removes moisture from the air, and usually forms puddles of water at the base of the car. In this article, a variety of Evaporators of Honda CRX models is described, with the emphasis on the aluminum construction and fin design. Although they are designed to extract heat from the air the differences can lie in the ease of leakages and corrosion because of age, temperature changes and deposits. One must always ensure that the product is cleaned and maintained to avoid problems like clogging of the drain tube - which may result in stagnation of moisture and bad odors.
In search of affordable OEM Honda CRX Evaporator? Consider browsing through our extensive inventory of genuine Honda CRX Evaporator. Not only do we provide market-leading prices and a manufacturer's warranty, but we also pride ourselves on exceptional customer service and swift delivery.
Honda CRX Evaporator Parts Questions & Experts Answers
- Q: How do you remove and install the evaporator on Honda CRX?A:When servicing the evaporator you must first unplug the negative battery cable and correctly depressurize the AC system. Subsequently, open the connections at the evaporator and reconnect the refrigerant lines and remove the glove box as well as the support brackets. Unbend and unbolt the evaporator securing bands and it should be pointed out that earlier models had only two bolts as opposed to the bands. Remove the evaporator tray and separate the evaporator housing from the air conditioning housing; unplug the air conditioner thermoswitch high side wire connector. Remove the drain hose and then take away the evaporator assembly; to do this the evaporator case attaching clips as well as screws have to be removed. Detach the case halves to shed off the evaporator and next set aside the expansion valve from the evaporator. The expansion valve must be connected to the evaporator assembly and the evaporator assembly has to be fitted into case halves, and the evaporator case assembly has to be clamped together. Fit the evaporator assembly and the drain hose should be fitted and the thermoswitch wire connector should also be fitted. Fit in the evaporator housing securing bands and also the glove box assembly. Make the connection of the refrigerant lines at the evaporator then make tight the suction hose to the evaporator, using torque wrench, to up to 23 ft. pounds. Receiver pipe to the evaporator is 12 ft .lbs while receiver pipe to the condenser is 32 Nm. (17 Nm). Finally connect the negative battery cable and charge the vehicle, evacuate the AC system and perform leak test.


