×
- Live Chat
- 1-888-984-2011

My Garage
My Account
Cart
Genuine Honda CR-V Variable Timing Sprocket
Timing Gear Sprocket- Select Vehicle by Model
- Select Vehicle by VIN
Select Vehicle by Model
orMake
Model
Year
Select Vehicle by VIN
For the most accurate results, select vehicle by your VIN (Vehicle Identification Number).
22 Variable Timing Sprockets found
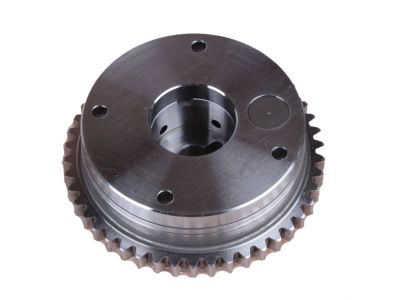
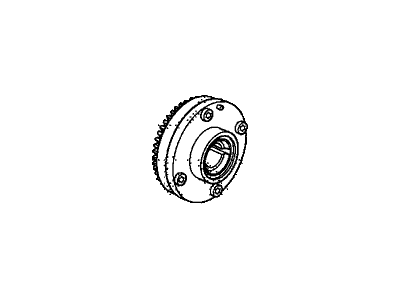
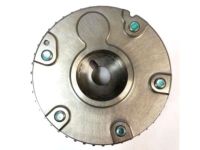
Honda CR-V Actuator Assy., VTC (46T)
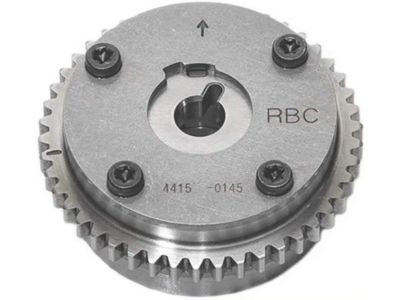
Part Number: 14310-RBC-003$287.04 MSRP: $408.88You Save: $121.84 (30%)Honda CR-V Actuator, VTC (46T)
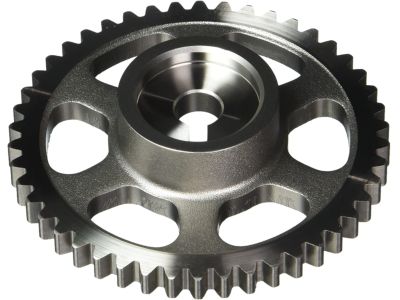
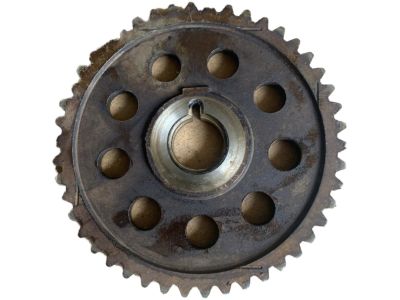
Part Number: 14310-R40-A02$266.25 MSRP: $389.25You Save: $123.00 (32%)Honda CR-V Sprocket, Cam Chain Driven (46T)
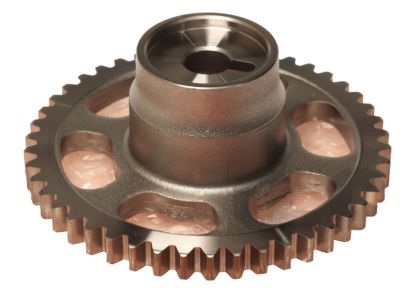
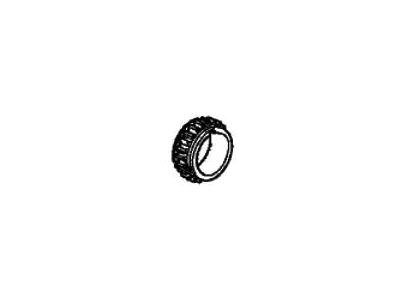
Part Number: 14210-PNA-000$103.06 MSRP: $145.57You Save: $42.51 (30%)Honda CR-V Sprocket, Chain Drive
Part Number: 13620-RAA-A02$114.00 MSRP: $161.02You Save: $47.02 (30%)Honda CR-V Actuator Assy., VTC (46T)
Part Number: 14310-RZA-003$273.25 MSRP: $389.25You Save: $116.00 (30%)Honda CR-V Sprocket, Cam Chain Driven
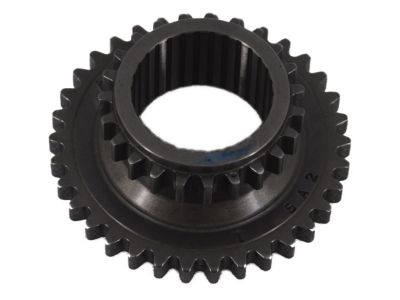
Part Number: 14210-5A2-A00$93.60 MSRP: $132.20You Save: $38.60 (30%)Honda CR-V Sprocket, Chain Drive
Part Number: 13620-5A2-A01$119.08 MSRP: $169.63You Save: $50.55 (30%)Honda CR-V Pulley, Timing Belt Drive
Part Number: 13621-P72-A01$122.70 MSRP: $174.78You Save: $52.08 (30%)Honda CR-V Actuator Assembly, Vtc Exhuast (46T)
Part Number: 14320-6A0-A01$203.57 MSRP: $289.98You Save: $86.41 (30%)Honda CR-V Actuator Assembly, Vtc In. (46T)
Part Number: 14310-6A0-A01$205.25 MSRP: $292.38You Save: $87.13 (30%)Honda CR-V Sprocket, Cam Chain Driven (46T)
Part Number: 14211-PWA-000$83.45 MSRP: $117.87You Save: $34.42 (30%)Honda CR-V Sprocket, Cam Chain Drive (23T)
Part Number: 13621-6A0-A01$17.97 MSRP: $25.38You Save: $7.41 (30%)Honda CR-V Sprocket, Chain Drive
Part Number: 13620-5K0-A01$105.21 MSRP: $148.60You Save: $43.39 (30%)
| Page 1 of 2 |Next >
1-20 of 22 Results
Honda CR-V Variable Timing Sprocket
In search of affordable OEM Honda CR-V Variable Timing Sprocket? Consider browsing through our extensive inventory of genuine Honda CR-V Variable Timing Sprocket. Not only do we provide market-leading prices and a manufacturer's warranty, but we also pride ourselves on exceptional customer service and swift delivery.
Honda CR-V Variable Timing Sprocket Parts Questions & Experts Answers
- Q: How to remove and install a Timing Chain and Sprocket on 2.4L engine on Honda CR-V?A: The timing system is complex, and severe engine damage will occur if mistakes are made; do not attempt this procedure unless highly experienced with this type of repair, and if unsure, consult an expert. Double-check all work to ensure everything is correct before starting the engine. Begin by disconnecting the cable from the negative battery terminal, then set the engine to the compression stroke for cylinder number 1. For 2015 and later CR-V models, remove the high-pressure fuel pump, followed by the valve cover and the timing chain cover. Rotate the crankshaft counterclockwise slightly to compress the chain tensioner, then install a 0.06 inch (1.5 mm) pin into the alignment holes to lock the tensioner, and rotate the crankshaft slightly clockwise to secure the pin. Remove the mounting bolts and the timing chain tensioner, then take out the upper timing chain guide from between the camshaft sprockets, followed by the camshaft timing chain guide and the tensioner arm, and finally remove the timing chain. Clean all parts with solvent and dry with compressed air if available, then inspect the chain tensioner for excessive wear or damage, ensuring to drain all oil if it is to be reused. Check the timing chain guides and the timing chain for excessive wear or damage, and inspect the crankshaft and camshaft sprockets for chipped or broken teeth or excessive wear, replacing any questionable components. Before starting the engine, carefully rotate the crankshaft by hand through at least two full revolutions; if any resistance is felt, stop immediately as there may be an issue with valve contact. Ensure the timing mark on the crankshaft sprocket is aligned with the pointer on the engine lock, and verify that the chain alignment dots on the VTC actuator and the exhaust camshaft sprocket are at the 12 o'clock position, with the TDC alignment marks on the sprockets opposite each other at the 9 and 3 o'clock positions. Install the timing chain, aligning the crankshaft sprocket with the colored link on the chain, then install the timing chain over the exhaust camshaft sprocket and the VTC actuator with the marks aligned. Install the camshaft timing chain guide and the tensioner arm, tightening the bolts to the specified torque, followed by the timing chain tensioner and the upper timing chain guide, also tightening the bolts to the specified torque. Remove the pin from the timing chain tensioner, slowly turn the crankshaft clockwise two revolutions, and recheck the timing marks and camshaft sprocket index marks for proper alignment. If the crankshaft binds or seems to hit something, do not force it, as this may indicate incorrect valve timing; in such a case, remove the chain and repeat the installation procedure. Finally, install the valve cover and the timing chain cover, reconnect the battery, and run the engine to check for leaks.
Related Honda CR-V Parts
Browse by Year
2023 Variable Timing Sprocket 2022 Variable Timing Sprocket 2021 Variable Timing Sprocket 2020 Variable Timing Sprocket 2019 Variable Timing Sprocket 2018 Variable Timing Sprocket 2017 Variable Timing Sprocket 2016 Variable Timing Sprocket 2015 Variable Timing Sprocket 2014 Variable Timing Sprocket 2013 Variable Timing Sprocket 2012 Variable Timing Sprocket 2011 Variable Timing Sprocket 2010 Variable Timing Sprocket 2009 Variable Timing Sprocket 2008 Variable Timing Sprocket 2007 Variable Timing Sprocket 2006 Variable Timing Sprocket 2005 Variable Timing Sprocket 2004 Variable Timing Sprocket 2003 Variable Timing Sprocket 2002 Variable Timing Sprocket 2001 Variable Timing Sprocket 2000 Variable Timing Sprocket 1999 Variable Timing Sprocket 1998 Variable Timing Sprocket 1997 Variable Timing Sprocket


