×
- Hello
- Login or Register
- Quick Links
- Live Chat
- Track Order
- Parts Availability
- RMA
- Help Center
- Contact Us
- Shop for
- Honda Parts
- Honda Accessories

My Garage
My Account
Cart
Genuine Honda Ridgeline A/C Condenser
Air Conditioning Condenser- Select Vehicle by Model
- Select Vehicle by VIN
Select Vehicle by Model
orMake
Model
Year
Select Vehicle by VIN
For the most accurate results, select vehicle by your VIN (Vehicle Identification Number).
3 A/C Condensers found

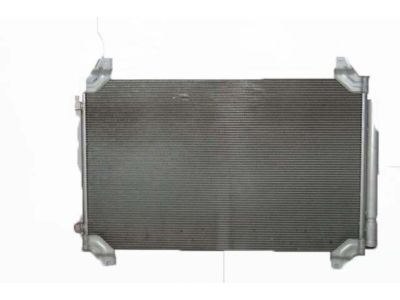
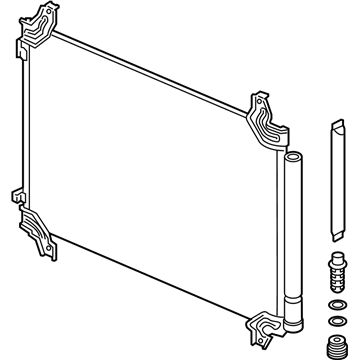
Honda Ridgeline CONDENSER ASSY.
Part Number: 80100-TG7-A02$198.26 MSRP: $282.42You Save: $84.16 (30%)

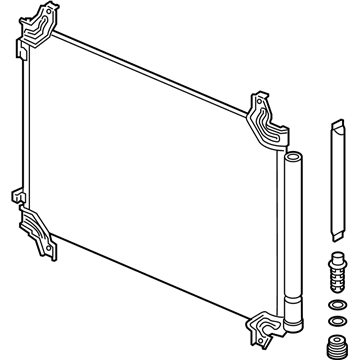
Honda Ridgeline Condenser Assy.
Part Number: 80100-TG7-A01$198.26 MSRP: $282.42You Save: $84.16 (30%)
Honda Ridgeline A/C Condenser
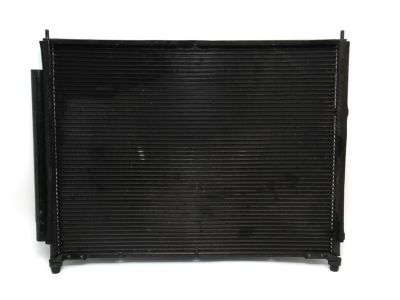
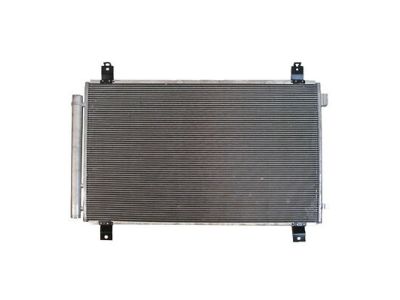
The A/C Condenser in Honda Ridgeline vehicles plays a vital role as a heat exchanger, sole duty of which is to cool the gaseous refrigerant and change it into the liquid state before it is taken to the accumulator. Normally mounted before the radiator, the A/C Condenser involves a number of tubes where this cooling takes place. Despite the absence of the general details on the differences on types or style of A/C Condenser used in different models of Ridgeline, its general architecture and mode of operation revolves around the clearing of refrigerant to considerably deliver on the air conditioning needs. The A/C Condenser is very instrumental in helping to provide proper climate inside the cabin due mostly to the heat exchange it can accomplish.
In search of affordable OEM Honda Ridgeline A/C Condenser? Consider browsing through our extensive inventory of genuine Honda Ridgeline A/C Condenser. Not only do we provide market-leading prices and a manufacturer's warranty, but we also pride ourselves on exceptional customer service and swift delivery.
Honda Ridgeline A/C Condenser Parts Questions & Experts Answers
- Q: How to remove and install a condenser in a Honda Ridgeline?A:Have the refrigerant discharged and recovered by an air conditioning technician. Disconnect the cable from the negative battery terminal. Remove the plastic cover over the radiator. Remove the front bumper cover. Remove the hood latch. On 2007 Acura MDX models, remove the ATF cooler bracket located in front of the condenser. Remove the radiator and condenser mounting brackets. Disconnect the refrigerant lines from the condenser. Cap the fittings on the condenser and lines to prevent the entry of dirt or moisture. Remove the condenser by lifting it straight up and out of the engine compartment between the radiator and power steering lines or ATF cooler. Be careful not to damage any of the fins on it or the radiator. Check the rubber mounts on the bottom of the condenser for wear or deterioration and replace them if necessary. Installation is the reverse of removal. Tighten the line fitting mounting bolts. If a new condenser is being installed, add 1-1/6 ounces (35 ml) of fresh refrigerant oil. Assemble all connections with new O-rings, lightly lubricated with R-134a refrigerant oil. On 2007 Acura MDX models, add 1-2/3 ounces (50 ml) of fresh refrigerant oil. Reconnect the battery. Have the system evacuated, charged and leak tested by the shop that discharged it.
Related Honda Ridgeline Parts
Browse by Year
2026 A/C Condenser 2025 A/C Condenser 2024 A/C Condenser 2023 A/C Condenser 2022 A/C Condenser 2021 A/C Condenser 2020 A/C Condenser 2019 A/C Condenser 2018 A/C Condenser 2017 A/C Condenser 2014 A/C Condenser 2013 A/C Condenser 2012 A/C Condenser 2011 A/C Condenser 2010 A/C Condenser 2009 A/C Condenser 2008 A/C Condenser 2007 A/C Condenser 2006 A/C Condenser
