×
- Hello
- Login or Register
- Quick Links
- Live Chat
- Track Order
- Parts Availability
- RMA
- Help Center
- Contact Us
- Shop for
- Honda Parts
- Honda Accessories

My Garage
My Account
Cart
Genuine Honda Prelude Radius Arm
Front Suspension Radius Arm- Select Vehicle by Model
- Select Vehicle by VIN
Select Vehicle by Model
orMake
Model
Year
Select Vehicle by VIN
For the most accurate results, select vehicle by your VIN (Vehicle Identification Number).
11 Radius Arms found
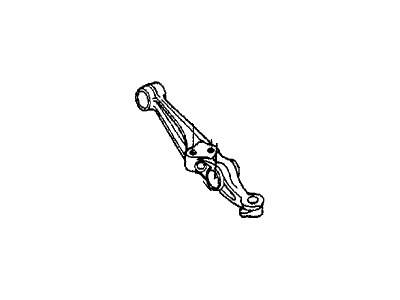
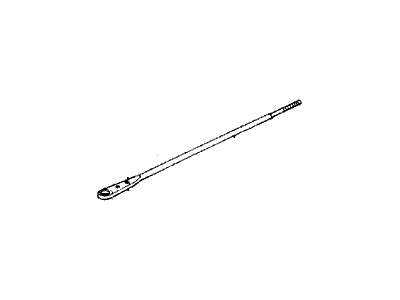
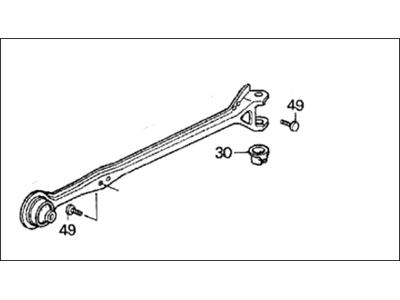
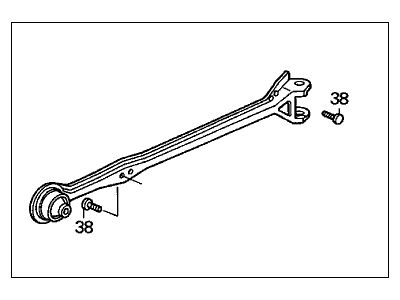
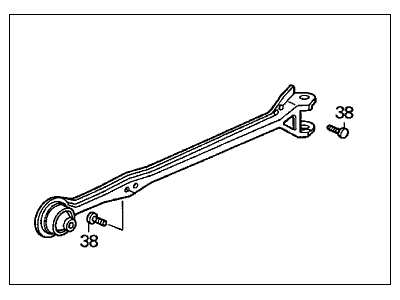
Honda Prelude Radius Arm
Honda Prelude/Accord Radius Arm Few automobile models can do without the Radius Arm, which is usually termed as radius rod or torque arm in automobile engineering, its key job is to control the movement of the wheel. When the axle is linked to the frame of a certain vehicle, the Radius Arm reduces unnecessary movement of the wheel and thus increases the steadiness and performance of the vehicle. Usually it is fabricated from sheet metal such as stamped steel or aluminum and does everything it needs to without adding extra weight. Prelude models of Honda cars have used Different Styles of the Radius Arms over the Years, with Each One Designed to Achieve the prime Outcome. The performance of a Radius Arm affects off-road tr Acting abilities, while its malfunction may result in brake dive or respectively, out of control wheel movement. Routine checks and changes on the Radius Arm and its bushings will prevent causing inconvenience or even dangerous driving situations especially in Honda Prelude cars.
In search of affordable OEM Honda Prelude Radius Arm? Consider browsing through our extensive inventory of genuine Honda Prelude Radius Arm. Not only do we provide market-leading prices and a manufacturer's warranty, but we also pride ourselves on exceptional customer service and swift delivery.
Honda Prelude Radius Arm Parts Questions & Experts Answers
- Q: How do you remove and install the radius rod assembly on Honda Prelude?A:Before you start the removal the radius rod assembly, turn the front wheel Lug Nuts half turn counter clockwise, then lift the vehicle and make sure the vehicle is safely in air before you unbolt the front wheel and the tyre completely. On the next step, remove the radius rod self-locking nut from the front subframe and then the two bolts fastening the radius rod to the Control Arm after which you have to remove the radius rod assembly. In terms of installation, it is recommended that the silicone grease is applied on the front radius rod bushings, the larger bushing on the front part of the subframe and the smaller bushing at the rear part with the small end of the bushings facing outwards. The washer is then fitted around the radius rod and the sleeve before the radius rod is passed through the bushings on the lower subframe. After that, apply the new front radius rod washer, and in addition, use a new self locking radius rod nut tightened by hand only. Next go ahead and reinstall the radius rod-to-control arm flange bolts and snug them down to 76 ft. lbs. Torque the radius rod bushing bolt to 103 Nm and then to 40 lb.ft. (54 Nm). Lastly, reverse the steps that you have used during lug nuts removal and make sure that they are tightened to 80 ft. lbs. (108 Nm).
Related Honda Prelude Parts
Browse by Year
2001 Radius Arm 2000 Radius Arm 1999 Radius Arm 1998 Radius Arm 1997 Radius Arm 1996 Radius Arm 1995 Radius Arm 1994 Radius Arm 1993 Radius Arm 1992 Radius Arm 1991 Radius Arm 1990 Radius Arm 1989 Radius Arm 1988 Radius Arm 1987 Radius Arm 1986 Radius Arm 1985 Radius Arm 1984 Radius Arm 1983 Radius Arm 1982 Radius Arm 1981 Radius Arm 1980 Radius Arm 1979 Radius Arm


