×
- Live Chat
- 1-888-984-2011

My Garage
My Account
Cart
Genuine Honda Prelude Clutch Disc
Friction Disc- Select Vehicle by Model
- Select Vehicle by VIN
Select Vehicle by Model
orMake
Model
Year
Select Vehicle by VIN
For the most accurate results, select vehicle by your VIN (Vehicle Identification Number).
24 Clutch Discs found
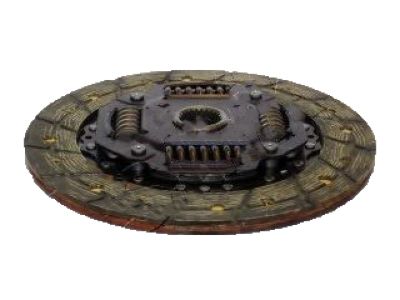
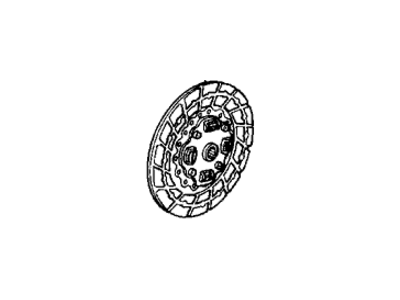
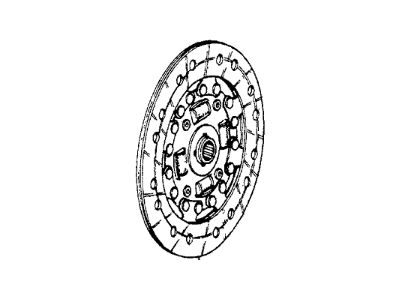
Honda Prelude Disk Complete, Frictio
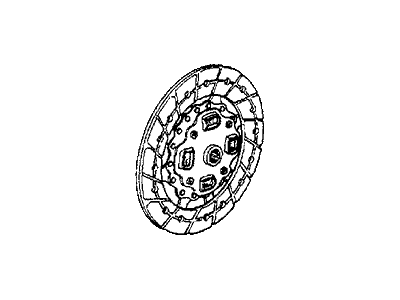
Part Number: 22200-P5M-505$151.37 MSRP: $215.64You Save: $64.27 (30%)Honda Prelude Disk, Clutch (B.W.A.)
Part Number: 22544-P24-A01$18.74 MSRP: $38.38You Save: $19.64 (52%)
| Page 1 of 2 |Next >
1-20 of 24 Results
Honda Prelude Clutch Disc
In search of affordable OEM Honda Prelude Clutch Disc? Consider browsing through our extensive inventory of genuine Honda Prelude Clutch Disc. Not only do we provide market-leading prices and a manufacturer's warranty, but we also pride ourselves on exceptional customer service and swift delivery.
Honda Prelude Clutch Disc Parts Questions & Experts Answers
- Q: How to remove and install Clutch Disc and Pressure Plate on Honda Prelude?A: There may be a theft protection circuit in the radio so be sure to have the code in case you want to disconnect the battery, remove the radio fuse or even take out the radio. It is recommended that if the clutch disk is being replaced, then the clutch disk, release bearing, pilot bearing, and pressure plate should be replaced because often these parts are sold as a clutch kit at a lower price. If the flywheel you have is spoiled or worn out to the maximum, then ensure that the clutch replacement part is available with the flywheel as it is usually cheaper to buy such parts in a kit rather than buying them individually. Any flywheel with surface undulations can cause the clutch to chatter during engagement and this can only get worse if the flywheel is reused. Even if you might save a few dollars in costs of new parts, do not go for rebuilt parts because the time you will spend doing a second job may cost you more money in the long run. Starting with a negative cable removal, lifting and supporting the car, transaxle removal and appropriate matchmarking of the flywheel with clutch for reassembly. Secure the flywheel using a flywheel ring-gear holder then follow the carriage of loosening the pressure plate bolts in a crisscross manner so that the pressure plate will not warp when they are fully removed from the flywheel, remove also the clutch disc. The flywheel, disc and pressure plate should be checked for signs of wear, cracks or warping, light scoring may be polished but any damaged flywheel, disc or pressure plate must be replaced. The position of the flywheel will be marked before it is removed so that it can be replaced in its proper position when assembling the engine. Inspect the flywheel's ball bearing to ensure is smooth, if not replace the ball bearing. Undo the release fork boot where it is fixed, retract the release fork out of its pivot and inspect the release bearing for such abrasages as excessive wear, play or leakage. Clean and check the oil seal of the rear main bearing for any sign of leakage and replace it if it is possible. For removal, remove the flywheel bearing if necessary, replace it with a new one and tighten the mounting bolts in a criss cross fashion. Clutch disc and pressure plate go over the dowels or matchmarks and tighten the bolts in the pressure plate in the crisscross fashion. Take out any alignment tools, apply high temperature high-temp grease to the main shaft and release fork parts, insert the transaxle into the clutch assembly in proper relation to the splines. Torque the transaxle case bolts, service the clutch hydraulics, set the clutch pedal dead travel, ensure all parts are firmly in place, re-engage the battery's negative terminal, and test drive. In case of clutch pedal free-play adjustments, one is required to slacken the locknut just under the clutch switch or the adjusting bolt as one adjusts the clutch master cylinder pushrod, until the height and the stroke of the clutch pedal achieves the appropriate measurements. Proceed to tighten the pushrod locknut and adjust the clutch switch while checking the pushrod clearance with the pedal depressed to the stop; set the interlock switch to permit engine start from the adjusted position before final tightening of all locknuts.
Related Honda Prelude Parts
Browse by Year
2001 Clutch Disc 2000 Clutch Disc 1999 Clutch Disc 1998 Clutch Disc 1997 Clutch Disc 1996 Clutch Disc 1995 Clutch Disc 1994 Clutch Disc 1993 Clutch Disc 1992 Clutch Disc 1991 Clutch Disc 1990 Clutch Disc 1989 Clutch Disc 1988 Clutch Disc 1987 Clutch Disc 1986 Clutch Disc 1985 Clutch Disc 1984 Clutch Disc 1983 Clutch Disc 1982 Clutch Disc 1981 Clutch Disc 1980 Clutch Disc 1979 Clutch Disc
