×
- Hello
- Login or Register
- Quick Links
- Live Chat
- Track Order
- Parts Availability
- RMA
- Help Center
- Contact Us
- Shop for
- Honda Parts
- Honda Accessories

My Garage
My Account
Cart
Genuine Honda Prelude Ball Joint
Control Arm Joint- Select Vehicle by Model
- Select Vehicle by VIN
Select Vehicle by Model
orMake
Model
Year
Select Vehicle by VIN
For the most accurate results, select vehicle by your VIN (Vehicle Identification Number).
11 Ball Joints found

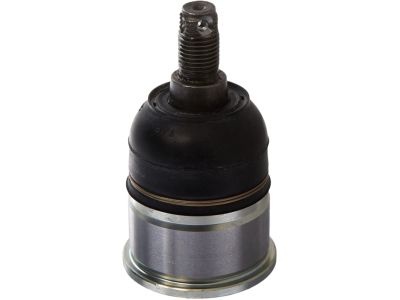
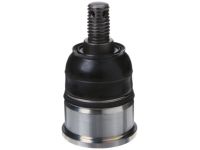
Honda Prelude Joint, Front Ball (Lower) (Musashi)
Part Number: 51220-S84-305$48.29 MSRP: $68.20You Save: $19.91 (30%)


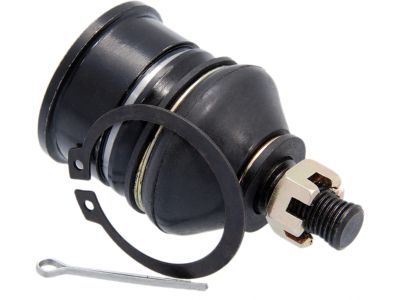
Honda Prelude Joint, Ball (Lower) (4Sp-R-051)
Part Number: 51220-SL5-003$124.42 MSRP: $177.23You Save: $52.81 (30%)
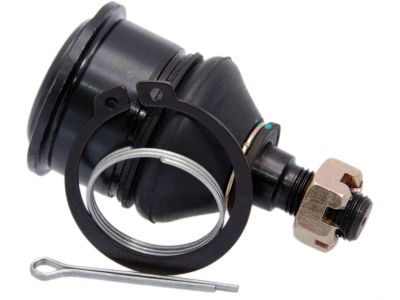
Honda Prelude Joint, Front Ball (Lower)
Part Number: 51220-SL5-013$124.42 MSRP: $177.23You Save: $52.81 (30%)
Honda Prelude Ball Joint
In Honda Prelude cars specifically the Ball Joint is a suspension part and also forms part of the steering system since it connects the control arms to the steering knuckles. This design is free rotating design and it does not allow some unwanted rotation movement as a human hip joint. Upper and lower ball joints are typically used on the Honda Prelude models, newer generation of them, actually has sealed ball joints for life. The Honda Prelude Ball Joint is constructed from steel and it is a bearing stud and socket part which is covered in a rubber-like boot that prevents dust from getting to it while at the same time allowing it to be oiled properly. Amortization type of ball joints were known to have to be greased frequently but due to technology there are types that can generally last almost 80000 miles. Some types, for instance, the motion-control ball joints have an internal spring in order to minimize the vibrations. In general, the Honda Prelude Ball Joint plays a significant role in sustaining stability, maneuverability and comfort while in motion.
In search of affordable OEM Honda Prelude Ball Joint? Consider browsing through our extensive inventory of genuine Honda Prelude Ball Joint. Not only do we provide market-leading prices and a manufacturer's warranty, but we also pride ourselves on exceptional customer service and swift delivery.
Honda Prelude Ball Joint Parts Questions & Experts Answers
- Q: How do you inspect and replace a lower ball joint on Honda Prelude?A:To inspect the vehicle, first raise and safely support it, then place a suitable jack under the lower Control Arm and lift it upward by 2 inches (50mm). Grasp the upper and lower portions of the front tires and attempt to rock them back and forth; if looseness is felt at the lower portion of the tire, use a suitable pry tool to pry between the Steering Knuckle and the lower control arm, and if looseness is present, replace the lower joint. For removal and installation, after removing the steering knuckle, use special press tools and a sturdy vise to press the ball joint out of the knuckle. Begin by removing the brake caliper and brake rotor from the steering knuckle assembly, then remove the steering knuckle assembly from the vehicle. Pry off the ball joint boot snap ring and remove the boot, checking its condition for any damage. Install the ball joint removal/installer around the ball joint spindle with the large end facing out, and tighten the ball joint castle nut to hold the tool in position. Position the knuckle with the installed tool into a suitable vise, tightening it to press the ball joint out of the steering knuckle. For installation, position the new ball joint into the hole of the steering knuckle, then install the ball joint removal/installer on the spindle side with the small end facing out. Set the assembly in a large vise and tighten it to press the ball joint into the steering knuckle. Pack the interior of the ball joint boot with grease, adjust the boot clip guide tool until it aligns with the groove on the boot, and slide the clip into position on the ball joint boot, seating the snap ring in the groove. The remainder of the installation follows the reverse order of removal.
