×
- Live Chat
- 1-888-984-2011

My Garage
My Account
Cart
Genuine Honda Passport Brake Pad Set
Disc Brake Pad Set- Select Vehicle by Model
- Select Vehicle by VIN
Select Vehicle by Model
orMake
Model
Year
Select Vehicle by VIN
For the most accurate results, select vehicle by your VIN (Vehicle Identification Number).
8 Brake Pad Sets found
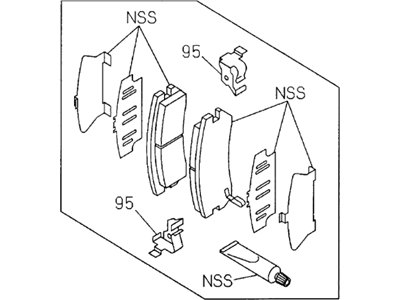
Honda Passport Brake Pad Kit, Front Caliper Disk
Part Number: 8-97070-079-0$114.53 MSRP: $161.77You Save: $47.24 (30%)
Honda Passport Brake Pad Set
Honda Passport automobiles incorporate Brake Pad Set as some of the critical items of the braking system that reduces the speed of the automobile through the production of friction against the Brake Rotor. These Brake Pad Set consist of one or several friction materials applied to metal mating surfaces or strapped to metal backing plates, they are designed to handle heat well while in action. The friction lining slowly wears out and requires to be replaced regularly in most of the cases, the wear downwards is sensed through wear sensors or they make some noise through wear indicators. In Honda Passport models Brake Pad Set of several types have been used such as non-metallic Brake Pad Set, semi-metallic, fully metallic, and ceramic Brake Pad Set the four types of Brake Pad Set differ in friction material, their wearing rate and noise they produce. Scheduled service, which usually takes place at 50,000 miles, is vital to this aspect and it is advised that all related hardware are replaced in order to maintain the efficiency and durability of the Brake Pad Set. It is therefore important to make the right decision on choosing the right Honda Passport Brake Pad Set and to maintain them well.
In search of affordable OEM Honda Passport Brake Pad Set? Consider browsing through our extensive inventory of genuine Honda Passport Brake Pad Set. Not only do we provide market-leading prices and a manufacturer's warranty, but we also pride ourselves on exceptional customer service and swift delivery.
Honda Passport Brake Pad Set Parts Questions & Experts Answers
- Q: What are the steps involved in replacing brake pads and ensuring proper brake function on Honda Passport?A: Loosen the front wheel lug nuts, raise the front of the vehicle, and support it securely on jackstands while applying the parking brake, then remove the wheels. Remove about two-thirds of the fluid from the master cylinder reservoir and discard it; as the pistons are pushed in for clearance to allow the pads to be removed, the fluid will be forced back into the reservoir. Position a drain pan under the brake assembly and clean the caliper and surrounding area with brake system cleaner. Use a C-clamp to push the piston back into the bore to provide room for the new brake pads, ensuring the fluid in the master cylinder does not overflow, siphoning off some if necessary. Work on one brake assembly at a time, inspecting the caliper for leaks and ruptures in the piston boot, overhauling or replacing it as necessary, and carefully inspecting the Brake Disc for any need for machining. Clean and check the caliper mounting bolts for corrosion and damage, replacing them if significantly corroded or damaged, and tighten them to the specified torque. Install the brake pads on the opposite wheel, then reinstall the wheels and lower the vehicle, tightening the lug nuts to the specified torque. Add brake fluid to the reservoir until full, pump the brakes several times to seat the pads against the disc, and check the fluid level again. Before driving in traffic, check the operation of the brakes and avoid heavy applications until the pads have been lightly seated several times. The rear brake pad procedure is virtually identical to the front. Firmly depress the brake pedal a few times to bring the pads into contact with the disc, checking the fluid level in the master cylinder and topping it up if necessary, then road test the vehicle carefully before placing it into normal use.


