×
- Live Chat
- 1-888-984-2011

My Garage
My Account
Cart
Genuine Honda Odyssey Pistons
Engine Pistons- Select Vehicle by Model
- Select Vehicle by VIN
Select Vehicle by Model
orMake
Model
Year
Select Vehicle by VIN
For the most accurate results, select vehicle by your VIN (Vehicle Identification Number).
30 Pistons found
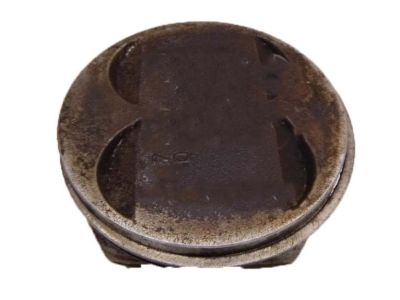
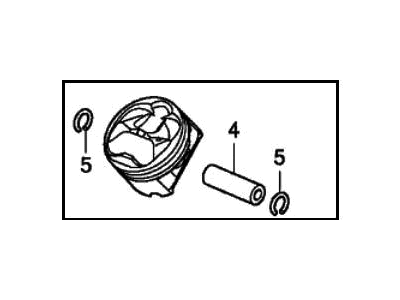
Honda Odyssey Piston Set (Over Size) (0.50)
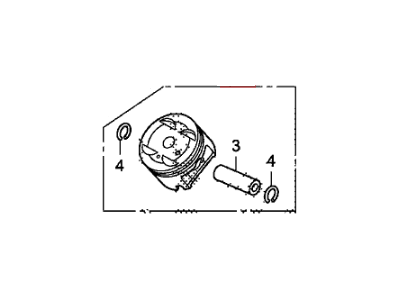
Part Number: 13040-P8F-A01$32.99 MSRP: $270.32You Save: $237.33 (88%)Honda Odyssey Piston Set (Os 0.25)
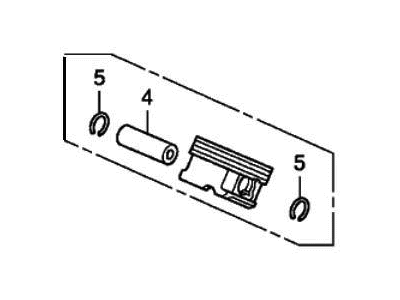
Part Number: 13030-R70-A10$131.89 MSRP: $187.88You Save: $55.99 (30%)Honda Odyssey Piston Set (Over Size) (0.50)
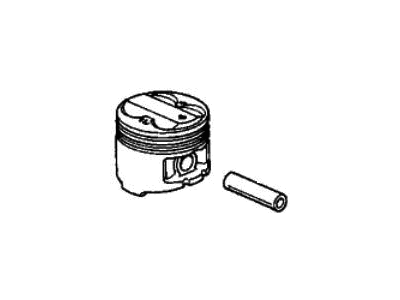
Part Number: 13040-P8F-A03$180.20 MSRP: $421.78You Save: $241.58 (58%)Honda Odyssey Piston Set (Over Size) (0.50)
Part Number: 13040-P0A-000$56.52 MSRP: $79.83You Save: $23.31 (30%)Honda Odyssey Piston Set (Over Size) (0.25)
Part Number: 13030-RGM-A00$110.41 MSRP: $155.95You Save: $45.54 (30%)Honda Odyssey Piston Set (Over Size) (0.25)
Part Number: 13030-PEA-000$58.71 MSRP: $82.92You Save: $24.21 (30%)Honda Odyssey Piston Set (Over Size) (0.25)
Part Number: 13030-PGK-A01$85.36 MSRP: $233.10You Save: $147.74 (64%)Honda Odyssey Piston Set (Over Size) (0.25)
Part Number: 13030-P0A-000$52.96 MSRP: $74.81You Save: $21.85 (30%)
| Page 1 of 2 |Next >
1-20 of 30 Results
Honda Odyssey Pistons
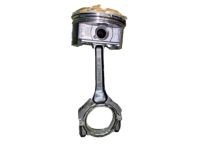
The Piston in Honda Odyssey vehicle is quite crucial in translating combustion power into the energy required to cause movement within the vehicle. This component is vital to the internal combustion engine and it relays force within expanding gases to the crankshaft. The Honda Odyssey pistons are usually made from aluminum alloys, lightweight and durable with certain high performance motors using forged or billet materials. Through the years there have been various piston style used in Honda odyssey model particularly the trunk pistons in which side forces are supported and it has oil ring for lubrication. Also, slipper pistons can be applied in the specific applications in high speed in order to increase efficiency. The design of those pistons is vital in enhancing the performance of the car, controlling pressure and heat, and using the lifetime of showdown within the system of Honda Odyssey.
In search of affordable OEM Honda Odyssey Pistons? Consider browsing through our extensive inventory of genuine Honda Odyssey Pistons. Not only do we provide market-leading prices and a manufacturer's warranty, but we also pride ourselves on exceptional customer service and swift delivery.
Honda Odyssey Pistons Parts Questions & Experts Answers
- Q: What steps must be taken before removing the piston and connecting rod assemblies on Honda Odyssey?A: Before the piston and connecting rod assembly can be pulled the cylinder heads and oil pan must first be stripped off. First, look for any ridges a the top limit of the ring travel within each cylinder-these are then pulled out with a ridge reamer to reduce the chances of piston failure. Once you have levelled the ridges, sit the engine on its side with the crank shaft facing up and measure the end-float of the connecting rod with feeler gauges and make sure that it is within the standard norms. Locate the positions of the connecting rods and the caps distinctly and then ease the bolts of the cap and undo them. Take off the connecting rod cap and the bearing insert gently and shove off the connecting rod and piston over the top of the engine. Perform this for all cylinders, and then tighten the caps and insert so that they do not get damaged. In case of piston rings, one must ensure that the gaps at the end meet the required standard; modification is done when necessary. The first to be fitted and compressed is the oil control ring after which are the middle and top rings according to their correct alignment. Before connecting the piston and its corresponding connecting rod, it should be ensured that cylinder walls are free from deposits and the crank-shaft has been fitted in position. The new bearing inserts are then fitted without lubricant and the piston ring gaps are oriented correctly before applying lubricant to the piston and rings; the assembly is then slid into the cylinder using a ring compressor. The other area to check on the connecting rod bearings is oil clearance using the Plastigagedatatype of the bearing inserts. Lubricant Plastigage deposits should be removed, bearing faces greased and pent rod cap bolted with new bolts to the required torque. That should be done with every assembly and cleanliness as well as correct orientation should be maintained. Last of all, turn the Crankshaft in the opposite direction to make sure no binding of the bearings and to check the end play of the connecting rod against a permissible limit.
Related Honda Odyssey Parts
Browse by Year
2022 Pistons 2021 Pistons 2020 Pistons 2019 Pistons 2018 Pistons 2017 Pistons 2016 Pistons 2015 Pistons 2014 Pistons 2013 Pistons 2012 Pistons 2011 Pistons 2010 Pistons 2009 Pistons 2008 Pistons 2007 Pistons 2006 Pistons 2005 Pistons 2004 Pistons 2003 Pistons 2002 Pistons 2001 Pistons 2000 Pistons 1999 Pistons 1998 Pistons 1997 Pistons 1996 Pistons 1995 Pistons


