×
- Live Chat
- 1-888-984-2011

My Garage
My Account
Cart
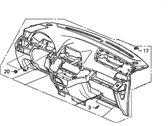
Genuine Honda Odyssey Instrument Panel
- Select Vehicle by Model
- Select Vehicle by VIN
Select Vehicle by Model
orMake
Model
Year
Select Vehicle by VIN
For the most accurate results, select vehicle by your VIN (Vehicle Identification Number).
27 Instrument Panels found
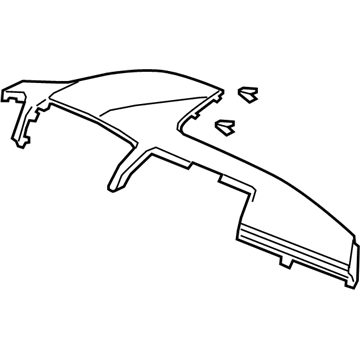
Honda Odyssey Panel Assy., Instrument (Upper) *NH900L* (DEEP BLACK)
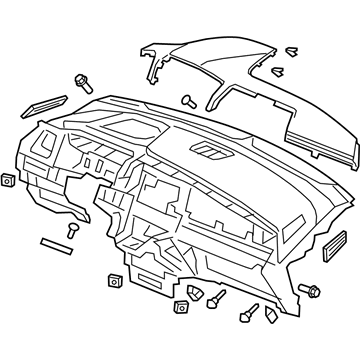
Part Number: 77120-THR-A01ZA$487.44 MSRP: $703.38You Save: $215.94 (31%)Honda Odyssey Panel Assy., Instrument *NH900L* (DEEP BLACK)
Part Number: 77100-THR-A02ZA$1060.79 MSRP: $1530.72You Save: $469.93 (31%)Honda Odyssey Panel Assy., Instrument *NH283L* (QUARTZ GRAY)
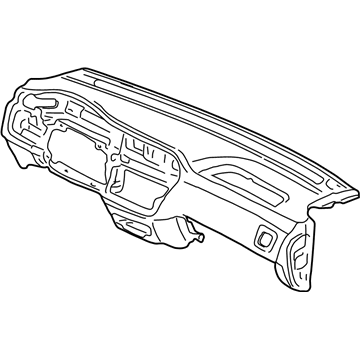
Part Number: 77100-S0X-A00ZB$387.38 MSRP: $648.42You Save: $261.04 (41%)Honda Odyssey Panel Assy., Instrument *G48L* (DARK FERN)
Part Number: 77100-S0X-A00ZA$416.25 MSRP: $696.75You Save: $280.50 (41%)Honda Odyssey Panel Assy., Instrument *YR164L* (MEDIUM TAUPE)
Part Number: 77100-S0X-A10ZC$73.31 MSRP: $600.63You Save: $527.32 (88%)Honda Odyssey Panel Assy., Instrument *NH167L* (GRAPHITE BLACK)
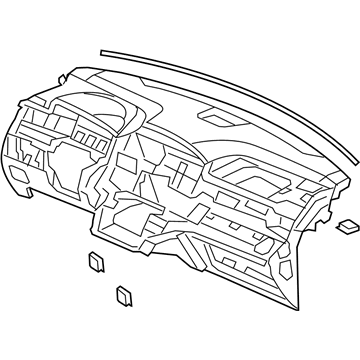
Part Number: 77108-SHJ-A01ZB$232.46 MSRP: $634.82You Save: $402.36 (64%)Honda Odyssey Panel Assy., Instrument *NH361L* (CF GRAY)
Part Number: 77108-SHJ-A01ZC$232.46 MSRP: $634.82You Save: $402.36 (64%)Honda Odyssey Panel Assy., Instrument *YR239L* (KI IVORY)
Part Number: 77108-SHJ-A01ZD$232.46 MSRP: $634.82You Save: $402.36 (64%)Honda Odyssey Panel Assy., Instrument *G64L* (OLIVE)
Part Number: 77108-SHJ-A01ZA$237.11 MSRP: $647.52You Save: $410.41 (64%)Honda Odyssey Panel Assy., Instrument *NH283L* (QUARTZ GRAY)
Part Number: 77100-S0X-A10ZB$79.21 MSRP: $648.97You Save: $569.76 (88%)Honda Odyssey Panel Assy., Instrument *YR327L* (PEARL IVORY)
Part Number: 77108-SHJ-A01ZF$333.54 MSRP: $683.15You Save: $349.61 (52%)Honda Odyssey Panel Assy., Instrument *NH598L* (ATLAS GRAY)
Part Number: 77108-SHJ-A01ZE$445.23 MSRP: $729.52You Save: $284.29 (39%)Honda Odyssey Panel *NH686L*
Part Number: 77111-TK8-A02ZA$560.43 MSRP: $808.70You Save: $248.27 (31%)Honda Odyssey Panel *NH767L*
Part Number: 77111-TK8-A02ZB$560.43 MSRP: $808.70You Save: $248.27 (31%)Honda Odyssey Panel *YR400L*
Part Number: 77111-TK8-A02ZC$560.43 MSRP: $808.70You Save: $248.27 (31%)
| Page 1 of 2 |Next >
1-20 of 27 Results
Honda Odyssey Instrument Panel
In search of affordable OEM Honda Odyssey Instrument Panel? Consider browsing through our extensive inventory of genuine Honda Odyssey Instrument Panel. Not only do we provide market-leading prices and a manufacturer's warranty, but we also pride ourselves on exceptional customer service and swift delivery.
Honda Odyssey Instrument Panel Parts Questions & Experts Answers
- Q: How do you remove the instrument panel on Honda Odyssey?A: The procedures for the 2004 and the earlier models are, first, disconnecting the cable from the negative battery terminal, second, removing the lower trim panel and the center console. After that, remove the driver's and passenger's heater blower and upper heating controls, and the glove box. In the case of the column having the tilt steering, lower the steering wheel to as low as it can go. Continue to, further take off the front door opening trim, side kick plates and front pillar trim particularly at the driver's corner. Disconnect the instrument panel electrical connectors and take out the fuse/relay box and the dashboard side covers it is necessary to label the connectors for reassembly. If you have it, remove the harness for the GPS antenna and remove the ground strap for the airbag as well. Remove the instrument panel mounting bolts, cross member mounting bolts and follow up by removing the instrument cluster. After all the bolts have been unbolted, raise the instrument panel and pull it back from the windscreen and then remove it through the driver's door, which should be done with the help of an assistant. Last of all reconnect the battery and assemble in the same backward manner that it was dismantled. By now, for 2005 and later models, start by disconnecting the cables from the negative terminal then proceed to remove all dashboard trimmings, and ideally, the front seat too, to create easy access. + Open the doors and disconnect the left and right door sills, also, unraveling the door opening trim molding that surrounds the kick panels. Pull out both the driver's and the passenger's kick panels, and then use a trim tool to work on the windshield pillar clips and then pull off their trims. Pop the bottom of each door trim piece that is near the windshield pillars and remove the shift cable. The next step is to unbolt or unclip the steering column, then disconnect all the wires under the instrument panel and label them, the next will be the removal of the heater lower duct. Remove the instrument panel bolts keeping the various screws in different distinct bowls. Raise the instrument panel to unlink it from the guide pins and then, with the help of somebody, move it through the front door aperture. Installation is done exactly oppositely to removal, returning the panel to the position on the guide pins and tightening all bolts to the right degree.
Related Honda Odyssey Parts
Browse by Year
2024 Instrument Panel 2023 Instrument Panel 2022 Instrument Panel 2021 Instrument Panel 2020 Instrument Panel 2019 Instrument Panel 2018 Instrument Panel 2017 Instrument Panel 2016 Instrument Panel 2015 Instrument Panel 2014 Instrument Panel 2013 Instrument Panel 2012 Instrument Panel 2011 Instrument Panel 2010 Instrument Panel 2009 Instrument Panel 2008 Instrument Panel 2007 Instrument Panel 2006 Instrument Panel 2005 Instrument Panel 2004 Instrument Panel 2003 Instrument Panel 2002 Instrument Panel 2001 Instrument Panel 2000 Instrument Panel 1999 Instrument Panel 1998 Instrument Panel 1997 Instrument Panel 1996 Instrument Panel 1995 Instrument Panel
