×
- Hello
- Login or Register
- Quick Links
- Live Chat
- Track Order
- Parts Availability
- RMA
- Help Center
- Contact Us
- Shop for
- Honda Parts
- Honda Accessories

My Garage
My Account
Cart
Genuine Honda Odyssey Hood Cable
Hood Release Cable- Select Vehicle by Model
- Select Vehicle by VIN
Select Vehicle by Model
orMake
Model
Year
Select Vehicle by VIN
For the most accurate results, select vehicle by your VIN (Vehicle Identification Number).
7 Hood Cables found

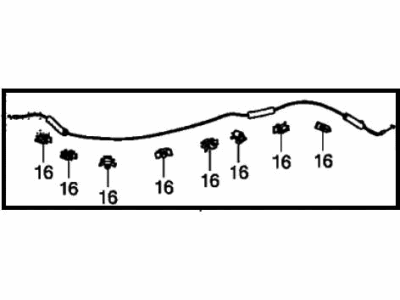
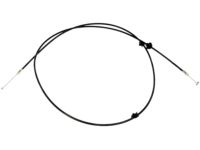
Honda Odyssey Wire Assembly, Hood
Part Number: 74130-TK8-A11$24.30 MSRP: $34.32You Save: $10.02 (30%)
Honda Odyssey Wire Assembly-, Hood
Part Number: 74130-THR-A01$10.94 MSRP: $15.45You Save: $4.51 (30%)
Honda Odyssey Wire Assembly, Hood
Part Number: 74130-SM1-A01$16.31 MSRP: $23.03You Save: $6.72 (30%)

Honda Odyssey Wire Assembly, Hood
Part Number: 74130-S0X-A01$67.83 MSRP: $95.80You Save: $27.97 (30%)
Honda Odyssey Wire Assembly, Hood
Part Number: 74130-TK8-A01$30.21 MSRP: $42.67You Save: $12.46 (30%)
Honda Odyssey Wire Assembly, Hood
Part Number: 74130-THR-A00$10.94 MSRP: $15.45You Save: $4.51 (30%)
Honda Odyssey Hood Cable
In search of affordable OEM Honda Odyssey Hood Cable? Consider browsing through our extensive inventory of genuine Honda Odyssey Hood Cable. Not only do we provide market-leading prices and a manufacturer's warranty, but we also pride ourselves on exceptional customer service and swift delivery.
Honda Odyssey Hood Cable Parts Questions & Experts Answers
- Q: How do you replace the hood latch and hood release cable on Honda Odyssey?A:To replace the latch you should first remove the covering that may be on top of the Grille if present, then marking the line around the latch bolts to enable alignment, then removing the bolts holding the hood latch to the radiator support and then removing the latch. Thirdly, there is the requirement to disconnect the hood release cable from the latch assembly as it involves detaching the housing of the cable and pulling out the end of the cable from the latch. Reinstallation is done in a reverse order to removal; however, the latch has to be correctly aligned, such that, when closed with the bumpers being slightly compressed the hood engages. Start on the cable, by pulling out the driver's side kick panel followed by pulling out the hood release handle which has mounting bolts. Press the 'hood release handle lever upward position', turn the end of the cable to the right and remove the cable from the handle. Place one end of a piece of wire or string inside the vehicle by the left front terminal of the cable and then loosen the left front wheel lug nuts, raise the assembly and support it by jackstands before removing the left inner fender splash shield. On the engine compartment, remove all the hood release cable from the latch and release all the cable retention clips of the radiator support and inner fenderwell. Slide the cable out and to the front if possible then either undo the wire or string tied around the old cable and secure it around the new cable instead. When the new cable is in place pull the wire or string back through the firewall until the new cable runs to the inside handle and install the cable grommet where it passes through the body of the vehicle. Last but not the least fix the new cable to the hood release handle, make sure that the cable housing fits properly into the notch of the handle bracket, then finally tighten the lug nuts of the wheel to the required torque.
Related Honda Odyssey Parts
Browse by Year
2026 Hood Cable 2025 Hood Cable 2024 Hood Cable 2023 Hood Cable 2022 Hood Cable 2021 Hood Cable 2020 Hood Cable 2019 Hood Cable 2018 Hood Cable 2017 Hood Cable 2016 Hood Cable 2015 Hood Cable 2014 Hood Cable 2013 Hood Cable 2012 Hood Cable 2011 Hood Cable 2010 Hood Cable 2009 Hood Cable 2008 Hood Cable 2007 Hood Cable 2006 Hood Cable 2005 Hood Cable 2004 Hood Cable 2003 Hood Cable 2002 Hood Cable 2001 Hood Cable 2000 Hood Cable 1999 Hood Cable 1998 Hood Cable 1997 Hood Cable 1996 Hood Cable 1995 Hood Cable


