×
- Hello
- Login or Register
- Quick Links
- Live Chat
- Track Order
- Parts Availability
- RMA
- Help Center
- Contact Us
- Shop for
- Honda Parts
- Honda Accessories

My Garage
My Account
Cart
Genuine Honda Odyssey Hood
Engine Hood- Select Vehicle by Model
- Select Vehicle by VIN
Select Vehicle by Model
orMake
Model
Year
Select Vehicle by VIN
For the most accurate results, select vehicle by your VIN (Vehicle Identification Number).
7 Hoods found


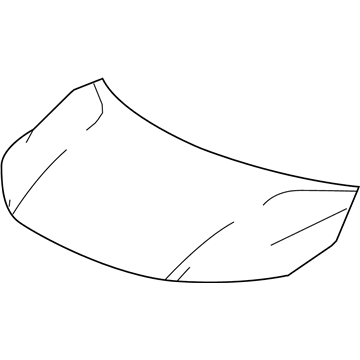
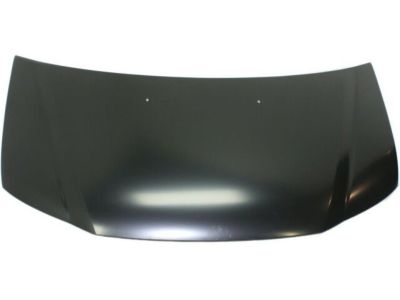
Honda Odyssey Hood, Engine (DOT)
Part Number: 60100-TK8-A80ZZ$929.53 MSRP: $1341.32You Save: $411.79 (31%)
Honda Odyssey Hood, Engine (DOT)
Part Number: 60100-TK8-A90ZZ$413.56 MSRP: $596.77You Save: $183.21 (31%)Honda Odyssey Hood, Engine (DOT)
Part Number: 60100-SHJ-A90ZZ$412.36 MSRP: $595.03You Save: $182.67 (31%)Honda Odyssey Hood, Engine (DOT)
Part Number: 60100-SHJ-A91ZZ$451.19 MSRP: $651.07You Save: $199.88 (31%)
Honda Odyssey Hood
In search of affordable OEM Honda Odyssey Hood? Consider browsing through our extensive inventory of genuine Honda Odyssey Hood. Not only do we provide market-leading prices and a manufacturer's warranty, but we also pride ourselves on exceptional customer service and swift delivery.
Honda Odyssey Hood Parts Questions & Experts Answers
- Q: How do you properly remove and reinstall a hood while ensuring alignment and protection on Honda Odyssey?A:Open the hood and place blankets or pads over the Fenders and cowl area to protect the body and paint during removal. Disconnect any cables or wires that may interfere, including the windshield washer tubing from the nozzles on the hood. Make marks around the hood hinge for proper alignment during reinstallation. Have an assistant support one side of the hood while you support the other, then simultaneously remove the hinge-to-hood bolts and lift off the hood. For installation, align the hinge bolts with the marks made earlier. Adjust the hood's fore-and-aft and side-to-side positioning by moving the hinge plate slot after loosening the bolts or nuts, marking around the hinge plate to track movement. Loosen the bolts and adjust the hood into the correct alignment, tightening the hinge bolts before carefully lowering the hood to check its position. If needed, adjust the entire Hood Latch assembly up-and-down and side-to-side on the radiator support for a secure and flush closure with the fenders, marking around the latch mounting bolts before loosening and repositioning as necessary. After adjustment, retighten the mounting bolts. Finally, adjust the hood bumpers on the radiator support to ensure the hood is flush with the fenders when closed, turning each edge cushion clockwise to lower or counterclockwise to raise the hood. Periodically lubricate the hood latch assembly and hinges with white, lithium-base grease to prevent binding and wear.


