×
- Hello
- Login or Register
- Quick Links
- Live Chat
- Track Order
- Parts Availability
- RMA
- Help Center
- Contact Us
- Shop for
- Honda Parts
- Honda Accessories

My Garage
My Account
Cart
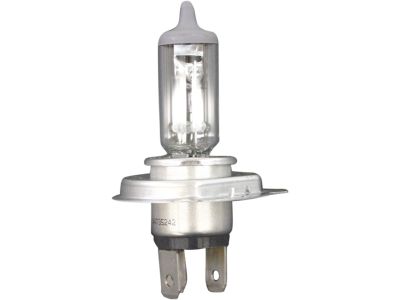
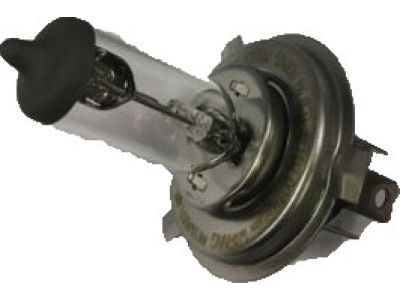
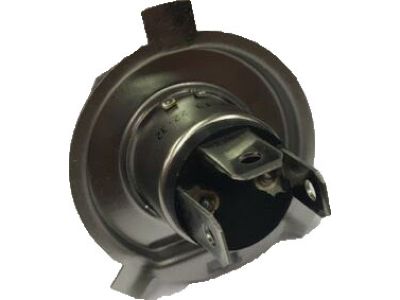
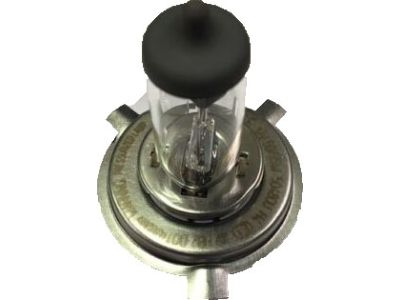
Genuine Honda Odyssey Headlight Bulb
Headlamp Bulb- Select Vehicle by Model
- Select Vehicle by VIN
Select Vehicle by Model
orMake
Model
Year
Select Vehicle by VIN
For the most accurate results, select vehicle by your VIN (Vehicle Identification Number).
9 Headlight Bulbs found

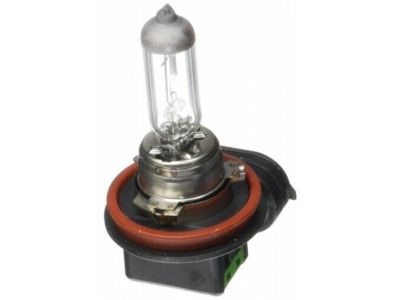
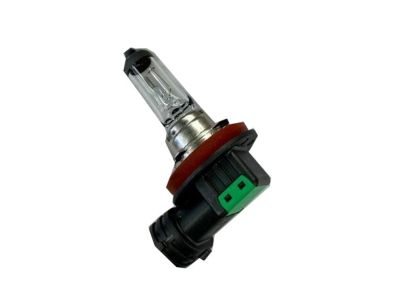
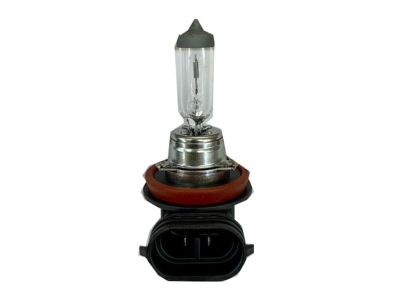
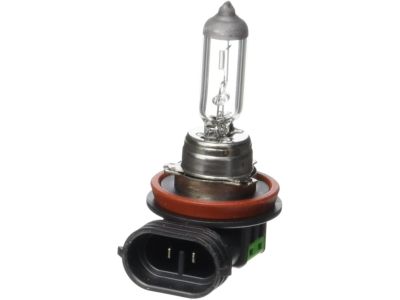
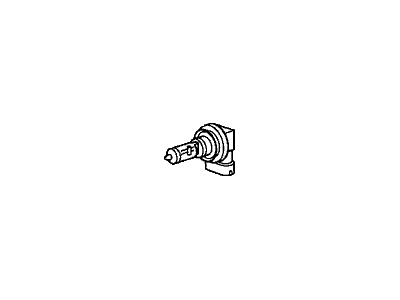
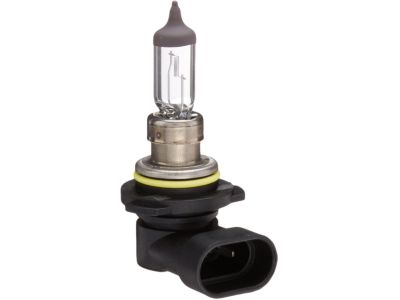
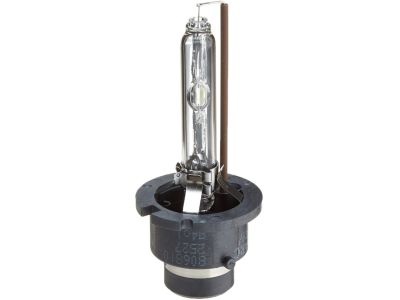
Honda Odyssey Bulb (H11) (12V 55W) (Koito)
Part Number: 33165-SAA-003$19.93 MSRP: $28.15You Save: $8.22 (30%)
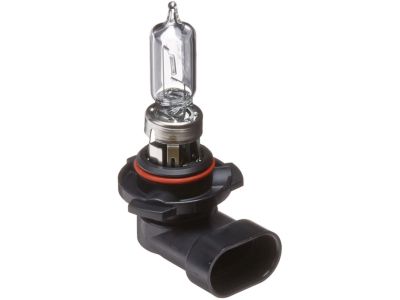
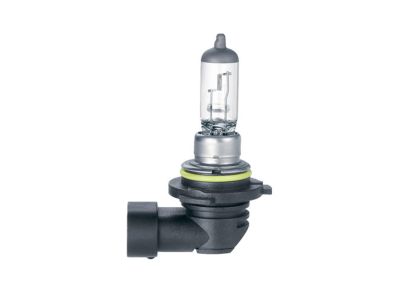
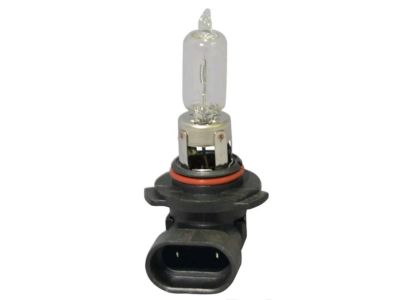
Honda Odyssey Bulb, Headlight (Hb3) (12V 60W) (Sylvania)
Part Number: 33115-S84-A01$15.78 MSRP: $22.28You Save: $6.50 (30%)
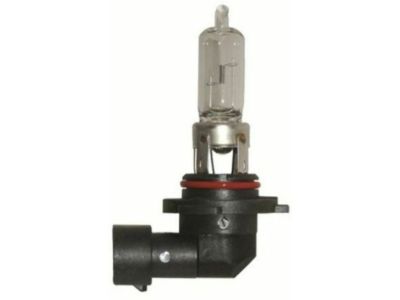
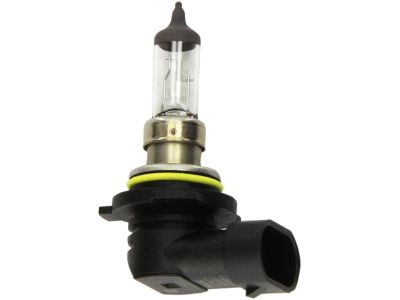
Honda Odyssey Bulb, Headlight (Hb2)
Part Number: 33111-SR3-A01$25.26 MSRP: $35.68You Save: $10.42 (30%)
Honda Odyssey Bulb, Headlight (Hb4) (12V 51W) (Philips)
Part Number: 33116-TA0-A01$14.62 MSRP: $20.65You Save: $6.03 (30%)
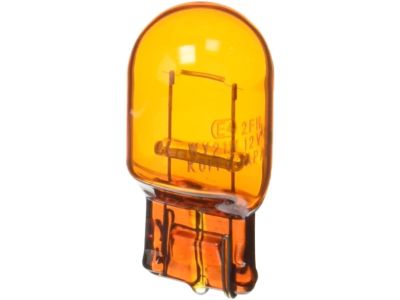
Honda Odyssey Bulb, Wedge (12V 21W) (Amber)
Part Number: 33303-SCK-003$6.24 MSRP: $8.81You Save: $2.57 (30%)
Honda Odyssey Bulb, Headlight (H1) (12V 55W)
Part Number: 34901-SZ3-000$27.97 MSRP: $39.50You Save: $11.53 (30%)
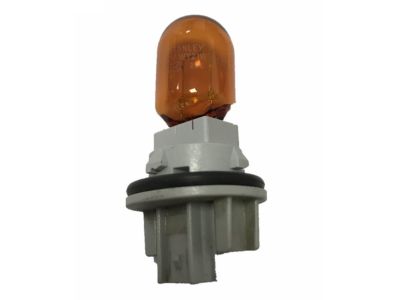
Honda Odyssey Bulb (12V 28W/8W) (Amber)
Part Number: 33303-SZT-A01$7.81 MSRP: $11.03You Save: $3.22 (30%)

Honda Odyssey Bulb, Headlight (Hb3) (12V 60W) (Stanley)
Part Number: 33115-S84-A11$15.78 MSRP: $22.28You Save: $6.50 (30%)
Honda Odyssey Headlight Bulb
In search of affordable OEM Honda Odyssey Headlight Bulb? Consider browsing through our extensive inventory of genuine Honda Odyssey Headlight Bulb. Not only do we provide market-leading prices and a manufacturer's warranty, but we also pride ourselves on exceptional customer service and swift delivery.
Honda Odyssey Headlight Bulb Parts Questions & Experts Answers
- Q: What steps should be followed to replace a headlight bulb on Honda Odyssey?A:Make sure that the Headlight switch as well as the Ignition Switch are off before proceeding to open the bonnet. If replacing the left headlight bulb, start with the air intake cover which is pulled off having pop fasteners that are pried and pulled. After that, remove the electrical connector that is attached to the headlight assembly. Pull back one of the tiny tabs that are found at the rubber weather seal so that you can get access to it. Pull tabs of the headlight bulb retainer wires away from the assembly and take out the bulb by pushing the wire forward and pulling the bulb out. Carefully install this new bulb without using bare fingers to put it into the assembly such that the three metal tabs fit into the slots in the plastic mounting base and the bulb flange fits perfectly. Pull the bulb retainer wire up rearwards to its correct position and snap it into the groove. Fit the rubber weather seal around the perimeter of the back of the assembly so that the writing on the rubber seal is placed at the top or if there is no writing then one of the arrows is pointing up. Last, connect the electrical connector back and ensure that the new headlight bulb works appropriately.
Related Honda Odyssey Parts
Browse by Year
2024 Headlight Bulb 2023 Headlight Bulb 2022 Headlight Bulb 2021 Headlight Bulb 2020 Headlight Bulb 2019 Headlight Bulb 2018 Headlight Bulb 2017 Headlight Bulb 2016 Headlight Bulb 2015 Headlight Bulb 2014 Headlight Bulb 2013 Headlight Bulb 2012 Headlight Bulb 2011 Headlight Bulb 2010 Headlight Bulb 2009 Headlight Bulb 2008 Headlight Bulb 2007 Headlight Bulb 2006 Headlight Bulb 2005 Headlight Bulb 2004 Headlight Bulb 2003 Headlight Bulb 2002 Headlight Bulb 2001 Headlight Bulb 2000 Headlight Bulb 1999 Headlight Bulb 1998 Headlight Bulb 1997 Headlight Bulb 1996 Headlight Bulb 1995 Headlight Bulb
