×
- Hello
- Login or Register
- Quick Links
- Live Chat
- Track Order
- Parts Availability
- RMA
- Help Center
- Contact Us
- Shop for
- Honda Parts
- Honda Accessories

My Garage
My Account
Cart
Genuine Honda Odyssey Brake Line
Brake Hose- Select Vehicle by Model
- Select Vehicle by VIN
Select Vehicle by Model
orMake
Model
Year
Select Vehicle by VIN
For the most accurate results, select vehicle by your VIN (Vehicle Identification Number).
98 Brake Lines found

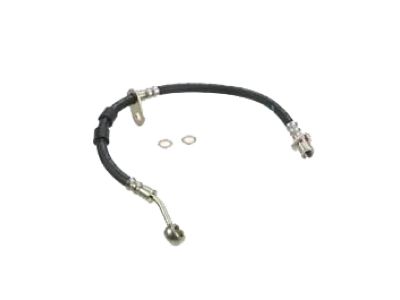
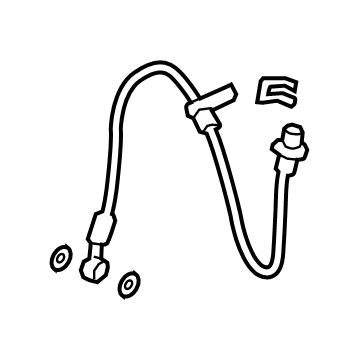
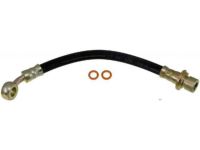
Honda Odyssey Set, Front Brake Hose Left
Part Number: 01465-TK8-A01$30.02 MSRP: $42.40You Save: $12.38 (30%)

Honda Odyssey Set, Front Brake Hose Right
Part Number: 01464-TK8-A01$30.02 MSRP: $42.40You Save: $12.38 (30%)

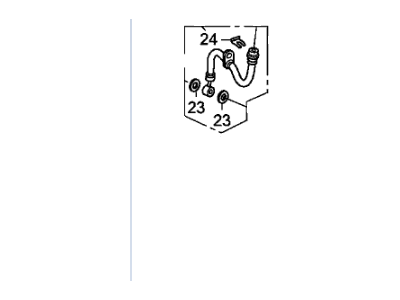
Honda Odyssey Hose Set, Front Brake
Part Number: 01464-SHJ-A00$41.26 MSRP: $58.28You Save: $17.02 (30%)
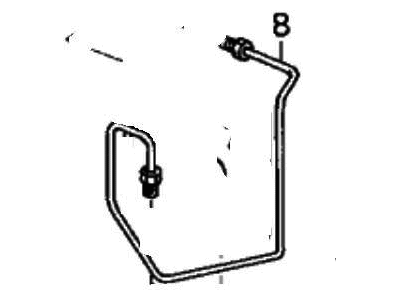
Honda Odyssey Hose Set, Rear Brake
Part Number: 01466-S0X-000$30.44 MSRP: $43.00You Save: $12.56 (30%)
Honda Odyssey Hose Set, Rear Brake
Part Number: 01466-SHJ-A01$41.48 MSRP: $58.58You Save: $17.10 (30%)
Honda Odyssey Hose Set, Rear Brake
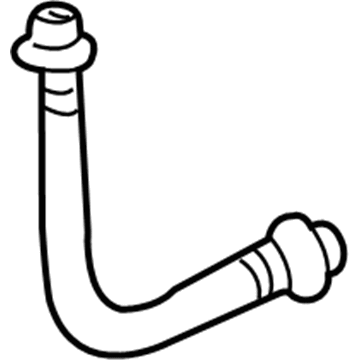
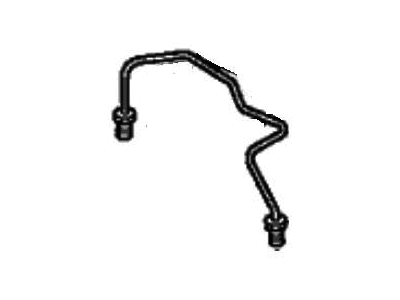
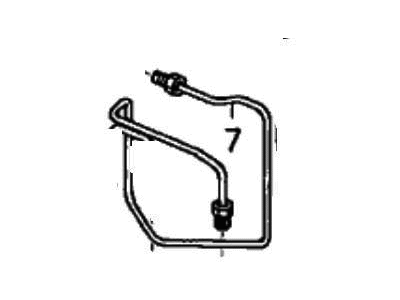
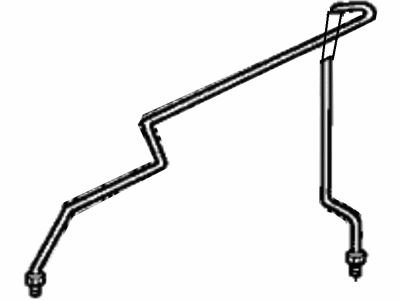
Part Number: 01466-TK8-A00$40.62 MSRP: $57.37You Save: $16.75 (30%)Honda Odyssey Pipe E, Passenger Side Brake
Part Number: 46331-THR-A02$7.54 MSRP: $10.65You Save: $3.11 (30%)
| Page 1 of 5 |Next >
1-20 of 98 Results
Honda Odyssey Brake Line
The brake line as used in Honda Odyssey is necessary in transmitting brake fluid in the master cylinder to the brake caliper pistons which activates the hydraulic brake system. It also provides the required capability to stop or reduce the speed of the vehicle upon pressure on the brake pedal. The Honda Odyssey models exists in the market have also incorporated the usage of different Brake Line such as steel brake line and rubber brake line. Metal brake lines are susceptible to corrosion and therefore when we have winter conditions the brake fluid is likely to leak and the hydraulic pressure is lost. On the other hand, rubber brake hoses can get damaged physically, their internal structure may degrade or got installed incorrectly which in to affects functionality. For improved performance, going to the next level of brake upgrade is by changing the brake lines to braided stainless steel brake lines can make a noticeable difference especially on hard braking. In general, it is important to keep the Brake Line as accurate as possible, in order to promote reliability of the Honda Odyssey.
In search of affordable OEM Honda Odyssey Brake Line? Consider browsing through our extensive inventory of genuine Honda Odyssey Brake Line. Not only do we provide market-leading prices and a manufacturer's warranty, but we also pride ourselves on exceptional customer service and swift delivery.
Honda Odyssey Brake Line Parts Questions & Experts Answers
- Q: How often should you inspect the flexible hoses connecting the steel brake lines to the brake assemblies, and what steps should you follow if defects are found on Honda Odyssey?A:About every six months, with the vehicle raised and securely placed on jackstands, inspect the flexible hoses connecting the steel brake lines to the front and rear brake assemblies for cracks, chafing, leaks, blisters, and other damage, as these are crucial parts of the brake system requiring thorough examination with a light and mirror. If any defects are found, replace the hose with a new one. Begin by cleaning all dirt from the hose ends, then disconnect the brake hose from the brake line using a flare nut wrench to unscrew the metal tube nut, remove the U-clip from the female fitting at the bracket, and detach the hose from the bracket. Disconnect the hose from the caliper, discarding the sealing washers on either side of the fitting, and attach the new brake hose to the caliper using new sealing washers. To reattach the brake hose to the metal line, insert the hose end through the frame bracket, ensuring it isn't twisted, and securely tighten the tube nut fitting before installing the U-clip at the frame bracket. Carefully check that suspension or steering components do not contact the hose, having an assistant push down on the vehicle and turn the steering wheel lock-to-lock during inspection. When replacing brake lines, use the correct parts, avoiding copper tubing, and purchase steel brake lines from a dealer or auto parts store. Prefabricated brake lines with flared tube ends and installed fittings are available and can be bent to the proper shapes using a tubing bender. Ensure the new line is well supported in the brackets with ample clearance from moving or hot components, then check the master cylinder fluid level, adding fluid as necessary, and bleed the brake system while testing the brakes carefully before returning the vehicle to normal operation.
Related Honda Odyssey Parts
Browse by Year
2024 Brake Line 2023 Brake Line 2022 Brake Line 2021 Brake Line 2020 Brake Line 2019 Brake Line 2018 Brake Line 2017 Brake Line 2016 Brake Line 2015 Brake Line 2014 Brake Line 2013 Brake Line 2012 Brake Line 2011 Brake Line 2010 Brake Line 2009 Brake Line 2008 Brake Line 2007 Brake Line 2006 Brake Line 2005 Brake Line 2004 Brake Line 2003 Brake Line 2002 Brake Line 2001 Brake Line 2000 Brake Line 1999 Brake Line 1998 Brake Line 1997 Brake Line 1996 Brake Line 1995 Brake Line


