×
- Live Chat
- 1-888-984-2011

My Garage
My Account
Cart
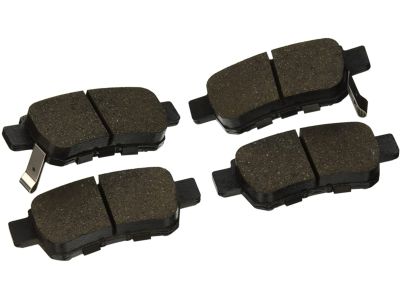
Genuine Honda Odyssey Brake Pad Set
Disc Brake Pad Set- Select Vehicle by Model
- Select Vehicle by VIN
Select Vehicle by Model
orMake
Model
Year
Select Vehicle by VIN
For the most accurate results, select vehicle by your VIN (Vehicle Identification Number).
20 Brake Pad Sets found
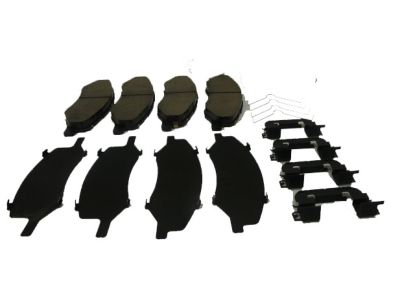
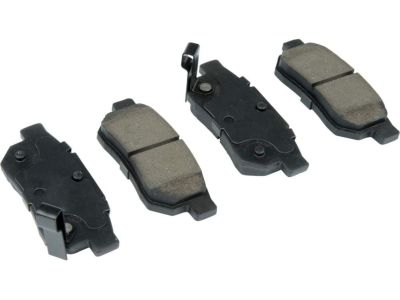
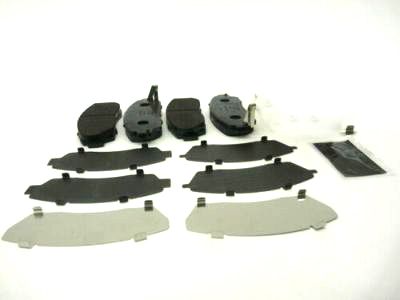
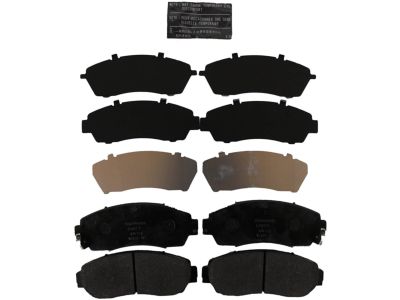
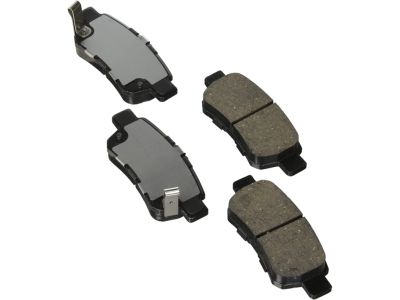
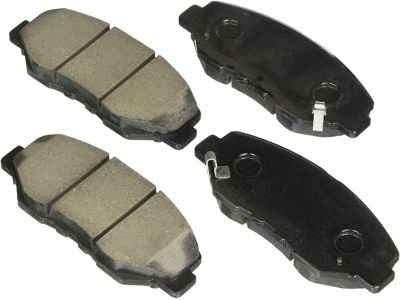
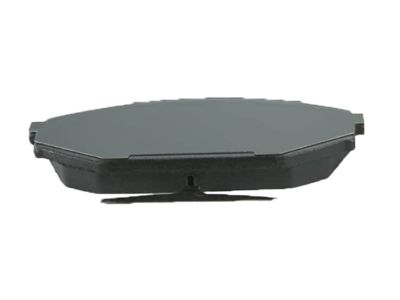
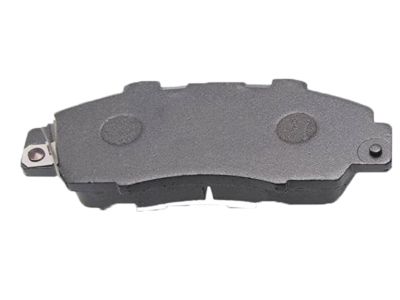
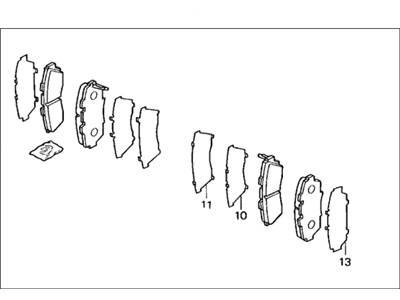
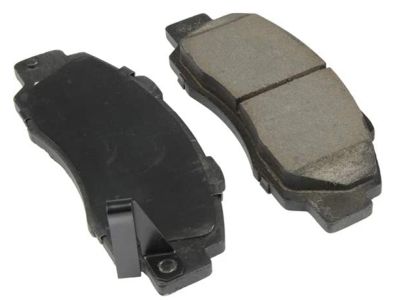
Honda Odyssey Set, Pad Front (Fsx19
Part Number: 45022-S0X-415$64.56 MSRP: $91.18You Save: $26.62 (30%)
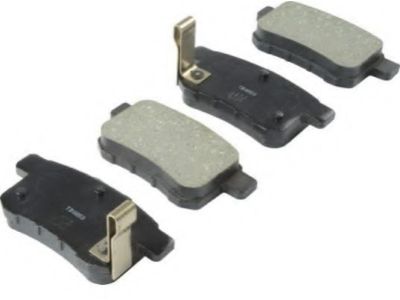
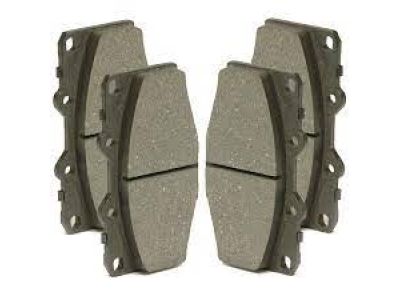
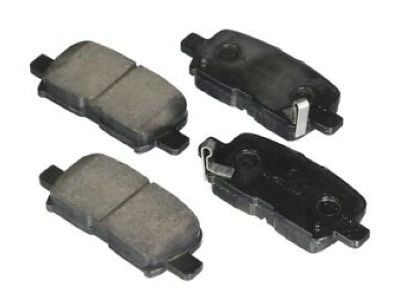
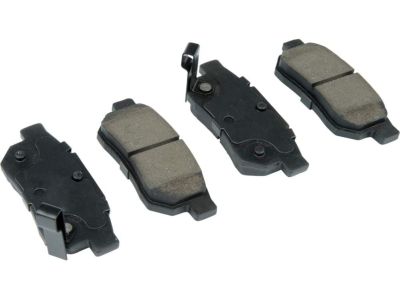
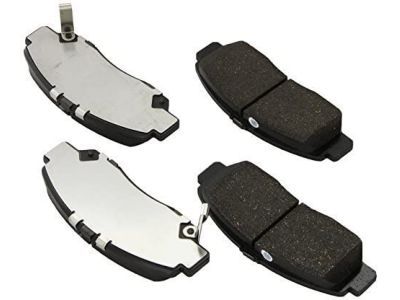
Honda Odyssey Brake Pad Set
Brake Pad is also an important component in Honda Odyssey automobiles in relation to their braking systems whereby through the process of friction on brake rotor, the energy of motion transforms into heat in order to slow the vehicle. All these Brake Pad Set are generally metallic based and contain synthetic materials that allow them to accommodate high temperature, which could in most occasions rise up to 400 degrees Fahrenheit while in use. Through the years, a lot of change has occurred in Honda Odyssey Brake Pad Set and among them are non-metallic, semi-metallic, fully metallic, and ceramic. All of them provides quite different coefficient of friction, wear resistance and noise factor. Maintenance is important as Brake Pad Set have to be changed after about 50,000 miles while wear indicators signify the need to change it. Also, a well-done installation with new hardware improves the quality of Honda Odyssey Brake Pad Set' work and their durability.
In search of affordable OEM Honda Odyssey Brake Pad Set? Consider browsing through our extensive inventory of genuine Honda Odyssey Brake Pad Set. Not only do we provide market-leading prices and a manufacturer's warranty, but we also pride ourselves on exceptional customer service and swift delivery.
Honda Odyssey Brake Pad Set Parts Questions & Experts Answers
- Q: How to replace Brake Pad on Honda Odyssey?A: It is recommended for both front and rear disk brakes. Firstly, you need to unscrew the cap on the brake fluid container. Loosen the wheel lug nuts and lift the vehicle and then properly put it on jack stands. Take off the wheels, and for the instructions below, tackle one brake assembly at a time. Take a closer look at the Brake Disc and if its time for machining the brake disc then pull off so as to reveal the calipers and the pads. When Cleaning the disc, some procedures have to be followed for example, the disc and the caliper and brake pads should be cleaned with the brake system cleaner to remove dust caused by wearing of brake pads but not through blowing compressed air. Pull the piston back into the bore with a C-clamp in order to clear room for new brake pads without spewing master cylinder fluid all over the place. For models from 2005 onwards also, look at the two-piston calipers. Loosen the caliper mounting bolts and then use another wrench to hold the caliper pins while you then take off the caliper and then suspend it in such a way that it will not exert pressure on the brake hose. Attend to the outer and inner brake pads with their shims which should be followed by an examination of the upper and lower pad retainer clips which should be replaced if they are not closely fitting. The use of high-temperature grease is applied to the retainer clips and shims before using a new inner pad and shims engaging grooves and clips on both the inner and the outer pads which also has its corresponding shims. Before reattaching the caliper, check its boot for damages and, if there are, replace the pin dust boots. Bolt on the caliper mounting and then tighten the bolts as per the recommended torque guide. Last but not the least, fit the wheel and the lug nuts and then jack up the car and finally tighten the lug nuts. Push down on and off the brake pedal a couple of times to ensure that the pads need to come in contact with the brake discs properly, and check the brake fluid level, and after that, if the level is low add a proper amount of brake fluid. Before driving in the traffic, one should test the brakes in a safe area of the parking lot.
Related Honda Odyssey Parts
Browse by Year
2024 Brake Pad Set 2023 Brake Pad Set 2022 Brake Pad Set 2021 Brake Pad Set 2020 Brake Pad Set 2019 Brake Pad Set 2018 Brake Pad Set 2017 Brake Pad Set 2016 Brake Pad Set 2015 Brake Pad Set 2014 Brake Pad Set 2013 Brake Pad Set 2012 Brake Pad Set 2011 Brake Pad Set 2010 Brake Pad Set 2009 Brake Pad Set 2008 Brake Pad Set 2007 Brake Pad Set 2006 Brake Pad Set 2005 Brake Pad Set 2004 Brake Pad Set 2003 Brake Pad Set 2002 Brake Pad Set 2001 Brake Pad Set 2000 Brake Pad Set 1999 Brake Pad Set 1998 Brake Pad Set 1997 Brake Pad Set 1996 Brake Pad Set 1995 Brake Pad Set
