×
- Live Chat
- 1-888-984-2011

My Garage
My Account
Cart
Genuine Honda Fit A/C Compressor
Air Conditioning Compressor- Select Vehicle by Model
- Select Vehicle by VIN
Select Vehicle by Model
orMake
Model
Year
Select Vehicle by VIN
For the most accurate results, select vehicle by your VIN (Vehicle Identification Number).
8 A/C Compressors found
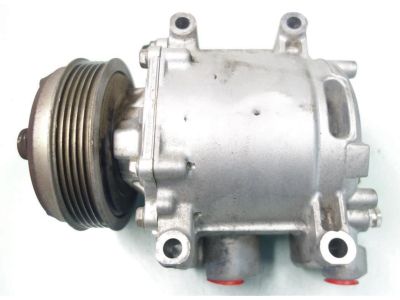
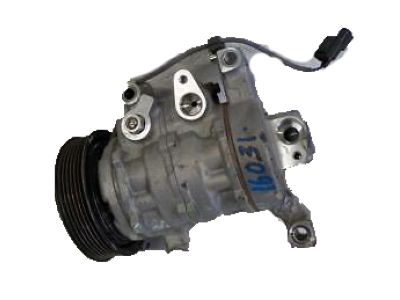
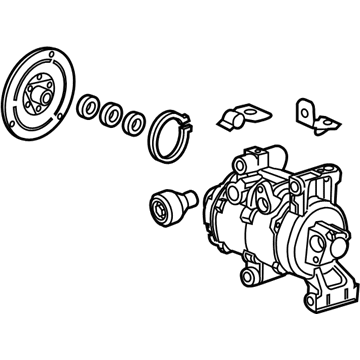
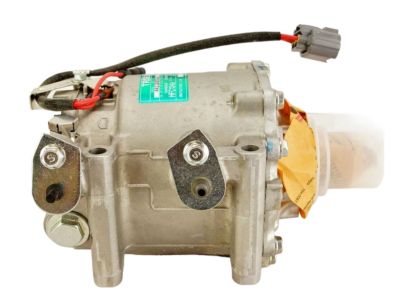
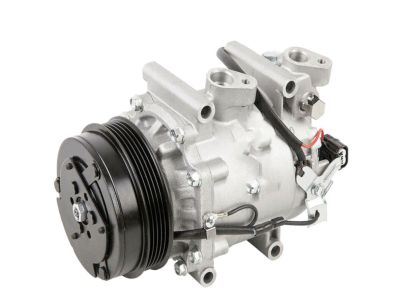
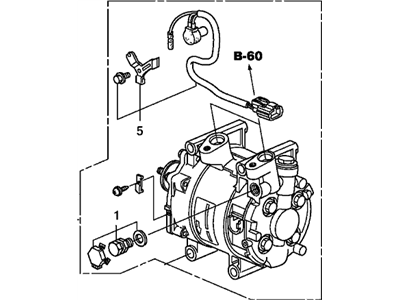
Honda Fit A/C Compressor
In search of affordable OEM Honda Fit A/C Compressor? Consider browsing through our extensive inventory of genuine Honda Fit A/C Compressor. Not only do we provide market-leading prices and a manufacturer's warranty, but we also pride ourselves on exceptional customer service and swift delivery.
Honda Fit A/C Compressor Parts Questions & Experts Answers
- Q: How to remove and install an air conditioning compressor in the Honda Fit?A: Have the refrigerant discharged at a dealer service department or an automotive air conditioning repair facility. Disconnect the cable from the negative terminal of the battery. Loosen the right front wheel lug nuts. Raise the vehicle and support it securely on jackstands. Remove the right inner fenders splash shield. Remove the under-vehicle splash shield. Remove the drivebelt. Disconnect the compressor clutch electrical connector. Remove the fitting bolts and disconnect the refrigerant lines from the compressor. Discard the old O-rings. Plug all open fittings to prevent entry of dirt and moisture into the lines. Remove the compressor mounting bolts and lower the compressor from the engine compartment. Avoid damaging the radiator fins during removal of the air conditioning compressor from the vehicle. If a new compressor is being installed, the clutch assembly may have to be transferred to the new compressor. The removal of the clutch assembly will require the use of several special tools; this procedure should be performed by an air conditioning shop or other repair facility. Follow the instructions with the compressor regarding draining out excess refrigerant oil or adding oil to the compressor. Installation is the reverse of removal. Tighten the compressor mounting bolts. To prevent leaks in the air conditioning system, do not use old O-rings for the refrigerant lines. Replace them with new ones and apply R-134a refrigerant oil to them before installation. Reconnect the battery. Have the system evacuated, charged and leak tested by the shop that discharged.
