×
- Hello
- Login or Register
- Quick Links
- Live Chat
- Track Order
- Parts Availability
- RMA
- Help Center
- Contact Us
- Shop for
- Honda Parts
- Honda Accessories

My Garage
My Account
Cart
Genuine Honda Fit A/C Condenser
Air Conditioning Condenser- Select Vehicle by Model
- Select Vehicle by VIN
Select Vehicle by Model
orMake
Model
Year
Select Vehicle by VIN
For the most accurate results, select vehicle by your VIN (Vehicle Identification Number).
3 A/C Condensers found
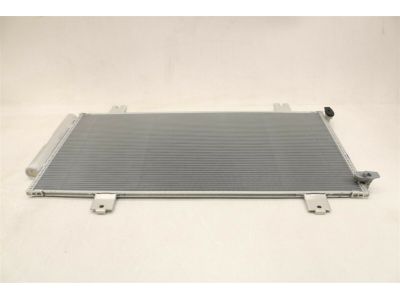
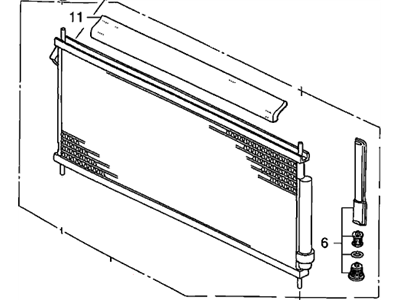
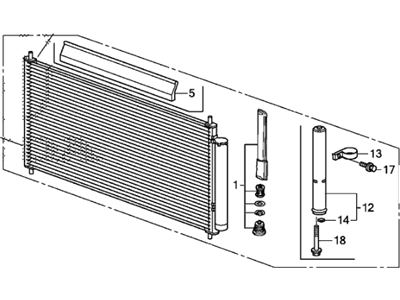
Honda Fit A/C Condenser
The A/C Condenser in the Honda Fit car models serves the heat exchanger through the condensation of the gaseous refrigerant to a liquid state before it goes to the accumulator. Generally, located at the front part of the radiator, this component consists of tubes through which this cooling is made. Although, the overview does not give details on the differences of types or styles of A/C Condensers used in different models of Honda Fit, the basic concepts of constructing as well as operating the A/C Condensers are in line with the goal of managing refrigerants in the proper and efficient way to regulate climate inside cars. Despite its small size, the A/C Condenser serves a very significant role especially as concerns comfort of interior of a car through proper temperature control.
In search of affordable OEM Honda Fit A/C Condenser? Consider browsing through our extensive inventory of genuine Honda Fit A/C Condenser. Not only do we provide market-leading prices and a manufacturer's warranty, but we also pride ourselves on exceptional customer service and swift delivery.
Honda Fit A/C Condenser Parts Questions & Experts Answers
- Q: How to remove and install an air conditioning condenser in the Honda Fit?A:Have the refrigerant discharged at a dealer service department or an automotive air conditioning repair facility. On 2008 and earlier models, remove the front bumper cover. On 2009 and later models, remove the grille cover. Remove the refrigerant line fasteners and detach the lines from the condenser. Discard the old O-rings. Plug all open fittings to prevent entry of dirt and moisture into the lines. On 2009 and later models, remove the radiator upper mounting brackets. Disconnect the electrical connector for the air conditioning condenser fan. Detach the wire harness clamp from the fan shroud and move the electrical connector aside. On all models, remove the mounting brackets at the top of the air conditioning condenser. Lift the air conditioning condenser up and remove it from the vehicle. Avoid damaging the condenser fins and tanks during removal. Installation is the reverse of removal. If installing a new condenser, add the specified amount of R-134a-compatible refrigerant oil. To prevent leaks in the air conditioning system, do not use old O-rings for the refrigerant lines. Replace them with new ones and apply R-134a-compatible refrigerant oil to them before installation. Have the system evacuated, charged and leak tested by the shop that discharged.


