×
- Live Chat
- 1-888-984-2011

My Garage
My Account
Cart
Genuine Honda Del Sol Tie Rod End
Steering Rod End- Select Vehicle by Model
- Select Vehicle by VIN
Select Vehicle by Model
orMake
Model
Year
Select Vehicle by VIN
For the most accurate results, select vehicle by your VIN (Vehicle Identification Number).
2 Tie Rod Ends found
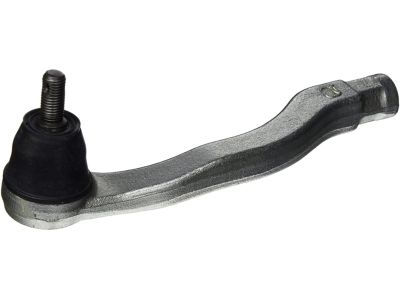
Honda Del Sol End, Driver Side Tie Rod
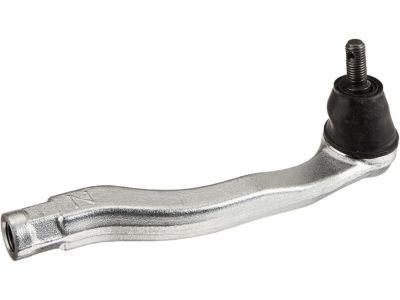
Part Number: 53560-S04-013$70.86 MSRP: $100.08You Save: $29.22 (30%)Honda Del Sol End, Passenger Side Tie Rod
Part Number: 53540-S04-013$70.86 MSRP: $100.08You Save: $29.22 (30%)
Honda Del Sol Tie Rod End
In search of affordable OEM Honda Del Sol Tie Rod End? Consider browsing through our extensive inventory of genuine Honda Del Sol Tie Rod End. Not only do we provide market-leading prices and a manufacturer's warranty, but we also pride ourselves on exceptional customer service and swift delivery.
Honda Del Sol Tie Rod End Parts Questions & Experts Answers
- Q: How do you remove and install a tie-rod end on Honda Del Sol?A: To release the tie-rod end the first procedure is as follows; loosening of the wheel lug nuts, lifting of the front part of the car and placing it on jackstands, and removal of the wheel. After that, clamp the tie-rod end with the back-up wrench and tighten the jam nut to ensure that it captures the tie-rod end securely enough to make alignment marks on the exposed threads along the edge of the tie-rod end so that alignment with the threads can easily be made when the jam nut is loosened. Loosen the nut on the tie-rod end stud but do not take it off its stud, + Pull out the cotter pin and slacken the nut on the sturd at the end of the tie rod. It is necessary to use a puller and get between the tie-rod and the steering knuckle arm until it clicks, then unscrew the nut and erase the tie-rod. Remove the nut on the tie-rod end which was previously tightened on the tie-rod. For installation use the marked position to thread the tie-rod end into position and then insert the tie-rod stud into the steering knuckle arm but do not tighten the jam nut at this time. Place the nut to the stud and tighten up as per the prescribed torque value, and fits a new cotter pin. Tighten the jam nut until it is secured, put the wheel back on and the lugs nuts and proceed to lower the vehicle and finally tighten the lugs nuts to the recommended torque. Last of all, take the vehicle to a dealer service department or a good alignment shop for recheck.


