×
- Hello
- Login or Register
- Quick Links
- Live Chat
- Track Order
- Parts Availability
- RMA
- Help Center
- Contact Us
- Shop for
- Honda Parts
- Honda Accessories

My Garage
My Account
Cart
Genuine Honda CRX Timing Cover
Engine Timing Cover- Select Vehicle by Model
- Select Vehicle by VIN
Select Vehicle by Model
orMake
Model
Year
Select Vehicle by VIN
For the most accurate results, select vehicle by your VIN (Vehicle Identification Number).
7 Timing Covers found
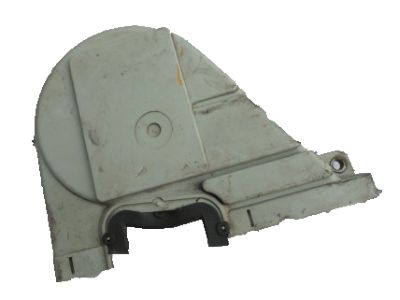
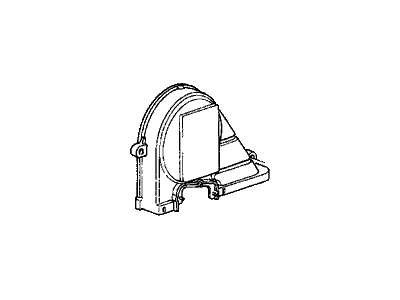
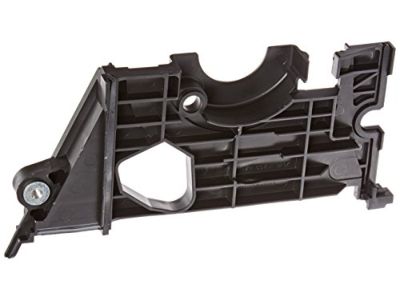
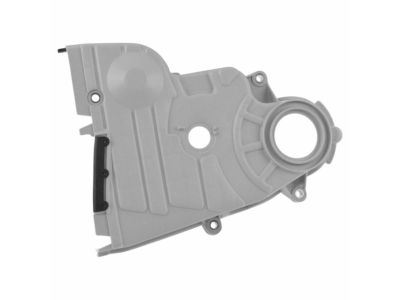
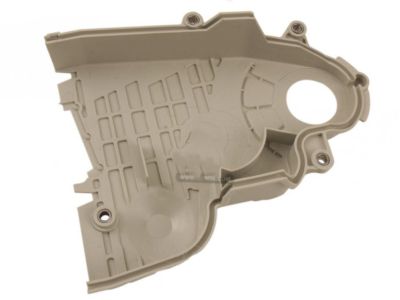
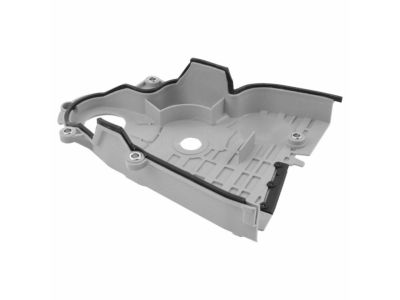
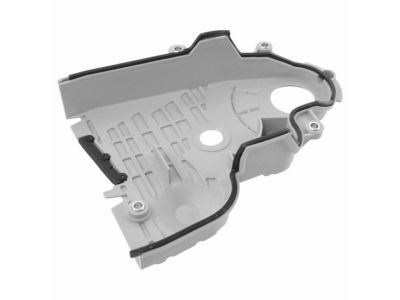
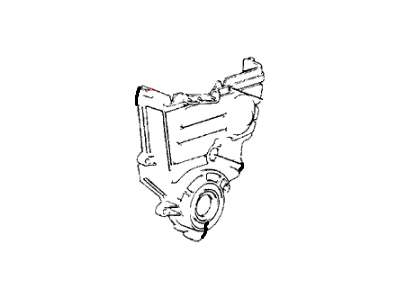
Honda CRX Timing Cover
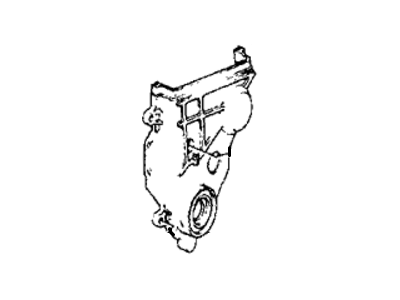
Timing Cover of Honda CRX cars plays equally important part to protect the timing gears of the engine and in its mechanism which could comprise of the timing belt/chain or cam belt. Made of strong material like aluminum, plastic or steel, the Timing Cover shields these components from being marred by debris that could prove destructive to the fine teeth in them. Further some Honda CRX Timing Covers comes with gasket that offers the timing belt further cover. Even though Timing Covers are very sturdy, they can also give in at any one time, therefore calling for timely replacement for the safety of the vehicle. Through this article, several categories of Timing Covers adopted on different models of Honda CRX have been highlighted with each being tasked with the protective role as well as other characteristics that may vary form the other types. Timing Cover is a critical component of the Honda CRX vehicle, and appropriate maintenance as well as repairing any problem with the Timing Cover is crucial in the long-run performance of the car.
In search of affordable OEM Honda CRX Timing Cover? Consider browsing through our extensive inventory of genuine Honda CRX Timing Cover. Not only do we provide market-leading prices and a manufacturer's warranty, but we also pride ourselves on exceptional customer service and swift delivery.
Honda CRX Timing Cover Parts Questions & Experts Answers
- Q: How do you remove and install Crankshaft Seal and Timing Cover on Honda CRX?A:To do any real work removing and replacing components, you'll need to first detach the negative battery cable and complete a proper lift of the car. Then, the left front wheel and the tire assembly had to be taken off and, after that, the left front wheel well splash shield. If so required, unbolt the power steering belt and pump, and if there is an air conditioning system, then unbolt the adjust pulley with bracket as well as strip off the belt. Go ahead and pull off the power steering bracket, free the alternator adjust bolt and through bolt and then the alternator belt. Move under the engine, mount a suitable device to support the engine and then remove the engine side support bolts and nut and then the side mount rubber. Then, the valve cover should be removed together with the bolt of the crankshaft pulley and the pulley itself; in addition the upper and lower timing covers need to be taken off. In terms of installation works, consider the following opposite to the above mentioned removal procedures, using the engine oil to the crankshaft, tightening the bolt, indicated torque of 1120Kg.cm. The torque is 115 Nm for 1984-88 models or 119 ft. lbs. The total output was 165 Nm for the models of 1988-91. To replace the oil seal firstly, remove the negative terminal of the battery, then to remove the timing cover and the Timing Belt, further to remove the crankshaft timing sprocket. Apart from using a screw driver, use an appropriate seal removal tool to remove the seal from the front of the engine. As for the installation, the necessary steps are the reverse of the disassembly process, with slight addition: prior to the sealing, it is needed to lubricate the seal clip with thin layer of oil and then, using a suitable seal driver, the seal must be installed so that the open part of the spring was located inside the engine.
