×
- Live Chat
- 1-888-984-2011

My Garage
My Account
Cart
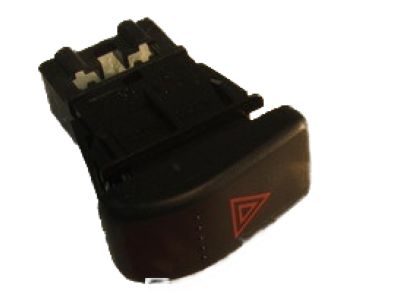
Genuine Honda CR-V Hazard Warning Switch
Hazard Warning Emergency Light Switch- Select Vehicle by Model
- Select Vehicle by VIN
Select Vehicle by Model
orMake
Model
Year
Select Vehicle by VIN
For the most accurate results, select vehicle by your VIN (Vehicle Identification Number).
8 Hazard Warning Switches found
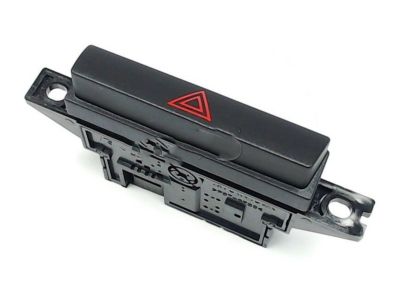
Honda CR-V Switch Assembly, Hazard
Part Number: 35510-T0A-A01$17.41 MSRP: $24.58You Save: $7.17 (30%)Honda CR-V Switch Assembly, Hazard
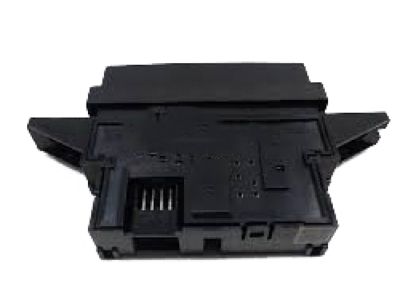
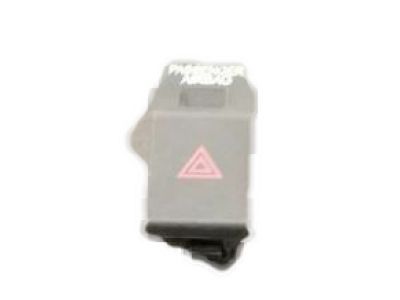
Part Number: 35510-T0A-003$17.41 MSRP: $24.58You Save: $7.17 (30%)Honda CR-V Switch Assembly, Hazard & Passenger Srs Indicator
Part Number: 35510-SWA-A01$27.69 MSRP: $39.12You Save: $11.43 (30%)Honda CR-V Switch Assembly, Hazard
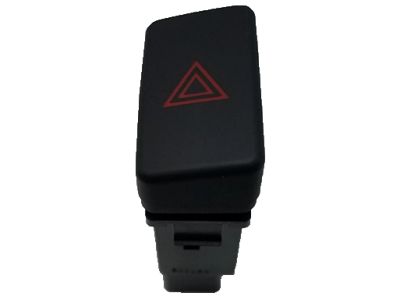
Part Number: 35510-S9A-003$62.41 MSRP: $88.15You Save: $25.74 (30%)
Honda CR-V Hazard Warning Switch
In search of affordable OEM Honda CR-V Hazard Warning Switch? Consider browsing through our extensive inventory of genuine Honda CR-V Hazard Warning Switch. Not only do we provide market-leading prices and a manufacturer's warranty, but we also pride ourselves on exceptional customer service and swift delivery.
Honda CR-V Hazard Warning Switch Parts Questions & Experts Answers
- Q: How do you install or remove the cruise control switch and hazard flasher switch on Honda CR-V?A: To install or remove the cruise control switch, first disconnect the cable from the negative battery terminal and wait at least three minutes. Next, remove the steering wheel and its rear cover, followed by the screws holding the cruise control switch to the steering wheel. For installation, reverse the removal steps and reconnect the cable to the negative battery terminal. For the hazard flasher switch in a Civic, disconnect the negative battery terminal and wait three minutes, then remove the lower driver's side trim panel and the instrument cluster assembly trim. Pull the trim panel out to disconnect the electrical connections, turn the instrument panel assembly trim over to remove the hazard flasher switch by unscrewing the fasteners, and then reverse the steps for installation, reconnecting the cable afterward. In a CR-V, disconnect the negative battery terminal and wait three minutes, then remove the two inner HVAC vents and the audio system before removing the hazard flasher switch retaining screws and disconnecting the electrical connection. For installation, reverse the removal steps and reconnect the negative battery terminal. The rear window defogger switch is part of the heater and air conditioning control assembly, so replacing it requires replacing the entire assembly.
Related Honda CR-V Parts
Browse by Year
2024 Hazard Warning Switch 2023 Hazard Warning Switch 2022 Hazard Warning Switch 2021 Hazard Warning Switch 2020 Hazard Warning Switch 2019 Hazard Warning Switch 2018 Hazard Warning Switch 2017 Hazard Warning Switch 2016 Hazard Warning Switch 2015 Hazard Warning Switch 2014 Hazard Warning Switch 2013 Hazard Warning Switch 2012 Hazard Warning Switch 2011 Hazard Warning Switch 2010 Hazard Warning Switch 2009 Hazard Warning Switch 2008 Hazard Warning Switch 2007 Hazard Warning Switch 2006 Hazard Warning Switch 2005 Hazard Warning Switch 2004 Hazard Warning Switch 2003 Hazard Warning Switch 2002 Hazard Warning Switch 2001 Hazard Warning Switch 2000 Hazard Warning Switch 1999 Hazard Warning Switch 1998 Hazard Warning Switch 1997 Hazard Warning Switch
