×
- Live Chat
- 1-888-984-2011

My Garage
My Account
Cart
Genuine Honda Civic Shift Cable
Transmission Shift Cable- Select Vehicle by Model
- Select Vehicle by VIN
Select Vehicle by Model
orMake
Model
Year
Select Vehicle by VIN
For the most accurate results, select vehicle by your VIN (Vehicle Identification Number).
53 Shift Cables found
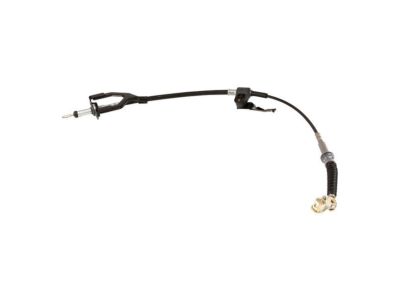
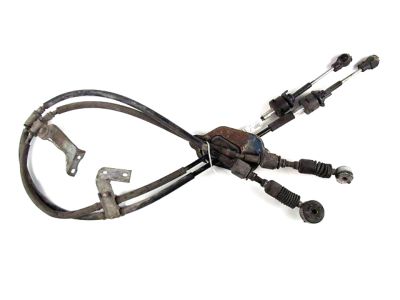
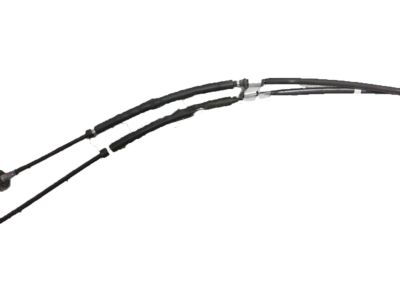
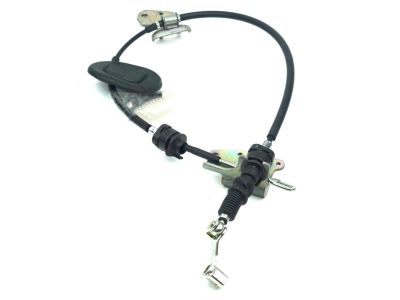
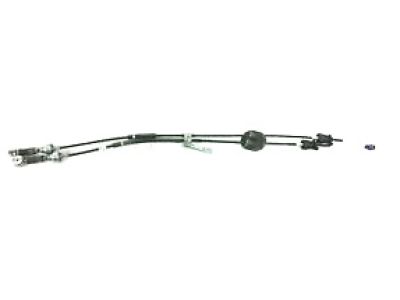
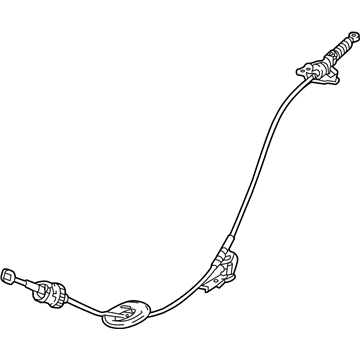
Honda Civic Wire Complete, Change
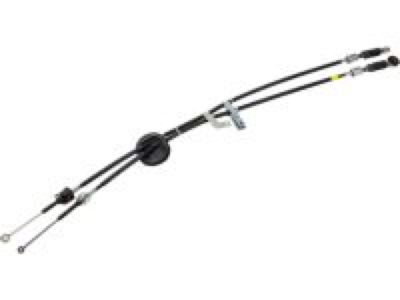
Part Number: 54310-TGH-A01$159.31 MSRP: $226.93You Save: $67.62 (30%)Honda Civic Wire Complete, Change
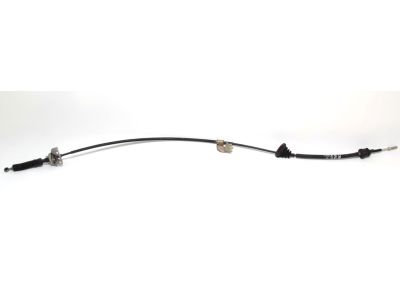
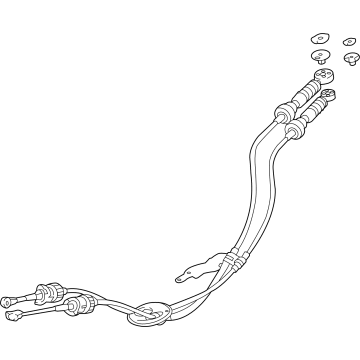
Part Number: 54310-TBF-A01$158.98 MSRP: $226.47You Save: $67.49 (30%)Honda Civic Wire Complete, Change
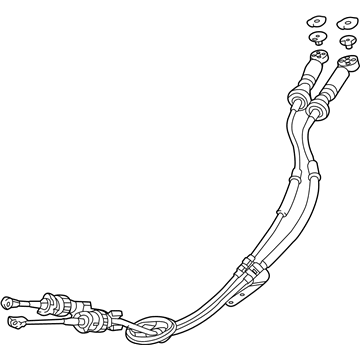
Part Number: 54310-TBA-A02$191.62 MSRP: $272.97You Save: $81.35 (30%)Honda Civic Wire Complete, Change
Part Number: 54310-TBC-A02$147.78 MSRP: $210.52You Save: $62.74 (30%)
| Page 1 of 3 |Next >
1-20 of 53 Results
Honda Civic Shift Cable
In search of affordable OEM Honda Civic Shift Cable? Consider browsing through our extensive inventory of genuine Honda Civic Shift Cable. Not only do we provide market-leading prices and a manufacturer's warranty, but we also pride ourselves on exceptional customer service and swift delivery.
Honda Civic Shift Cable Parts Questions & Experts Answers
- Q: How to remove the Shift Cables on a Honda Civic?A: Remove the center console. Remove the cotter pins and detach the cable ends from the lock pins on the shift lever. Remove the four bolts and remove the shift lever assembly. Pry off the spring clips and detach the cables from the shift lever housing. Rotate the cables until the squared edge aligns with the slot in the shift lever housing cutout. Remove the air filter housing and intake tube. Disconnect any harness clips or connectors to allow access to the shift cables at the transaxle. Remove the clip(s) and washer(s)and detach the cable(s) from the shift lever(s) on the transaxle. Pry off the spring clip(s) and detach the cable(s) from the bracket on the transaxle. Raise the front of the vehicle and support it securely on jackstands. Working under the vehicle, remove the heat shield attached to the vehicle's body. On Civic 2.4L engines, the catalytic converter and pipe must be removed before the heat shield can be removed. Remove the cable bracket fasteners from under the vehicle. Remove the rubber grommet where the cables pass through the vehicle body. Guide the cable(s) through the floorpan and remove from under the vehicle. Installation is the reverse of removal.
- Q: How to replace or adjust the Shift Cable on a Honda Civic?A: Raise the vehicle and support it securely on jackstands. For Civic replacement, set the parking brake and remove the center console. Place the shift lever in the Reverse (R) position. Insert a 6.0 mm (0.236 in) alignment pin into the positioning holes in the shifter assembly base to lock the shift lever in Reverse. If a drill bit is used, use the smooth end. Remove the nut that secures the shift cable end. Pry the lock up, rotate the socket holder counterclockwise, then push the socket in and slide the assembly out to disconnect the cable from the shifter assembly. Raise and support the vehicle, remove the shift cable cover from the transaxle, and bend back the locking tab. On non-CVT models, remove the bolt attaching the shift cable to the shift control shaft. On CVT models, remove the clip and pin to disconnect the cable from the control lever. Remove the bracket from the transaxle with the cable attached and the under-car heat shield. On models with 2.4L engines, you may need to remove or loosen exhaust components. Remove the guide bracket mounting bolts, pull the rubber grommet and cable out. Installation is the reverse of removal. For CRV, the process is similar with differences like removing an access panel, not using a drill bit, removing the PCM and bracket, and specific steps for 2WD and 4WD models. For adjustment, set the parking brake, remove the center console, and follow the positioning process for the shift lever in Reverse. With the cable disconnected, adjust, and verify its position. Install the cable, lock nut, and then check all gears after engine start. Note: Given the length and complexity of the original content, this is a condensed version that captures the main steps and details.
Related Honda Civic Parts
Browse by Year
2023 Shift Cable 2022 Shift Cable 2021 Shift Cable 2020 Shift Cable 2019 Shift Cable 2018 Shift Cable 2017 Shift Cable 2016 Shift Cable 2015 Shift Cable 2014 Shift Cable 2013 Shift Cable 2012 Shift Cable 2011 Shift Cable 2010 Shift Cable 2009 Shift Cable 2008 Shift Cable 2007 Shift Cable 2006 Shift Cable 2005 Shift Cable 2004 Shift Cable 2003 Shift Cable 2002 Shift Cable 2001 Shift Cable 2000 Shift Cable 1999 Shift Cable 1998 Shift Cable 1997 Shift Cable 1996 Shift Cable 1995 Shift Cable 1994 Shift Cable 1993 Shift Cable 1992 Shift Cable 1991 Shift Cable 1990 Shift Cable 1989 Shift Cable 1988 Shift Cable 1987 Shift Cable 1986 Shift Cable 1985 Shift Cable 1984 Shift Cable 1983 Shift Cable 1982 Shift Cable 1981 Shift Cable 1980 Shift Cable 1979 Shift Cable 1978 Shift Cable 1977 Shift Cable 1976 Shift Cable 1975 Shift Cable 1974 Shift Cable 1973 Shift Cable


