×
- Live Chat
- 1-888-984-2011

My Garage
My Account
Cart
Genuine Honda Prelude Hood
Engine Hood- Select Vehicle by Model
- Select Vehicle by VIN
Select Vehicle by Model
orMake
Model
Year
Select Vehicle by VIN
For the most accurate results, select vehicle by your VIN (Vehicle Identification Number).
10 Hoods found
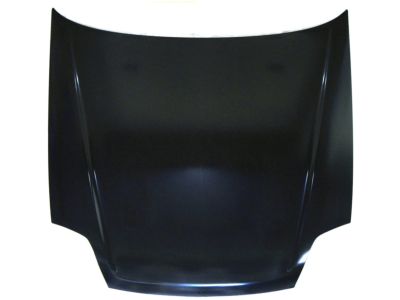
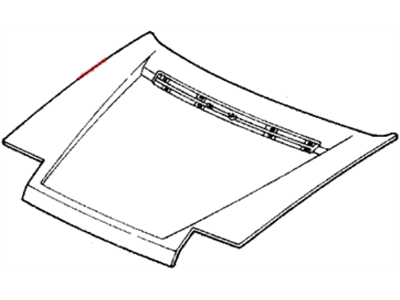
Honda Prelude Hood
In search of affordable OEM Honda Prelude Hood? Consider browsing through our extensive inventory of genuine Honda Prelude Hood. Not only do we provide market-leading prices and a manufacturer's warranty, but we also pride ourselves on exceptional customer service and swift delivery.
Honda Prelude Hood Parts Questions & Experts Answers
- Q: What steps should be followed for removing and installing a hood on Honda Prelude?A: In cases where the hood must be removed or installed the assistance of an assistant is advised. First of all, install and extend the hoods and then unbend the negative cable of the battery. Place covers over the body to avoid scratching the paint work and take a good marker pen to draw lines around the hinge areas for alignment when fixing. Remove any connectivity that is electrical and washer hoses that may hinder the hood pulling procedure. Helping the removal of the hood, loosen the attaching bolts and take off the hood from the vehicle. For installation of the component, the hood is to be placed into position where it is to be fitted, Depending on the depth of the hood, install and partially tighten the bolts that attach the hood. Deploy it according to reference marks and fasten bolts; space between fenders should be equal and it should also fit the front part of the fenders and, at the top, the cowl. If needed, affine the hood latch and re- connect any electrical wires or start washer hoses that were removed. After final tightening of the bolts, which are used to fix the hood to the hinges, tighten them just till spring time, shut the hood and ensure the seams run perfectly as these are easily seen when fully raised. If necessary, use the wrench to slacken the bolts, align the hood in the required position and tighten the nuts until the hood automatically latches, and aligns properly along all the joints without having to readjust it with the latch. You can release the hood bolts and the hinge mount bolts if you want to make adjustments as regards the position of the hood; or you might need to put some shims at the back of the hinge mount as well. When all is in position, fasten the bolts as much as possible in order to ensure they do not come off easily when the equipment is in use. The elevation of the hood on the latch end can be raised or lowered by altering the rubber stops or cushions that have thread bottoms, which when twisted, alter the height of the stop. No cushions or misaligned hoods may have a hood rattle that is quite irritating, especially on bumps.


