×
- Live Chat
- 1-888-984-2011

My Garage
My Account
Cart
Genuine Honda Prelude Fuel Tank
Gas Tank- Select Vehicle by Model
- Select Vehicle by VIN
Select Vehicle by Model
orMake
Model
Year
Select Vehicle by VIN
For the most accurate results, select vehicle by your VIN (Vehicle Identification Number).
30 Fuel Tanks found
| Page 1 of 2 |Next >
1-20 of 30 Results
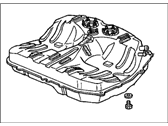
Honda Prelude Fuel Tank
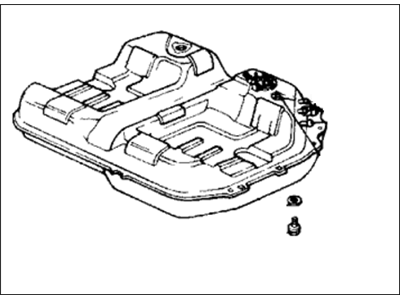
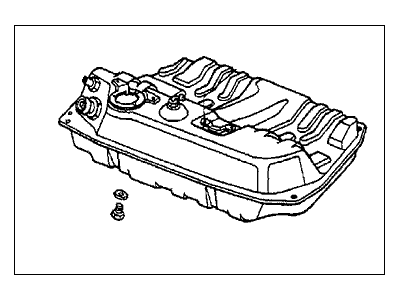
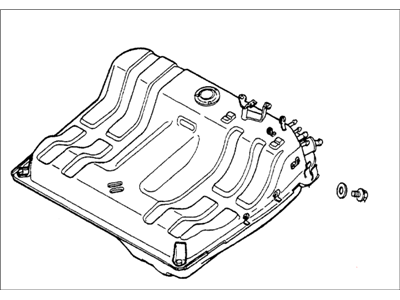
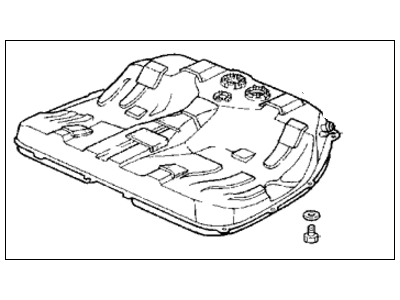
Fuel Tank of Honda Prelude category of vehicles is also a container for fuel and holds an electric fuel pump and fuel gauge sender. It also serves important function in the Evaporative Emission Control System (EVAP) to avoid the leakage of fuel odor. These tanks are therein made of metal or plastic whereby the metal tanks are normally stamped and welded and the plastic ones are blow molded ones from High Density Polyethylene (HDPE). Metal tanks tend to be known to corrode while on the other hand the plastic tanks have the tendency of cracking as a result of changes in temperatures and vibrations. Motor racing fuel tanks must not puncture when they get in contact with Car parts or spill the fuel out when an accident happens; some use Rubberized or coated fabric. Aerodrop tanks come in high-capacity fuel tanks using military-grade polymers which are convenient for increasing or even stretching to about 500 miles the car's driving capacity Arrives configurations that are not probable with steel tanks and does not come with troubles such as corrosion and cracking.
In search of affordable OEM Honda Prelude Fuel Tank? Consider browsing through our extensive inventory of genuine Honda Prelude Fuel Tank. Not only do we provide market-leading prices and a manufacturer's warranty, but we also pride ourselves on exceptional customer service and swift delivery.
Honda Prelude Fuel Tank Parts Questions & Experts Answers
- Q: How to remove the Fuel Tank on a Honda Prelude?A: Note the radio security code and disconnect the negative battery cable. Relieve the residual fuel system pressure. On some models, fold the left rear seat cushion forward and remove the plastic seat base then remove the floor pan access panel. On V6 models, disconnect the fuel feed and return lines and detach the fuel pump electrical connector. Using an approved hand pump and storage container, remove the fuel from the fuel tank through the fuel pump access hole. Carefully jack up and safely support the vehicle. On some Prelude models, remove the middle floor beam, remove the fuel tank drain bolt and drain the fuel into an approved container, install the fuel tank drain bolt using a new sealing washer, tighten the bolt to 36 ft. lbs. (49Nm) and apply a coating of a rust preventative to the bolt. On early (Canadian) 4-cylinder Accord models, remove the fuel tank drain bolt and drain the fuel into an approved container, remove the fuel hose joint protection cover, install the fuel tank drain bolt using a new sealing washer, tighten the bolt to 36 ft. lbs. (49Nm) and apply a coating of a rust preventative to the bolt, disconnect the fuel return hose, vapor hose and quick-connect fittings, and detach the fuel pump electrical connector. On clamped fuel lines, release the clamp tension and slide the hose clamps away from the fitting. Carefully twist the hoses while pulling to remove them. Make sure all fuel hoses and electrical connectors have been properly disconnected. Support the fuel tank with a jack, remove the fuel tank strap fasteners and allow the straps to fall freely, and carefully remove the fuel tank. The installation is in the reverse order of disassembly. If the tank is to be replaced, transfer the needed components as necessary using new seals O-rings, and quick-connect connectors.
Related Honda Prelude Parts
Browse by Year
2001 Fuel Tank 2000 Fuel Tank 1999 Fuel Tank 1998 Fuel Tank 1997 Fuel Tank 1996 Fuel Tank 1995 Fuel Tank 1994 Fuel Tank 1993 Fuel Tank 1992 Fuel Tank 1991 Fuel Tank 1990 Fuel Tank 1989 Fuel Tank 1988 Fuel Tank 1987 Fuel Tank 1986 Fuel Tank 1985 Fuel Tank 1984 Fuel Tank 1983 Fuel Tank 1982 Fuel Tank 1981 Fuel Tank 1980 Fuel Tank 1979 Fuel Tank
