×
- Live Chat
- 1-888-984-2011

My Garage
My Account
Cart
Genuine Honda Prelude Brake Caliper
Caliper- Select Vehicle by Model
- Select Vehicle by VIN
Select Vehicle by Model
orMake
Model
Year
Select Vehicle by VIN
For the most accurate results, select vehicle by your VIN (Vehicle Identification Number).
65 Brake Calipers found
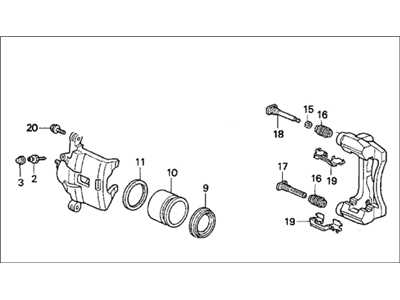
Honda Prelude Caliper Sub-Assembly, Right Front (Reman)
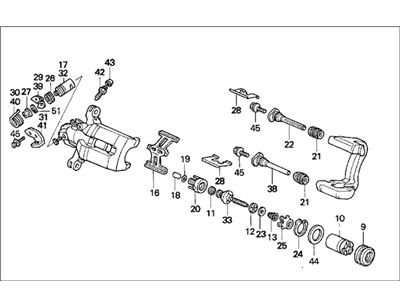
Part Number: 45018-SM5-000RM$99.71 MSRP: $139.05You Save: $39.34 (29%)Honda Prelude Caliper Sub-Assembly, Left Rear
Part Number: 43019-S30-N22$262.28 MSRP: $373.61You Save: $111.33 (30%)Honda Prelude Caliper Sub-Assembly, Left Rear
Part Number: 43019-S30-N21$262.28 MSRP: $373.61You Save: $111.33 (30%)Honda Prelude Caliper Sub-Assembly, Right Front (Reman)
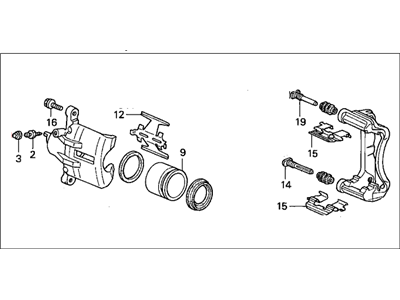
Part Number: 45018-SS0-A00RM$99.71 MSRP: $139.05You Save: $39.34 (29%)Honda Prelude Caliper Sub-Assembly, Left Rear
Part Number: 43019-SS0-000$262.28 MSRP: $373.61You Save: $111.33 (30%)Honda Prelude Caliper Sub-Assembly, Right Rear
Part Number: 43018-S30-N22$262.28 MSRP: $373.61You Save: $111.33 (30%)Honda Prelude Caliper Sub-Assembly
Part Number: 06433-SS0-505RM$25.16 MSRP: $206.10You Save: $180.94 (88%)Honda Prelude Caliper Sub-Assembly, Left Front
Part Number: 45019-SS0-000$471.49 MSRP: $680.37You Save: $208.88 (31%)Honda Prelude Caliper Sub-Assembly
Part Number: 06433-S30-505RM$145.94 MSRP: $206.10You Save: $60.16 (30%)Honda Prelude Caliper Sub-Assembly, Right Rear
Part Number: 43018-S30-N21$262.28 MSRP: $373.61You Save: $111.33 (30%)Honda Prelude Caliper Sub-Assembly, Right Rear
Part Number: 43018-SS0-000$262.28 MSRP: $373.61You Save: $111.33 (30%)Honda Prelude Caliper Sub-Assembly, Left Front (Reman)
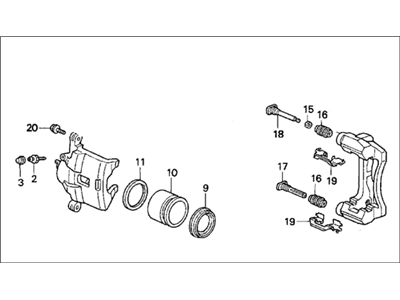
Part Number: 06453-SW5-505RM$81.45 MSRP: $113.28You Save: $31.83 (29%)Honda Prelude Caliper Sub-Assembly, Right Front (Reman)
Part Number: 45018-SS0-000RM$81.45 MSRP: $113.28You Save: $31.83 (29%)Honda Prelude Caliper Sub-Assembly, Left Front (Reman)
Part Number: 45019-SS0-000RM$81.45 MSRP: $113.28You Save: $31.83 (29%)Honda Prelude Caliper Assembly, Passenger Side (17Cl-15Vn25T) (Reman) (Nissin)
Part Number: 45210-SM5-A01RM
| Page 1 of 4 |Next >
1-20 of 65 Results
Honda Prelude Brake Caliper
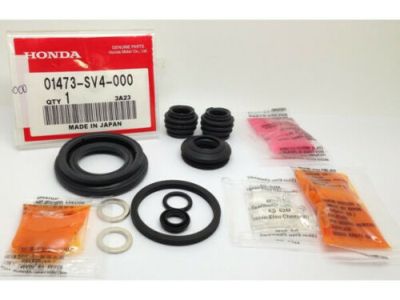
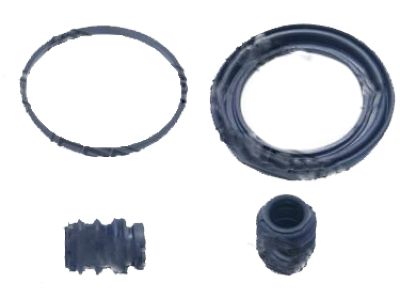
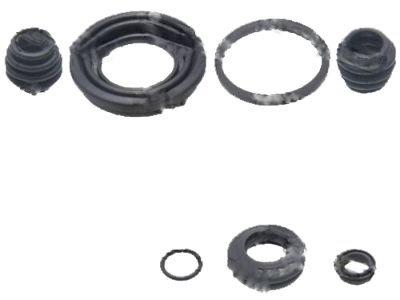
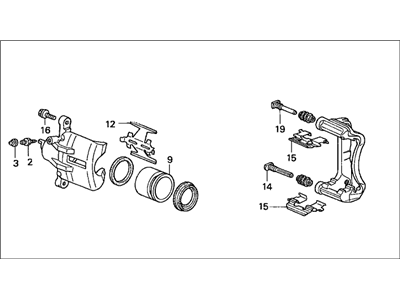
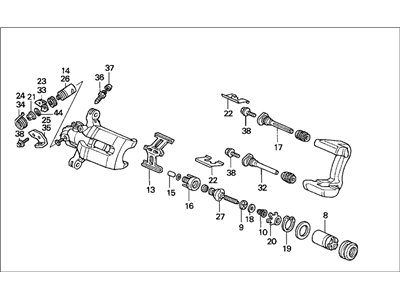
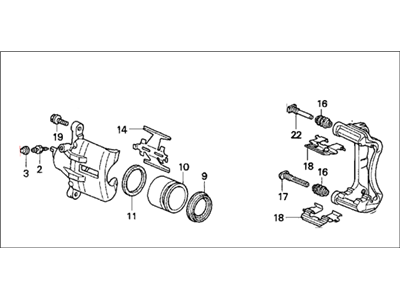
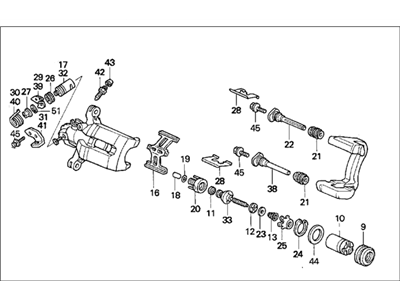
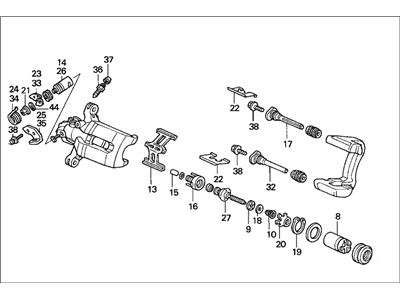
The Honda Prelude Brake Caliper is an essential part of its brake system whereby it is needed to apply force on the brake pad thereby bringing the vehicle to a standstill by engaging with the rotor. This mechanism consists of the pistons which enable the compression of brake fluid thereby providing the much needed force to create brake action from the brake pedal. Honda Prelude models have utilized two primary types of Brake Calipers: These are the fixed and floating. This type of Caliper is fixed in position while having the pistons at two of the sides of the rotor and are known to be more effective although more expensive than the other category. Floating Brake Calipers or the sliding calipers have pistons on one side and slide to apply pressure and they are more easy but problematic due to sticking to the associated metals making uneven wear and perceived decrease in efficiency. In the end, the Brake Caliper is crucial to the Prelude's functionality and safety, crucial for stopping power throughout its 23-year manufacturing run in the late 20th century.
In search of affordable OEM Honda Prelude Brake Caliper? Consider browsing through our extensive inventory of genuine Honda Prelude Brake Caliper. Not only do we provide market-leading prices and a manufacturer's warranty, but we also pride ourselves on exceptional customer service and swift delivery.
Honda Prelude Brake Caliper Parts Questions & Experts Answers
- Q: How do you remove and install a brake caliper on Honda Prelude?A: To replace or to fix brake caliper, one has to ensure that the master cylinder reservoir does not run dry so that there is no air locked in the brake system because if this occurs, it will be required a complete bleed of the whole brake system. First, see to it that you start with suctioning or using a turkey baster that is clean and then take out approximately 50% of the brake fluid of the master cylinder. Lift the car and maintain it in such a manner that it will not fall, then dismiss the tyre and the wheel assembly. Loosen the bolts fastening the caliper mounting and then unscrew the mounting and detach the caliper bracket from the rotor assembly. If only to get to other components or change the pads, hold the caliper from the suspension with mechanic's wire and leave the brake hose connected. For disembowelment, remove the brake hoe and fix a socket to it so that the fluid does not spill all over. Then, it is essential to come off the caliper mounting bracket bolts and, followed by the bracket itself. For the installation, one will have to pull the piston back into the caliper using a large C-clip, clean the steering knuckle abutments with multi-purpose grease and screw on the caliper bracket with the mounting bolts. This should align the caliper and brake pad assembly on top of the rotor in the installation onto the steering knuckle or support bracket. Replace the hose if it was removed and fill the master cylinder with new brake fluid and bleed the brake system. Install the wheel and tire, drop the car and again, torque the lug nuts to standard measure. Press the brake pedal with short movements till the metallic parts of the brake linings are in contact and pressure has been regained and no movement of the vehicle is allowed until a solid pedal is obtained. Last but not the least, during the road test ensure you test the brakes by leading to an application. When performing caliper overhaul, the caliper must be unbolted from the vehicle and placed on a clean bench, where when using compressed air one should not position fingers in front of the pistons. Place another shop towel or a wooden block underneath the piston to catch it and then blow compressed air to remove it, as a result of this the user should check for signs of wear and tear on the piston. If so do this by turning the piston backwards to lie flat, undo the anti rattle clip and then gently ease out the caliper boot and the piston seal. Remove the brake bleeder valve cap and get to check the caliper bore and caliper piston for signs of wear. Polish lightly with crocus cloth, wipe off with denatured alcohol and dry all parts with compressed air. Among them, new seals and bleeder valve and cap, boots and piston and the caliper have to be lubricated and then installed. Then using the same driving tool secure the boots, replace the caliper and the wheel along with the tire and finally lower the car and appropriately bleeding the brake system.
Related Honda Prelude Parts
Browse by Year
2001 Brake Caliper 2000 Brake Caliper 1999 Brake Caliper 1998 Brake Caliper 1997 Brake Caliper 1996 Brake Caliper 1995 Brake Caliper 1994 Brake Caliper 1993 Brake Caliper 1992 Brake Caliper 1991 Brake Caliper 1990 Brake Caliper 1989 Brake Caliper 1988 Brake Caliper 1987 Brake Caliper 1986 Brake Caliper 1985 Brake Caliper 1984 Brake Caliper 1983 Brake Caliper 1982 Brake Caliper 1981 Brake Caliper 1980 Brake Caliper 1979 Brake Caliper
