×
- Live Chat
- 1-888-984-2011

My Garage
My Account
Cart
Genuine Honda Pilot Oil Pan
Oil Drain Pan- Select Vehicle by Model
- Select Vehicle by VIN
Select Vehicle by Model
orMake
Model
Year
Select Vehicle by VIN
For the most accurate results, select vehicle by your VIN (Vehicle Identification Number).
8 Oil Pans found
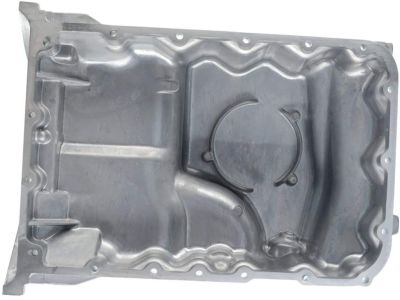
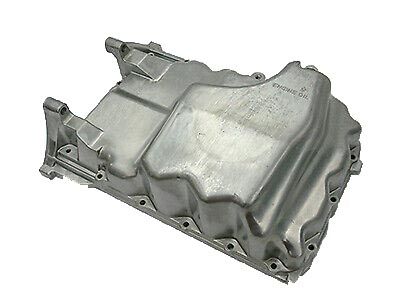
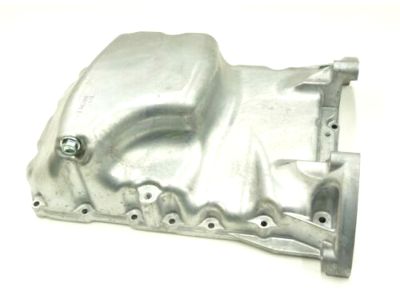
Honda Pilot Oil Pan
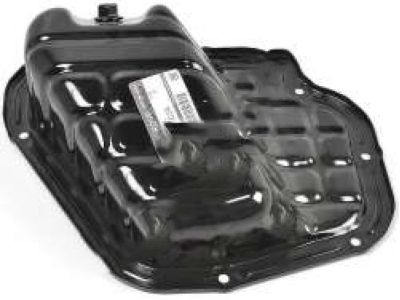
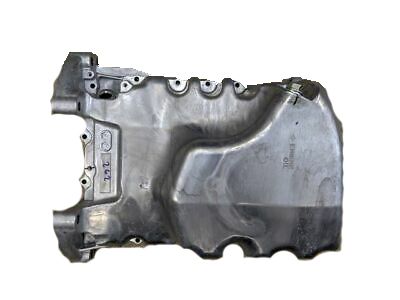
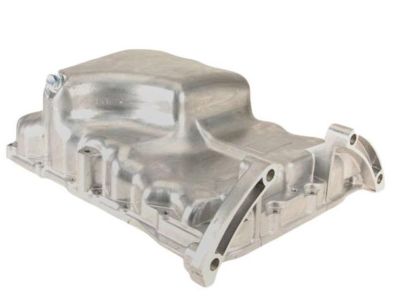
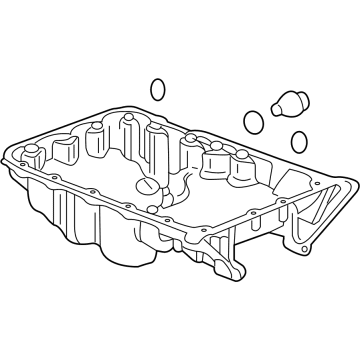
Oil Pan for Honda Pilot is among the engine lubrication components and contains oil that helps to run the vehicle engine without much problem. The oil pan retains the liquid and hence plays the role of a reservoir so that the moving parts of the engine are well lubricated. The majority of Honda Pilot vehicles come fitted with wet sump oil system in which the oil is sucked from the pan and circulated in the engine for lubing and cooling. Oil pan is thus positioned to contain sufficient oil for all driving situations concerning the car. In the past, oil pans were manufactured using thin stamped steel but, Honda Pilot engines come with contemporary and enhanced cast aluminum reservoirs.
In search of affordable OEM Honda Pilot Oil Pan? Consider browsing through our extensive inventory of genuine Honda Pilot Oil Pan. Not only do we provide market-leading prices and a manufacturer's warranty, but we also pride ourselves on exceptional customer service and swift delivery.
Honda Pilot Oil Pan Parts Questions & Experts Answers
- Q: How to remove and install an oil pan on the Honda Pilot?A: Disconnect the cable from the negative terminal of the battery. Block the rear wheels and set the parking brake. Raise the front of the vehicle and securely support it on jackstands. Remove the engine splash shield. Drain the engine oil and remove the oil filter. Remove the crossmember. Unbolt the exhaust pipes from the Exhaust Manifold/catalytic converter assemblies and from the rear portion of the exhaust system. Remove the front portion of the exhaust system. Remove the torque converter cover, then remove the bolts/nuts and lower the oil pan. The bolts at the timing belt end of the engine can be removed with a 1/4-inch drive flex-socket, extension, and ratchet. If the pan is stuck, carefully pry at the tabs on the casting corners. Do not damage the mating surfaces of the pan and block or oil leaks could develop. Use a scraper to remove all traces of old sealant from the block and oil pan. Be careful not to gouge the delicate aluminum surfaces. Clean the mating surfaces with lacquer thinner or acetone. Make sure the threaded bolt holes in the block are clean. Inspect the oil pump pick-up screen assembly for damage and a blocked strainer. Apply a bead of sealant to the mating surface of the oil pan. Install the oil pan within 4 minutes of sealant application. Carefully position the oil pan on the engine block and install the bolts. Follow the correct torque sequence and tighten them a little at a time. After the oil pan-to-block bolts have been tightened, tighten the pan-to-transaxle bolts. The remainder of the installation is the reverse of removal. Be sure to add oil and install a new oil filter. Wait 30 minutes before adding oil. Reconnect the battery. Run the engine and check for oil pressure and leaks.
