×
- Live Chat
- 1-888-984-2011

My Garage
My Account
Cart
Genuine Honda Passport Tailgates
- Select Vehicle by Model
- Select Vehicle by VIN
Select Vehicle by Model
orMake
Model
Year
Select Vehicle by VIN
For the most accurate results, select vehicle by your VIN (Vehicle Identification Number).
4 Tailgates found
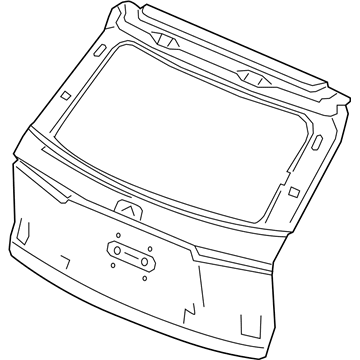
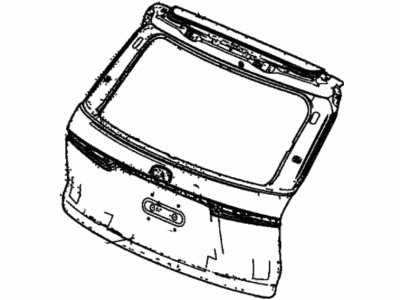
Honda Passport TAILGATE COMP
Part Number: 68100-TGS-A12ZZ$1170.75 MSRP: $1689.40You Save: $518.65 (31%)Honda Passport TAILGATE COMP
Part Number: 68100-TGS-A02ZZ$1163.45 MSRP: $1678.87You Save: $515.42 (31%)
Honda Passport Tailgates
In search of affordable OEM Honda Passport Tailgates? Consider browsing through our extensive inventory of genuine Honda Passport Tailgates. Not only do we provide market-leading prices and a manufacturer's warranty, but we also pride ourselves on exceptional customer service and swift delivery.
Honda Passport Tailgates Parts Questions & Experts Answers
- Q: How do you remove and install the tailgate on Honda Passport?A: To perform this process, arrange to open the tailgate on Rodeo and Passport models to see where the torque rod mounting equipment is positioned and then close it after which you detatch the hardware and torque rod from beneath the cars. On Amigo models first you need to discharge the tailgate stopper link from the body and if it's required then delete the bolts fixing the stopper link channel beneath the tailgate. After that, remove the tailgate trim panel, disconnecting all the various electrical connections that go to the tailgate. Wrap the areas of the vehicle body painted around the below-bumper area with pads or clothing before lifting the tailgate. On the Rodeo and Passport models, it is required to take out the cables that connect the tailgate support to the door opening; with some assistance, you can disconnect the bolts that link the hinge to the tailgate to pull out the latter out of the car. Like in most cases, installation depends on the removal procedure and is done in the reverse order. For changes, the hinge-to-body or hinge-to-tailgate bolts should be loosened so that the tailgate will align with the top rear of the rear quarter well; if this cannot be done, alignment shims may need to be installed on the body. For the closed position, the latch should be against the center of the latch striker assembly adding or removing more shims appropriately. Last, fine-tune the position of the latch striker assembly to lock into the latch mechanism properly; ensure that the tailgate sits closely to the rear quarter panel and adjust to fine-tune the fit once again.


