×
- Live Chat
- 1-888-984-2011

My Garage
My Account
Cart
Genuine Honda Passport Tailgate Latch
Rear Tailgate Latch- Select Vehicle by Model
- Select Vehicle by VIN
Select Vehicle by Model
orMake
Model
Year
Select Vehicle by VIN
For the most accurate results, select vehicle by your VIN (Vehicle Identification Number).
5 Tailgate Latches found
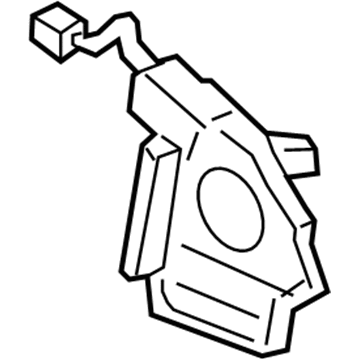
Honda Passport Lock & Closer Assembly, Tailgate
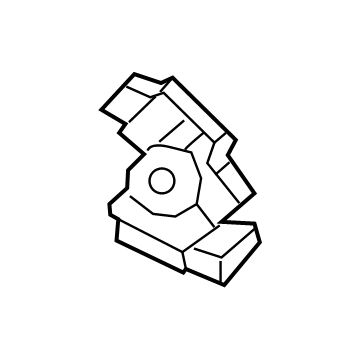
Part Number: 74800-THA-H01$173.30 MSRP: $246.87You Save: $73.57 (30%)Honda Passport Lock Assembly, Tailgate
Part Number: 74800-TRN-H01$146.07 MSRP: $208.08You Save: $62.01 (30%)Honda Passport Lock, Driver Side Trunk Lid
Part Number: 8-97123-118-2$34.83 MSRP: $49.20You Save: $14.37 (30%)Honda Passport Lock, Passenger Side Trunk Lid
Part Number: 8-97123-117-2$7.07 MSRP: $57.92You Save: $50.85 (88%)
Honda Passport Tailgate Latch
In search of affordable OEM Honda Passport Tailgate Latch? Consider browsing through our extensive inventory of genuine Honda Passport Tailgate Latch. Not only do we provide market-leading prices and a manufacturer's warranty, but we also pride ourselves on exceptional customer service and swift delivery.
Honda Passport Tailgate Latch Parts Questions & Experts Answers
- Q: How do you remove the Tailgate Handle and Tailgate Latch on Honda Passport?A: Rodeo and Passport involved the only non-nose-latching trim panel that can be removed with reasonable ease; to do it, you need to take out the retaining screws and clips at the top of the panel and pry it loose, using the remaining clips located at that very place. Thereafter, to unbolt and lift, the tailgate access cover and then pull off the plastic watershield. For Amigo models the trim panel needs to be pry off and then to allow access to the wiring harness, the plastic watershield has to be removed. To the tailgate latch for Rodeo and Passport with the help of screwdrivers or using an impact-driver remove the screws of latch mounting from each end of the tailgate, next disconnect the actuating rods and remove the latch. On the Amigo models take out the latch mounting screws from the right end, disconnect the actuating rods, and take out the latch. Installation, therefore, is the exact opposite of removal. With regard to the window latch in Rodeo and Passport models the latch retaining bolts must be removed together with the actuating rods and the latch itself. Installation is also done in a similar manner in a process that is known as reverse of the above mention steps. In order to achieve the aim of removing the outside handle on Rodeo and Passport models it is necessary to take off the trim panel, disconnected the release cable coupled with the actuating rods and eventually the mounting bolts. For Amigo models, first, you need to unscrew and take out the trim panel, then-working on the actuating rod, switch its position and take out the mounting bolts. Once more, the process of installation is the opposite of removal. As for the lock cylinder, one should first remove a plastic clip connected to the lock actuating rod, then-a lock retaining clip, and only then pull the lock cylinder out of the door. Again, installation is the reverse of removal.


