×
- Hello
- Login or Register
- Quick Links
- Live Chat
- Track Order
- Parts Availability
- RMA
- Help Center
- Contact Us
- Shop for
- Honda Parts
- Honda Accessories

My Garage
My Account
Cart
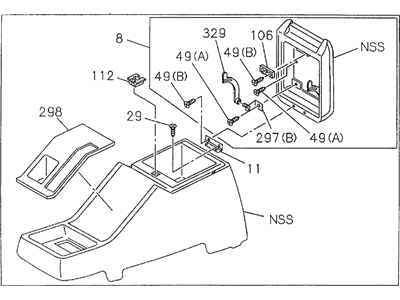
Genuine Honda Passport Center Console Base
- Select Vehicle by Model
- Select Vehicle by VIN
Select Vehicle by Model
orMake
Model
Year
Select Vehicle by VIN
For the most accurate results, select vehicle by your VIN (Vehicle Identification Number).
20 Center Console Bases found

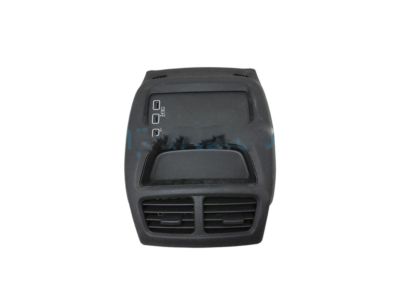
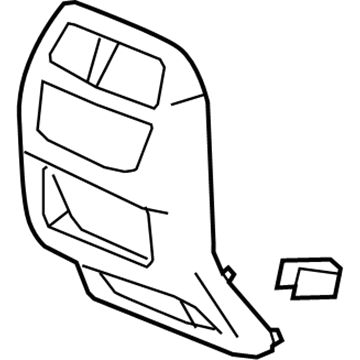
Honda Passport Garnish, RR. Console *NH900L* (DEEP BLACK)
Part Number: 83416-TG7-A01ZB$27.16 MSRP: $38.37You Save: $11.21 (30%)
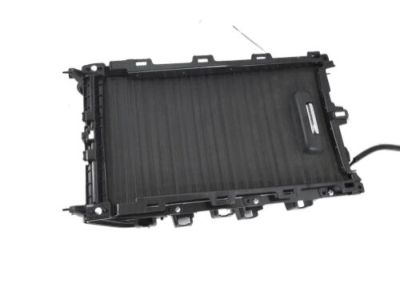
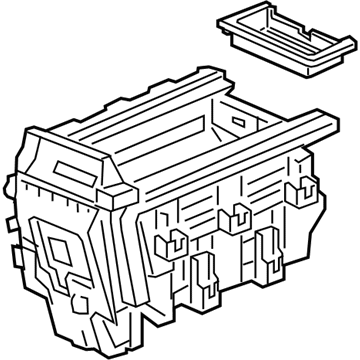
Honda Passport Box Assy., Console
Part Number: 83413-TG7-A11$332.07 MSRP: $473.03You Save: $140.96 (30%)Honda Passport Console, RR. (Gray)
Part Number: 8-97151-970-0$70.68 MSRP: $101.14You Save: $30.46 (31%)Honda Passport Console, RR. *181* (BEIGE)
Part Number: 8-97291-541-5$179.52 MSRP: $255.74You Save: $76.22 (30%)
Honda Passport Center Console Base
In search of affordable OEM Honda Passport Center Console Base? Consider browsing through our extensive inventory of genuine Honda Passport Center Console Base. Not only do we provide market-leading prices and a manufacturer's warranty, but we also pride ourselves on exceptional customer service and swift delivery.
Honda Passport Center Console Base Parts Questions & Experts Answers
- Q: How do you remove the console on Honda Passport?A:For 1997 and earlier models, begin by unscrewing the shift knob from the manual transmission or transfer case shift levers, then pry out the plastic trim caps if equipped and remove the retaining screws on each side of the shift console. Lift the console up and over the shift lever, disconnect any electrical connections, and remove the console from the vehicle, with installation being the reverse of removal. Next, remove the shift lever console, take out the retaining screws on each side of the front console, and detach the plastic trim bezel. For 1995 and earlier vehicles, remove the radio and the remaining front console retaining screws before taking the console out of the vehicle, again reversing the process for installation. For the rear console on later Rodeo and Passport models, apply the parking brake, remove the trim bezel surrounding the parking brake lever, and disconnect the electrical connector from the switch assembly. Pry out the plastic trim cap from the front of the console, remove the retaining screws, and take out the screws located inside the console glove compartment. Lift the rear half of the floor console up and over the parking brake lever, with installation being the reverse of removal. For 1998 and later models, open the rear console storage compartment lid and remove the two screws at the bottom, then lift the forward edge of the rear console to disengage the locator clips from the front console. Remove the rear console and the two mounting screws securing the rear edge of the front console to the floor. Take off the shift lever knob and, if applicable, the transfer lever knob, then remove the trim piece from the right side of the center console if it has a manual transmission. Next, take off the center trim bezel and the remaining four console mounting screws before removing the front console, with installation being the reverse of removal.
Related Honda Passport Parts
Browse by Year
2023 Center Console Base 2022 Center Console Base 2021 Center Console Base 2020 Center Console Base 2019 Center Console Base 2002 Center Console Base 2001 Center Console Base 2000 Center Console Base 1999 Center Console Base 1998 Center Console Base 1997 Center Console Base 1996 Center Console Base 1995 Center Console Base 1994 Center Console Base
