×
- Live Chat
- 1-888-984-2011

My Garage
My Account
Cart
Genuine Honda Passport Brake Booster
Brake Power Booster- Select Vehicle by Model
- Select Vehicle by VIN
Select Vehicle by Model
orMake
Model
Year
Select Vehicle by VIN
For the most accurate results, select vehicle by your VIN (Vehicle Identification Number).
5 Brake Boosters found
Honda Passport Vacuum Assembly, Brake Master
Part Number: 8-97100-684-0$623.15 MSRP: $899.20You Save: $276.05 (31%)Honda Passport Master Vacuum Assembly Brake
Part Number: 8-97288-243-1$34.67 MSRP: $283.98You Save: $249.31 (88%)Honda Passport Set Master Power(10-5")
Part Number: 01469-TGS-A50$392.39 MSRP: $566.22You Save: $173.83 (31%)
Honda Passport Brake Booster
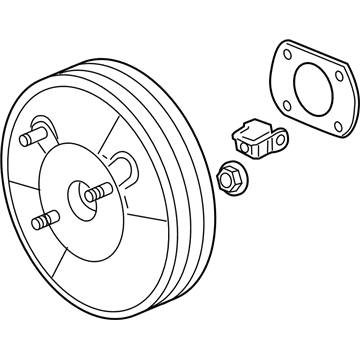
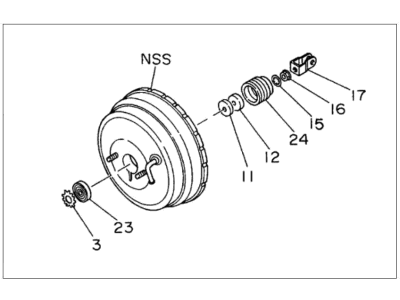
The brake booster in vehicles refers to a device in Honda Passport car models which assists to improve the braking system by lessening the force that the driver has to apply. Mainly, it works on a vacuum system and the force which is applied on the brake pedal is increased and passed on to the master cylinder. This system enable better and efficient braking especially when the engine is being used the vacuum is produced when the engine is on. In the years, Honda Passport models have incorporated various kinds of Brake Boosters such as the vacuum boost and hydraulic boost. Vacuum boosters in general are reasonably safe but can malfunction sometimes, hydraulic boosters which uses fluid pressure as an aid may fail. A single or dual diaphragm design can also influence the level of power assist, the bigger the diameter, the more assistance given. Combined, the Brake Booster is one of the most important components in the Honda Passport and ease the braking process making the driving experience safer and more comfortable.
In search of affordable OEM Honda Passport Brake Booster? Consider browsing through our extensive inventory of genuine Honda Passport Brake Booster. Not only do we provide market-leading prices and a manufacturer's warranty, but we also pride ourselves on exceptional customer service and swift delivery.
Honda Passport Brake Booster Parts Questions & Experts Answers
- Q: How do you perform an operating check and replace a power brake booster on Honda Passport?A: During an operating check the brakes must be tested in an engine off condition by depressing the brake pedal several time, and there should be no variation in the amount of reserve pedal travel observed. The pedal must be pressed while starting the engine; if it lowers slightly, the operation is normal. For an airtightness check: switch on the engine for one or two minutes and switch it off, then press the brake pedal several times gently. In other words, if the pedal goes down farther the first time you press but does not rise, or rises gradually after the second or third attempt, then the booster is leak proof. When the engine is running step on the brake pedal and then shut off the engine with the brake pedal depressed; if no change in the pedal reserve depression after 30 seconds is noticed, then the booster is said to be airtight. When removing the booster, never disassemble power brake booster units, as they are tough to assemble requiring special tools and are normally best dealt with by swapping a bad one for a new or, if need be, a rebuilt one. The operation starts with the removal of the Brake Master Cylinder while, in certain instances, the least may not have to take the Brake Lines off. Pull down the booster in a manner that you can reach the pushrod clevis that connects it to the brake, set aside the booster's retaining clip that is on the clevis pin then remove the clevis pin. Loosen the clevis locknut by turning the nut with a wrench while holding onto the clevis with pliers to prevent dropping, then remove the hose connecting the engine to the booster controlling not to harm the hose. It is necessary to take out the four nuts and washers by which the brake booster is fixed to the firewall, and search for them with the help of a flashlight, and then take out the booster straight backward along the firewall. To put the clevis and booster in, it is just the reverse of the removal process but the clevis locknut and the booster mounting nuts must be tightened firmly. If replacing the power booster unit, check and if necessary set the pushrod protrusion by applying vacuum and measuring from the master cylinder flange face to the end of the pushrod and adjust as needed. Last, while assembling, place the master cylinder and refer to the brake pedal height and free play and bleed the system.


