×
- Live Chat
- 1-888-984-2011

My Garage
My Account
Cart
Genuine Honda Odyssey Door Latch Assembly
Door Latch- Select Vehicle by Model
- Select Vehicle by VIN
Select Vehicle by Model
orMake
Model
Year
Select Vehicle by VIN
For the most accurate results, select vehicle by your VIN (Vehicle Identification Number).
36 Door Latch Assemblys found
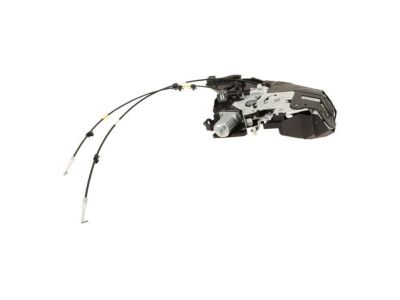
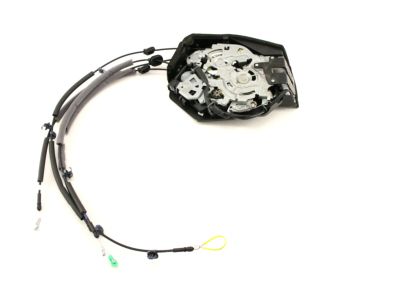
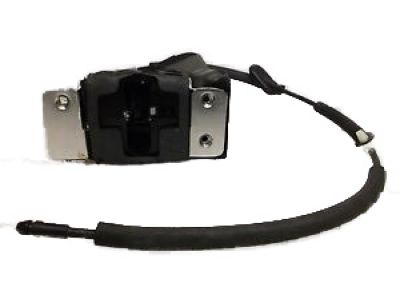
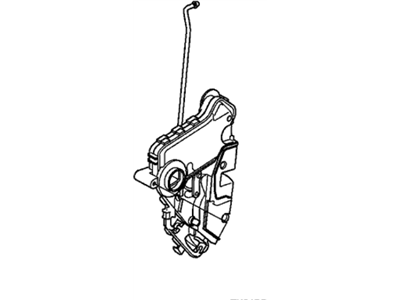
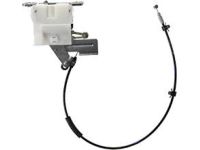
Honda Odyssey Latch Assembly, Passenger Side Slide Door (Power)
Part Number: 72610-SHJ-A22$311.88 MSRP: $444.27You Save: $132.39 (30%)Honda Odyssey Latch Assembly L
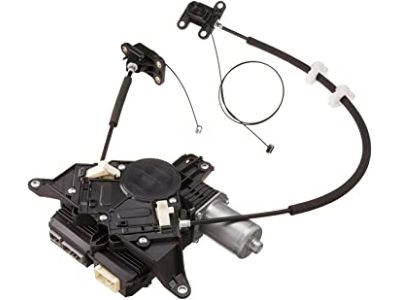
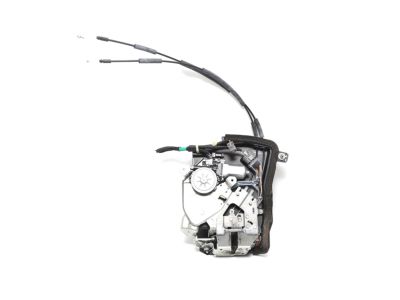
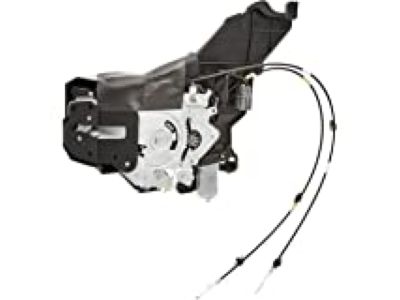
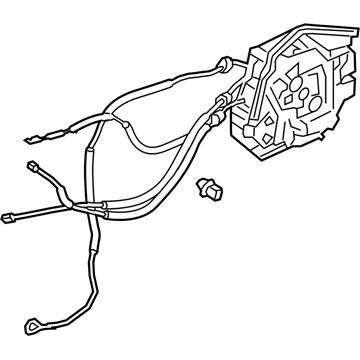
Part Number: 72650-TK8-A12$453.92 MSRP: $655.00You Save: $201.08 (31%)Honda Odyssey Latch Assembly, Driver Side Slide Door (Power)
Part Number: 72650-SHJ-A22$311.77 MSRP: $444.12You Save: $132.35 (30%)Honda Odyssey Latch Assembly, Left Front Door Power
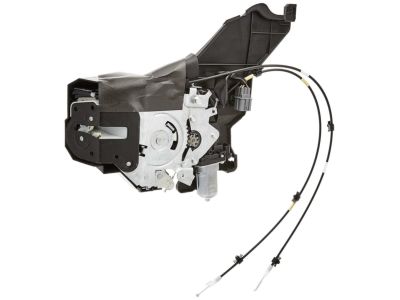
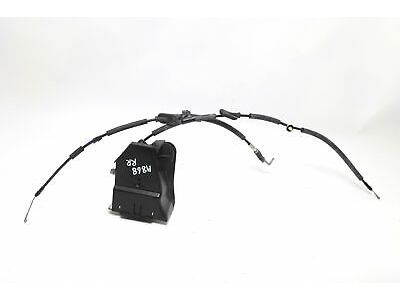
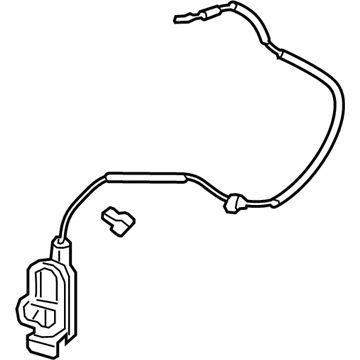
Part Number: 72150-TK8-A02$83.49 MSRP: $117.92You Save: $34.43 (30%)Honda Odyssey Latch, Passenger Side Slide Door
Part Number: 72610-THR-A12$212.03 MSRP: $302.03You Save: $90.00 (30%)Honda Odyssey Latch Assembly R
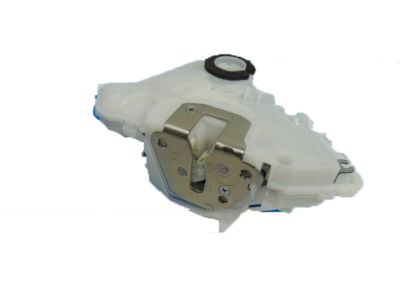
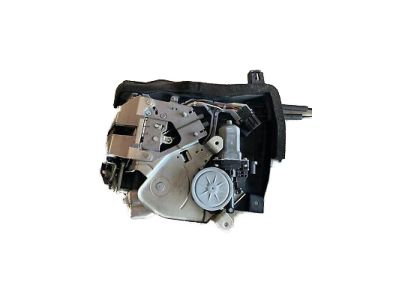
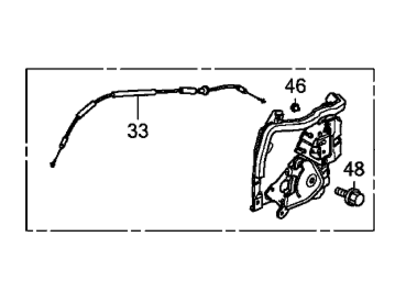
Part Number: 72610-TK8-A12$289.19 MSRP: $411.95You Save: $122.76 (30%)Honda Odyssey Latch Assembly, Left Front Door Power
Part Number: 72150-TLA-A01$40.67 MSRP: $57.45You Save: $16.78 (30%)Honda Odyssey Latch Assembly, Right Front Door Power
Part Number: 72110-TLA-A11$40.63 MSRP: $57.38You Save: $16.75 (30%)Honda Odyssey Latch Assembly, Left Front Slide Door
Part Number: 72655-TK8-A01$84.57 MSRP: $119.45You Save: $34.88 (30%)Honda Odyssey Latch Assembly, Driver Side Slide Door (Manual)
Part Number: 72650-SHJ-A01$263.20 MSRP: $374.93You Save: $111.73 (30%)Honda Odyssey Lock Assembly, Driver Side Slide Door
Part Number: 72650-S0X-A53$263.24 MSRP: $374.98You Save: $111.74 (30%)Honda Odyssey Latch Assembly, Passenger Side Slide Door (Manual)
Part Number: 72610-SHJ-A01$222.14 MSRP: $316.43You Save: $94.29 (30%)Honda Odyssey Latch Assembly, Left Front Slide Door
Part Number: 72655-SHJ-A02$193.05 MSRP: $275.00You Save: $81.95 (30%)Honda Odyssey Latch Assembly, Right Front Slide Door
Part Number: 72615-SHJ-A02$92.67 MSRP: $130.88You Save: $38.21 (30%)Honda Odyssey Latch Assembly, Right Front Slide Door
Part Number: 72615-TK8-A01$158.25 MSRP: $225.43You Save: $67.18 (30%)Honda Odyssey Latch Assembly, Driver Side Slide Door (Manual)
Part Number: 72650-TK8-A01$99.00 MSRP: $139.83You Save: $40.83 (30%)Honda Odyssey Latch Assembly, Right Front Door Power
Part Number: 72110-TK8-A02$84.30 MSRP: $119.07You Save: $34.77 (30%)Honda Odyssey Latch, Driver Side Slide Door
Part Number: 72650-THR-A12$212.03 MSRP: $302.03You Save: $90.00 (30%)Honda Odyssey Latch Assembly, Left Front Slide Door
Part Number: 72655-THR-A01$48.39 MSRP: $68.35You Save: $19.96 (30%)
| Page 1 of 2 |Next >
1-20 of 36 Results
Honda Odyssey Door Latch Assembly
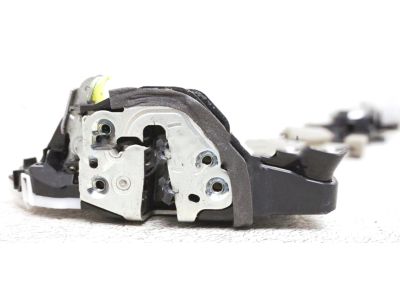
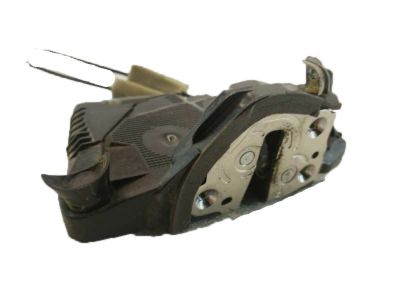
Door Latch Assembly in Honda Odyssey automobiles plays an important role of child locking system, to lock or unlock doors to ensure no one can enter the interior part of the car. This assembly can work in a number of ways, for instance it can have an automatic or manual mode for the locking of the doors, this can be centralized or individual. It is common that in its model Honda Odyssey through years it is using Door Latch Assembly with different design styles which are aimed at the durability in usage, and usability. However, these assemblies may need to be replaced because of frustrations as a normal sign of poor performance, busted outer door handles, jammed latches, and trouble with the door lock button. In general, the Door Latch Assembly plays a critical role in the safe functioning of the doors in the Honda Odyssey vehicle.
In search of affordable OEM Honda Odyssey Door Latch Assembly? Consider browsing through our extensive inventory of genuine Honda Odyssey Door Latch Assembly. Not only do we provide market-leading prices and a manufacturer's warranty, but we also pride ourselves on exceptional customer service and swift delivery.
Honda Odyssey Door Latch Assembly Parts Questions & Experts Answers
- Q: How do you remove and replace the Door Handle,door Lock Cylinder and latch assembly for both front and sliding doors on Honda Odyssey?A: First of, the door trim panel and water shield must be taken out, for both the front and sliding door. Front door, replace glass run channel mounting bolt and pull out the entire assembly. Pull the cylinder rod out of the pressure clip and rotate it to the unlock position and then remove the mounting clip. Thirdly, remove its mounting screw that will release the lock cylinder from the lock switch, pull off its switch connector along with the disconnection of its harness clip on the door. Remove the access cover and the outer handle mounting bolts and sliding the outer handle away from the door and disengage the link rod with a pair of cutting pliers. The bushing on the outer handle has to be replaced, and installation is carried out in the manner that goes inversely to removal. Lift the window right up, withdraw the outside handle and the screw at the lock rod coming in through the hole. Take off lock rod protector, and dispense with the electrical connectors and inner handle rod from the latch and the latch mounting screws prior to taking out the latch assembly. In case of the sliding door, it is possible to detach the cable from the negative terminal of the battery, then, take out the lock knob and the door latch cable and screws. Ease the upper door lock, remote control mounting bolts so as to transfer the remote control assembly without having to un-screw it. Take out the outside handle mounting bolts and eliminate the handle from the protector ensuring the extent that outer handle rod must reach during replacement. A shop rag will serve as guard to the door while attending to the exercise of prying the joint from the linkage as well as replacing the bushing while attending to the reconnection of the cable to the negative terminal of the battery. For the door lock remote control: You would require to open the sliding door outside handle and then, disconnected the door lock actuator connector to finally extract the remote control after the removal of all the mounting bolts. As for the latch, the bolts that are used for the attachment between the latch and the door jamb and between the latch and the inner door have to be moved, the door latch cable and other connectors have to be disconnected through the access hole, and the latch has to be removed. Installation involves the opposite of removal by making sure that the door locks function, and in the process centering the door latch cable if necessary. Last, put the power sliding door off, and then open it half ways, switch it on then press on the close button until it is closed; you do this for the second door as well.
Related Honda Odyssey Parts
Browse by Year
2024 Door Latch Assembly 2023 Door Latch Assembly 2022 Door Latch Assembly 2021 Door Latch Assembly 2020 Door Latch Assembly 2019 Door Latch Assembly 2018 Door Latch Assembly 2017 Door Latch Assembly 2016 Door Latch Assembly 2015 Door Latch Assembly 2014 Door Latch Assembly 2013 Door Latch Assembly 2012 Door Latch Assembly 2011 Door Latch Assembly 2010 Door Latch Assembly 2009 Door Latch Assembly 2008 Door Latch Assembly 2007 Door Latch Assembly 2006 Door Latch Assembly 2005 Door Latch Assembly 2004 Door Latch Assembly 2003 Door Latch Assembly 2002 Door Latch Assembly 2001 Door Latch Assembly 2000 Door Latch Assembly 1999 Door Latch Assembly 1998 Door Latch Assembly 1997 Door Latch Assembly 1996 Door Latch Assembly 1995 Door Latch Assembly
