×
- Live Chat
- 1-888-984-2011

My Garage
My Account
Cart
Genuine Honda Odyssey Cylinder Head
Head- Select Vehicle by Model
- Select Vehicle by VIN
Select Vehicle by Model
orHonda
Odyssey
Year
Select Vehicle by VIN
For the most accurate results, select vehicle by your VIN (Vehicle Identification Number).
36 Cylinder Heads found
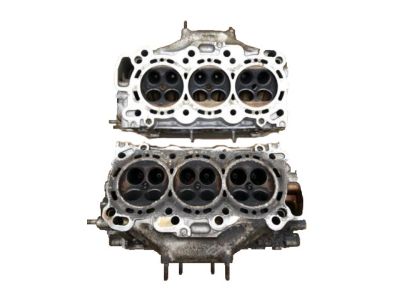
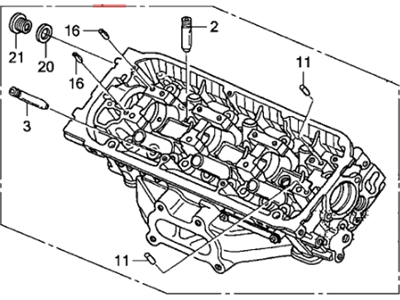
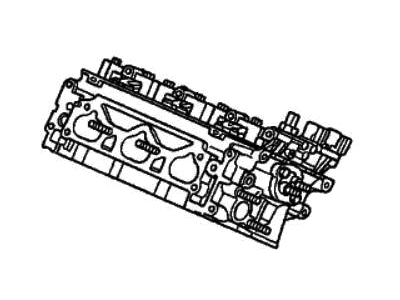
Honda Odyssey Cylinder Head Assembly, Rear (Dot)
Part Number: 12300-R70-810$1235.78 MSRP: $1626.48You Save: $390.70 (25%)Honda Odyssey Cylinder Head Assembly, Front
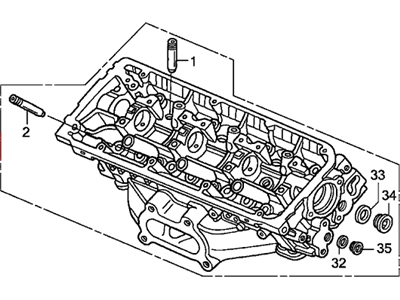
Part Number: 12100-RDJ-305$842.58 MSRP: $1122.32You Save: $279.74 (25%)Honda Odyssey Cylinder Head Assembly, Front
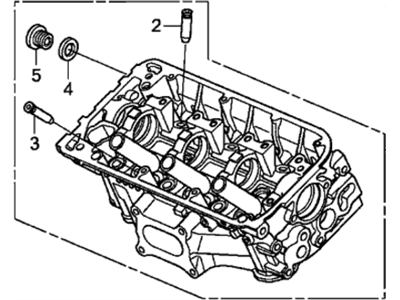
Part Number: 12100-P8E-306$369.38 MSRP: $1008.72You Save: $639.34 (64%)Honda Odyssey Cylinder Head Assembly, Rear (Dot)
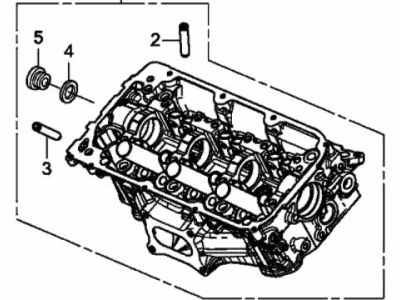
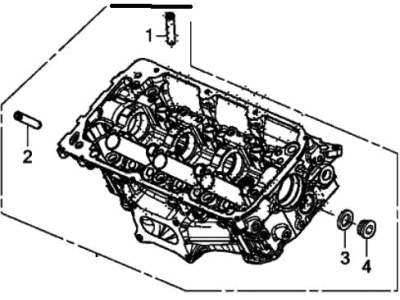
Part Number: 12300-RDJ-810$808.76 MSRP: $1057.69You Save: $248.93 (24%)Honda Odyssey Cylinder Head Assembly, Front
Part Number: 12100-R70-305$1235.78 MSRP: $1626.48You Save: $390.70 (25%)Honda Odyssey Cylinder Head Assembly, Front
Part Number: 12100-R9P-305$736.58 MSRP: $961.54You Save: $224.96 (24%)Honda Odyssey Cylinder Head Assembly, Front
Part Number: 12100-RGM-305$1142.58 MSRP: $1521.92You Save: $379.34 (25%)Honda Odyssey Cylinder Head Assembly, Rear (Dot)
Part Number: 12300-RYP-810$865.35 MSRP: $2025.60You Save: $1160.25 (58%)Honda Odyssey Cylinder Head Assembly, Rear (Dot)
Part Number: 12300-R9P-810$789.45 MSRP: $1031.97You Save: $242.52 (24%)Honda Odyssey General, Front Cylinder Head
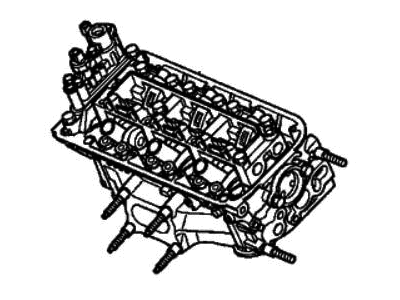
Part Number: 10004-RV0-A01$3624.71 MSRP: $4808.54You Save: $1183.83 (25%)Honda Odyssey General, Rear Cylinder Head
Part Number: 10005-RGW-A06$3759.36 MSRP: $4987.89You Save: $1228.53 (25%)Honda Odyssey General Assembly, Front Cylinder Head
Part Number: 10004-5MR-A00$2437.08 MSRP: $3226.62You Save: $789.54 (25%)Honda Odyssey General Assembly, Rear Cylinder Head
Part Number: 10005-5MR-A00$3031.93 MSRP: $4018.96You Save: $987.03 (25%)Honda Odyssey General Assembly, Front Cylinder Head
Part Number: 10004-RGL-A00$2380.38 MSRP: $5571.97You Save: $3191.59 (58%)Honda Odyssey General Assembly, Rear Cylinder Head
Part Number: 10005-RGL-A00$2380.38 MSRP: $5571.97You Save: $3191.59 (58%)Honda Odyssey General, Rear (Dot)
Part Number: 10005-RGM-A02$4354.92 MSRP: $6151.02You Save: $1796.10 (30%)Honda Odyssey General Assembly, Front Cylinder Head
Part Number: 10004-RGM-A00$5407.68 MSRP: $7637.97You Save: $2230.29 (30%)Honda Odyssey Cylinder Head Assembly, Rear
Part Number: 12300-RGL-305$702.43 MSRP: $1918.30You Save: $1215.87 (64%)Honda Odyssey General Assembly, Front Cylinder Head
Part Number: 10004-PYL-A00$385.35 MSRP: $3157.13You Save: $2771.78 (88%)
| Page 1 of 2 |Next >
1-20 of 36 Results
Honda Odyssey Cylinder Head
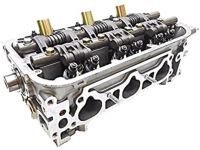
In search of affordable OEM Honda Odyssey Cylinder Head? Consider browsing through our extensive inventory of genuine Honda Odyssey Cylinder Head. Not only do we provide market-leading prices and a manufacturer's warranty, but we also pride ourselves on exceptional customer service and swift delivery.
Honda Odyssey Cylinder Head Parts Questions & Experts Answers
- Q: How to remove and install Cylinder Head on Honda Odyssey?A: To remove the components, first relieve the fuel pressure, disconnect the electrical connectors from the fuel injectors, disconnect the fuel lines, and remove the fuel rails. Next, disconnect the cable from the negative battery terminal, drain the cooling system including both block drains, and remove the alternator. Then, take out the ignition coils from the valve covers, remove the power steering pump without disconnecting the hoses, and detach the upper and lower Intake Manifolds along with the Exhaust Manifolds. After that, remove the Timing Belt covers, detach the timing belt, and take off the camshaft sprockets. Label and remove all electrical connectors at the lower intake manifold, then remove the coolant passage assembly from the cylinder head by taking out the mounting bolts and lightly tapping the passage to break the gasket seal. Remove the Rocker Arms/shafts assembly, loosen the cylinder head bolts in 1/4-turn increments until they can be removed by hand, and lift the cylinder head off the engine block, prying carefully if it is stuck. For installation, ensure the mating surfaces of the cylinder heads and block are clean, using a gasket scraper and cleaning with lacquer thinner or acetone. Check for any damage on the mating surfaces, chase the threads in the head bolt holes, and clean them with compressed air. Clean the oil-control jets and reinstall them with new O-rings, then position the new gaskets. Carefully set the head on the block, measure the thread diameter of each head bolt, and replace any that do not meet specifications. Apply clean engine oil to the threads and under the bolt heads before installing and tightening them in the recommended sequence. The remaining installation steps follow the reverse order of removal, after which reconnect the battery, refill the cooling system, change the oil and filter, run the engine to check for leaks, and allow it to operate at low speed for five minutes to bleed air from the lost motion assemblies, noting that some tappet noise may occur initially.
Related Honda Odyssey Parts
Browse by Year
2022 Cylinder Head 2021 Cylinder Head 2020 Cylinder Head 2019 Cylinder Head 2018 Cylinder Head 2017 Cylinder Head 2016 Cylinder Head 2015 Cylinder Head 2014 Cylinder Head 2013 Cylinder Head 2012 Cylinder Head 2011 Cylinder Head 2010 Cylinder Head 2009 Cylinder Head 2008 Cylinder Head 2007 Cylinder Head 2006 Cylinder Head 2005 Cylinder Head 2004 Cylinder Head 2003 Cylinder Head 2002 Cylinder Head 2001 Cylinder Head 2000 Cylinder Head 1999 Cylinder Head 1998 Cylinder Head 1997 Cylinder Head 1996 Cylinder Head 1995 Cylinder Head


