×
- Live Chat
- 1-888-984-2011

My Garage
My Account
Cart
Genuine Honda Odyssey Bumper
Bumper Fascia- Select Vehicle by Model
- Select Vehicle by VIN
Select Vehicle by Model
orMake
Model
Year
Select Vehicle by VIN
For the most accurate results, select vehicle by your VIN (Vehicle Identification Number).
23 Bumpers found
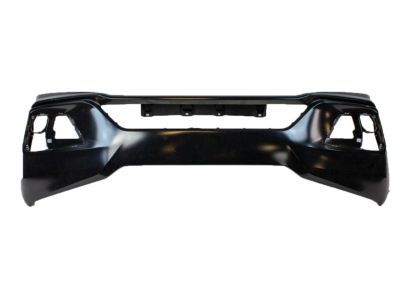
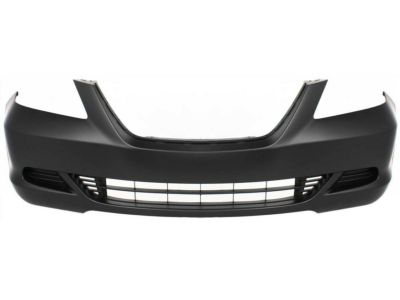
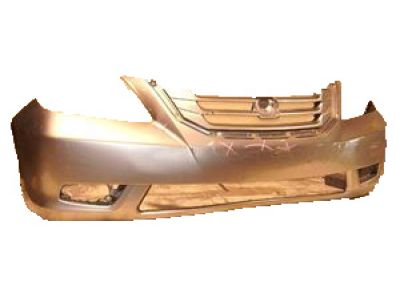
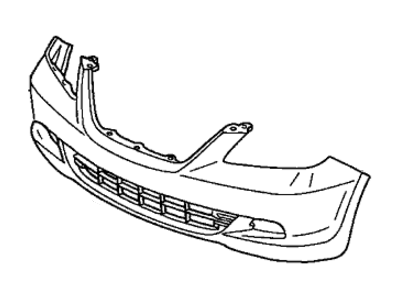
Honda Odyssey Face, Front Bumper (Dot)
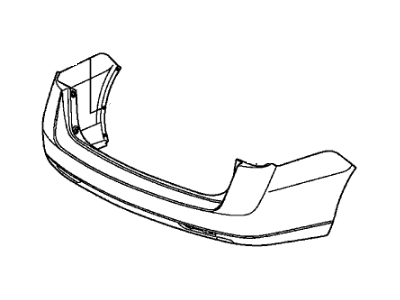
Part Number: 04711-TK8-A91ZZ$546.43 MSRP: $813.13You Save: $266.70 (33%)Honda Odyssey Face, Rear Bumper
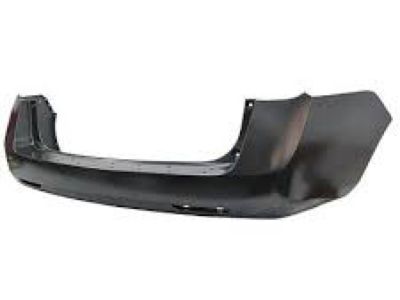
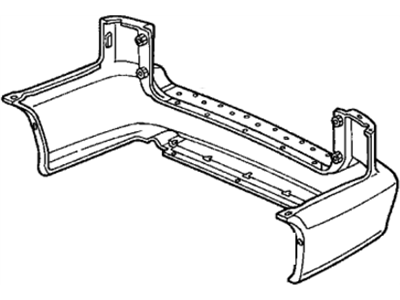
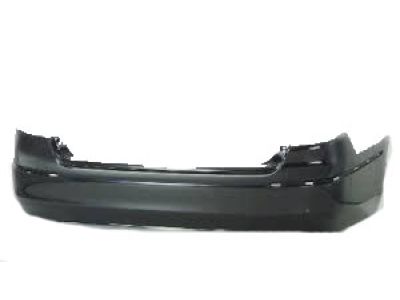
Part Number: 04715-THR-A10ZZ$375.10 MSRP: $558.18You Save: $183.08 (33%)Honda Odyssey Face, Rear Bumper (Dot)
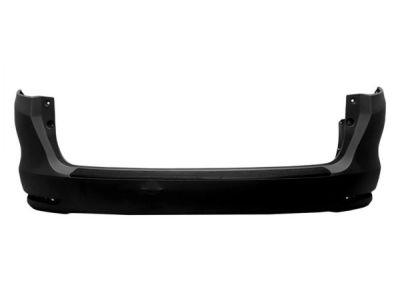
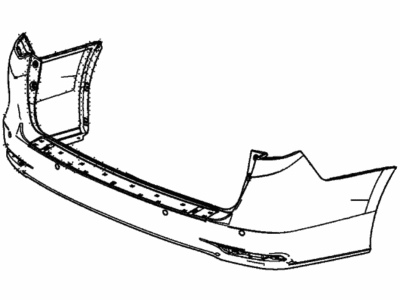
Part Number: 04715-TK8-A90ZZ$531.44 MSRP: $790.83You Save: $259.39 (33%)Honda Odyssey Face, Rear Bumper (Dot)
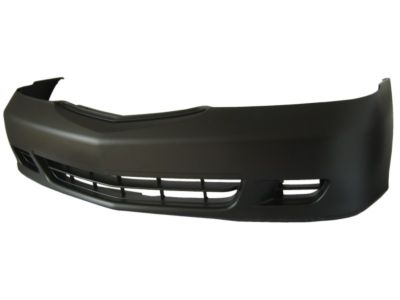
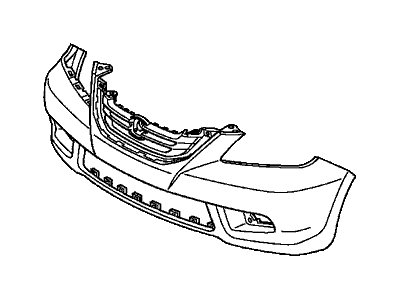
Part Number: 04715-SHJ-A92ZZ$460.17 MSRP: $684.78You Save: $224.61 (33%)Honda Odyssey Face, Front Bumper
Part Number: 04711-THR-A00ZZ$423.35 MSRP: $610.90You Save: $187.55 (31%)Honda Odyssey Face, Rear Bumper
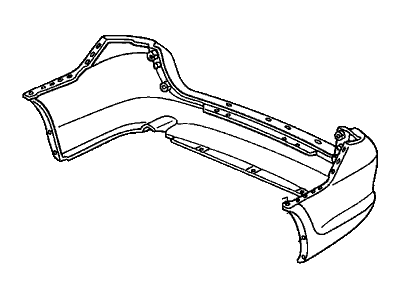
Part Number: 04715-THR-A00ZZ$386.82 MSRP: $558.18You Save: $171.36 (31%)Honda Odyssey Face, Front Bumper (Dot)
Part Number: 04711-SHJ-A90ZZ$374.87 MSRP: $534.00You Save: $159.13 (30%)Honda Odyssey Face, Front Bumper (Dot)
Part Number: 04711-TK8-A81ZZ$437.06 MSRP: $630.68You Save: $193.62 (31%)Honda Odyssey Face, Front Bumper (Dot)
Part Number: 04711-SHJ-A91ZZ$379.45 MSRP: $540.53You Save: $161.08 (30%)Honda Odyssey Face, Front Bumper (Dot)
Part Number: 04711-S0X-A90ZZ$434.29 MSRP: $626.68You Save: $192.39 (31%)Honda Odyssey W-Face, Front-Bumper
Part Number: 04711-THR-A50ZZ$373.87 MSRP: $556.35You Save: $182.48 (33%)Honda Odyssey Face, Rear Bumper (Dot)
Part Number: 04715-TK8-A80ZZ$411.66 MSRP: $612.58You Save: $200.92 (33%)Honda Odyssey W-Face, Rear-Bumper
Part Number: 04715-THR-A20ZZ$386.82 MSRP: $558.18You Save: $171.36 (31%)Honda Odyssey W-Face, Front-Bumper
Part Number: 04711-THR-A60ZZ$385.55 MSRP: $556.35You Save: $170.80 (31%)Honda Odyssey Face, Front Bumper (Dot)
Part Number: 04711-SHJ-A80ZZ$379.15 MSRP: $547.12You Save: $167.97 (31%)Honda Odyssey Face, Rear Bumper (Dot)
Part Number: 04715-S0X-A90ZZ$410.44 MSRP: $592.27You Save: $181.83 (31%)Honda Odyssey Face, Front Bumper (Dot)
Part Number: 04711-SHJ-A81ZZ$379.82 MSRP: $541.05You Save: $161.23 (30%)Honda Odyssey Face, Rear Bumper (Dot)
Part Number: 04715-SHJ-A82ZZ$460.18 MSRP: $664.03You Save: $203.85 (31%)
| Page 1 of 2 |Next >
1-20 of 23 Results
Honda Odyssey Bumper
In search of affordable OEM Honda Odyssey Bumper? Consider browsing through our extensive inventory of genuine Honda Odyssey Bumper. Not only do we provide market-leading prices and a manufacturer's warranty, but we also pride ourselves on exceptional customer service and swift delivery.
Honda Odyssey Bumper Parts Questions & Experts Answers
- Q: How do you remove and install the front and rear bumpers on Honda Odyssey?A: First of all shift the parking pawl, lift the car and put it on the jack stands safely. For 2004 and earlier models to take off the inner Fender splash shield , first, you have to remove the radiator Grille, disconnect the push-pins and screws installed on the splash shield and the bumper cover. Third, disconnect the bolts and clips around the front bumper cover to the chassis and the outer bolts of the bumper cover to the inner fender. Detached the upper part of the bumper cover and remove foam absorber form the front bumper of the vehicle. Subsequently, the front bumper mounting bolts as well as the bolts securing the side cover beams are to be removed, the front bumper as well as the side cover beams are then to be removed, while in the realisation procedure, merely the opposite is to be done. The rear bumper requires the relocation of the rear taillights, caps, bolts of the upper bumper cover, upper side bolts and the mudflaps in order to reach the screws of the lower bumper cover. Some of the Toyota Camry's areas include the removal of rear bumper cover push-pins in the upper trunk area and below, the disengagement of the rear bumper cover from hooks and the removal of rear bumper mounting bolts; all this is reversed when it comes to installation. Then, for the 2005 and subsequent years, you should pull the cover of the grille at the top, lift the car and secure it on a pair of jackstands. Take out the push-pins from the bottom edge of the bumper and the screws or bolts of the bumper on both ends, and after removing the upper retainers of the grille on the two sides. With help respectively thump the back of the bumper towards you to release hooks mounted on the fender, then pull the bumper towards the front to release hooks on center part. With considerable care the bumper has to be demounted and disconnection of any wiring done, during mounting on the other hand, all available hooks must be engaged and this process is the reverse of the described process of dismounting. The procedure for the replacement of the rear bumper is as follows: The rear bumper of this model is similar to the one on the 2004 and earlier models.
Related Honda Odyssey Parts
Browse by Year
2024 Bumper 2023 Bumper 2022 Bumper 2021 Bumper 2020 Bumper 2019 Bumper 2018 Bumper 2017 Bumper 2016 Bumper 2015 Bumper 2014 Bumper 2013 Bumper 2012 Bumper 2011 Bumper 2010 Bumper 2009 Bumper 2008 Bumper 2007 Bumper 2006 Bumper 2005 Bumper 2004 Bumper 2003 Bumper 2002 Bumper 2001 Bumper 2000 Bumper 1999 Bumper 1998 Bumper 1997 Bumper 1996 Bumper 1995 Bumper


