×
- Hello
- Login or Register
- Quick Links
- Live Chat
- Track Order
- Parts Availability
- RMA
- Help Center
- Contact Us
- Shop for
- Honda Parts
- Honda Accessories

My Garage
My Account
Cart
Genuine Honda Fit Instrument Panel
- Select Vehicle by Model
- Select Vehicle by VIN
Select Vehicle by Model
orMake
Model
Year
Select Vehicle by VIN
For the most accurate results, select vehicle by your VIN (Vehicle Identification Number).
5 Instrument Panels found
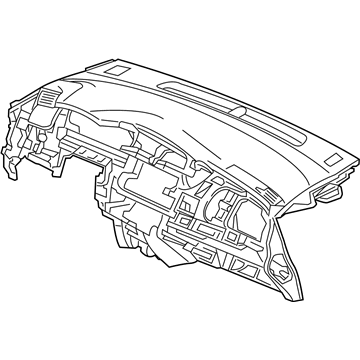
Honda Fit Panel, Instrument *NH900L* (NEUTRAL BLACK)
Part Number: 77100-T5R-A00ZA$829.71 MSRP: $1197.27You Save: $367.56 (31%)Honda Fit Panel, Instrument *NH900L* (DEEP BLACK)
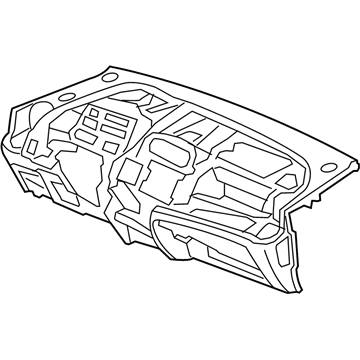
Part Number: 77100-TAR-G11ZA$790.02 MSRP: $1140.00You Save: $349.98 (31%)Honda Fit Panel, Instrument *2Tn731* (GRAPHITE BLACK/US MONO GRAY)
Part Number: 77103-SLN-A00ZC$260.92 MSRP: $712.55You Save: $451.63 (64%)Honda Fit Panel, Instrument *NH167L* (GRAPHITE BLACK)
Part Number: 77103-TF0-G00ZA$630.42 MSRP: $909.70You Save: $279.28 (31%)Honda Fit Panel, Instrument *NH167L* (GRAPHITE BLACK)
Part Number: 77103-TF0-G01ZA$630.42 MSRP: $909.70You Save: $279.28 (31%)
Honda Fit Instrument Panel
In search of affordable OEM Honda Fit Instrument Panel? Consider browsing through our extensive inventory of genuine Honda Fit Instrument Panel. Not only do we provide market-leading prices and a manufacturer's warranty, but we also pride ourselves on exceptional customer service and swift delivery.
Honda Fit Instrument Panel Parts Questions & Experts Answers
- Q: What challenges do home mechanics face when attempting to remove the instrument panel on Honda Fit?A:This is because of the stealth fasteners, tight places and numerous connections of electrical cables that have to be marked and unconnected for convenient access. It cannot and should not be recommended for any amateur and should be left for those who understand the do-it-yourself concept alone. When removing this panel, it is advisable to take some photographs to remind one or the other about the location and orientation of each of the components on the bus. First, the negative terminal of the battery should be disconnected, then the center console, steering wheel, the dashboard trim panels and the Steering Column Covers, the glove box and the front seats should be removed to gain acces. To do this, one must then take off the bolt underneath the dash fuse/relay box, heater upper duct and right and left kick panel. People should remove the connectors at the under-dash fuse/relay box and other wirings harness connectors under the dash. Take out the radio and cut more connections associated with the ECM/PCM, engine wire harness, and SRS control unit for the 2009 models and above. Take out the brake pedal support brace, indicate the position of the upper and lower steering column shafts, and the A pillar trim and heater duct. The instrument panel can be detached by half dozen bolts which are rather hard to reach; one should be very careful not to damage the door while undoing these screws. Turning the three large nuts, threaded in counter-clockwise direction, with left hand thread, the condenser is ready to be taken off by un-screwing the bolt and removing the plastic caps. Open the driver's door to get to the rest of the bolts and unbolt them, after which, with help, pull the instrument panel off its locating pins and check to see if there is anything else attached. Restoration is done in reverse order of disassembly and the tethers have to be connected when putting back the A-pillar trim panels.


