×
- Live Chat
- 1-888-984-2011

My Garage
My Account
Cart
Genuine Honda Fit Car Speakers
Audio Speakers- Select Vehicle by Model
- Select Vehicle by VIN
Select Vehicle by Model
orMake
Model
Year
Select Vehicle by VIN
For the most accurate results, select vehicle by your VIN (Vehicle Identification Number).
8 Car Speakers found
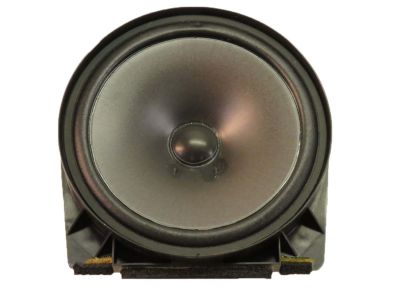
Honda Fit Speaker Assembly (17Cm) (Single) (Pioneer)
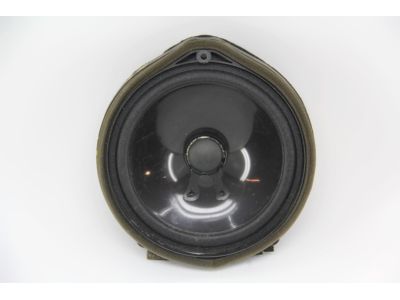
Part Number: 39120-SDA-A02$23.38 MSRP: $33.02You Save: $9.64 (30%)Honda Fit Speaker Assembly, Tweeter
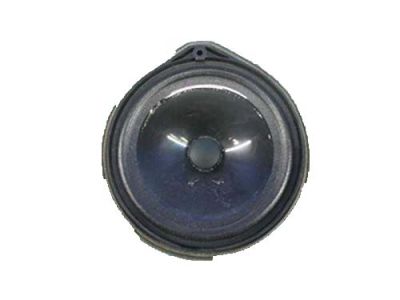
Part Number: 39120-T0A-A51$8.08 MSRP: $11.42You Save: $3.34 (30%)Honda Fit Speaker Assembly (17Cm-Nd) (Single) (Foster)
Part Number: 39120-TF0-901$132.62 MSRP: $188.92You Save: $56.30 (30%)Honda Fit Speaker Assembly, Passenger Side Tweeter
Part Number: 39120-SLN-A11$72.06 MSRP: $101.78You Save: $29.72 (30%)Honda Fit Speaker Assembly, Tweeter (Foster)
Part Number: 39120-TL0-G51$58.28 MSRP: $82.32You Save: $24.04 (30%)
Honda Fit Car Speakers
In search of affordable OEM Honda Fit Car Speakers? Consider browsing through our extensive inventory of genuine Honda Fit Car Speakers. Not only do we provide market-leading prices and a manufacturer's warranty, but we also pride ourselves on exceptional customer service and swift delivery.
Honda Fit Car Speakers Parts Questions & Experts Answers
- Q: How to remove and install Speakers on Honda Fit?A: Before attempting any repairs, ensure you have the radio security codes and the relearn procedure. If the battery is disconnected, the audio system will need to be reset, and you should have your 5-digit code ready. If not, with the ignition ON and radio OFF, press the 1 and 6 preset buttons, then turn on the radio to display the audio unit's serial number, which can be used to obtain the 5-digit code from your local dealership parts department. Begin by disconnecting the cable from the negative terminal of the battery. For 2008 and earlier models, remove the center panel, disconnect the Antenna and radio electrical connectors, remove the mounting fasteners securing the brackets, and then remove the fasteners securing the audio unit to the center panel. Installation is the reverse of removal, followed by reconnecting the battery and performing the necessary relearn procedures. For 2009 and later models, remove the center dash lower cover and center panel, take out the USB adapter secured by two screws, remove the bracket securing the center panel and audio unit, and then remove the screws securing the audio unit to the center panel. Installation is again the reverse of removal. For door speakers in 2008 and earlier models, remove the door trim panel, pry the top of the speaker to release the clip, lift the speaker to release the hooks, disconnect the electrical connector, and reinstall in reverse order. For 2009 and later models, remove the door trim panel, take out the single screw at the 12:00 o'clock position, pull up to disengage the lower clips, disconnect the electrical connector, and remove the speaker, with installation being the reverse of removal. For door tweeter speakers, remove the door trim panel, disconnect the electrical connector, remove the screws from the tweeter grill and speaker, and reinstall in reverse order.


