×
- Live Chat
- 1-888-984-2011

My Garage
My Account
Cart
Genuine Honda Fit Clutch Fork
Release Fork- Select Vehicle by Model
- Select Vehicle by VIN
Select Vehicle by Model
orMake
Model
Year
Select Vehicle by VIN
For the most accurate results, select vehicle by your VIN (Vehicle Identification Number).
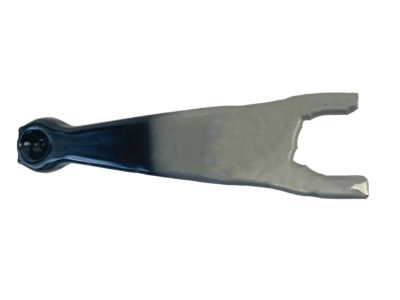
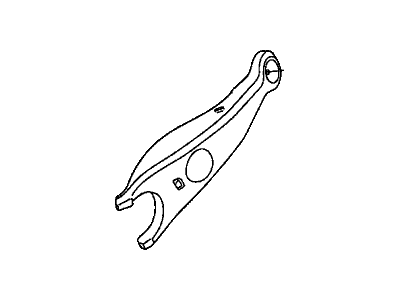
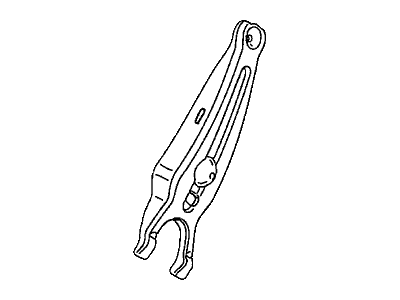
3 Clutch Forks found
Honda Fit Clutch Fork
In search of affordable OEM Honda Fit Clutch Fork? Consider browsing through our extensive inventory of genuine Honda Fit Clutch Fork. Not only do we provide market-leading prices and a manufacturer's warranty, but we also pride ourselves on exceptional customer service and swift delivery.
Honda Fit Clutch Fork Parts Questions & Experts Answers
- Q: How to remove and install Clutch Fork and Release Bearing on Honda Fit?A: Unbolt the clutch release cylinder without disconnecting the hydraulic line and support it out of the way with a piece of wire. Remove the transaxle and the release fork dust boot. Release the spring from the ballstud, then pull the release fork out from the bellhousing, recovering the spring using a screwdriver to release it from the ballstud. Slide the release bearing off the end of the fork. To inspect the bearing, hold it by the outer race and rotate the inner race while applying pressure; if it doesn't turn smoothly or is noisy, replace it. Wipe the bearing with a clean rag and check for damage, wear, and cracks, noting that it is common practice to replace the bearing whenever a clutch is changed to reduce the risk of future failure. Avoid immersing the bearing in solvent as it is sealed for life. Check the release lever for cracks and bends. For installation, fill the inner groove of the release bearing with high-temperature grease and lubricate the release fork ball socket, fork ends, and release cylinder socket with the same grease. Attach the release bearing to the release fork by sliding the curved end of the spring through the hole in the fork, squeezing the ends together, and attaching it to the inside of the fork. Slide the release bearing onto the transaxle input shaft bearing retainer while passing the end of the fork through the opening in the bellhousing, pushing the fork onto the ballstud until the spring clicks over the ball. Apply a light coat of grease to the transaxle input shaft splines and release bearing guide, as well as a little grease to the face of the release bearing where it contacts the pressure plate diaphragm spring fingers. Complete the installation by reversing the removal procedure.


