×
- Live Chat
- 1-888-984-2011

My Garage
My Account
Cart
Genuine Honda Del Sol Shock Absorber
Suspension Shock Absorber- Select Vehicle by Model
- Select Vehicle by VIN
Select Vehicle by Model
orMake
Model
Year
Select Vehicle by VIN
For the most accurate results, select vehicle by your VIN (Vehicle Identification Number).
36 Shock Absorbers found
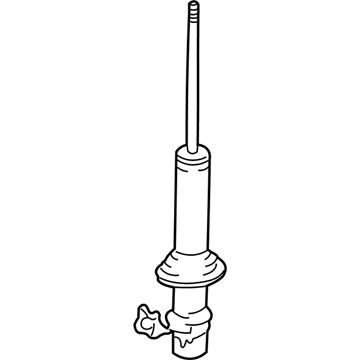
Honda Del Sol Shock Absorber Unit, Left Front (Showa)
Part Number: 51606-SR2-N02$21.87 MSRP: $179.10You Save: $157.23 (88%)Honda Del Sol Shock Absorber Unit, Left Front (Showa)
Part Number: 51606-SR3-J04$117.41 MSRP: $165.83You Save: $48.42 (30%)Honda Del Sol Shock Absorber Unit, Right Front
Part Number: 51605-SR3-N02$102.64 MSRP: $144.96You Save: $42.32 (30%)Honda Del Sol Shock Absorber Unit, Right Front
Part Number: 51605-SR3-N03$102.64 MSRP: $144.96You Save: $42.32 (30%)
| Page 1 of 2 |Next >
1-20 of 36 Results
Honda Del Sol Shock Absorber
In search of affordable OEM Honda Del Sol Shock Absorber? Consider browsing through our extensive inventory of genuine Honda Del Sol Shock Absorber. Not only do we provide market-leading prices and a manufacturer's warranty, but we also pride ourselves on exceptional customer service and swift delivery.
Honda Del Sol Shock Absorber Parts Questions & Experts Answers
- Q: How do you replace the shock absorber/coil spring assembly on Honda Del Sol?A: Remove the shock absorber/coil spring assembly. Check the shock absorber for leaking fluid, dents, cracks, or other obvious damage, and inspect the coil spring for chips or cracks that could cause premature failure, along with the spring seats for hardness or general deterioration. Shock absorber assemblies, complete with coil springs, are available on an exchange basis, which can save time and effort, so check on the availability of parts and the price of a complete rebuilt unit before disassembling. Mount the shock absorber assembly in a vise, using wood or rags to protect the unit, and avoid excessive tightening. Mark the relationship of the damper mounting base to the spring or mark the damper unit if replacing the spring to ensure correct positioning during reassembly. Install the spring compressor according to the tool manufacturer's instructions and compress the spring until all pressure is relieved from the mounting base. Remove the damper cap, unscrew the self-locking nut while holding the damper shaft with an Allen wrench, and lay out the parts in the order they are removed. Carefully lift the compressed spring from the assembly and set it aside safely. Slide the remaining parts off the damper shaft and lay them out in the same order. Install the bump stop, bump stop plate (if equipped), dust cover, and dust cover plate onto the new damper unit, extending the damper shaft fully and sliding the components down to the damper body. Place the coil spring onto the shock absorber body, ensuring the end of the spring rests in the lowest part of the seat. Install the spring mounting rubber, lower mounting rubber, damper mounting collar, damper mounting base, seal, upper mounting rubber, damper mounting washer, and a new self-locking nut, aligning the previously applied marks on the mounting base and the spring or damper body before tightening the nut to the specified torque while using the Allen wrench to prevent the shaft from turning. Remove the spring compressor and install the damper cap, then reinstall the shock absorber/coil spring assembly.


