×
- Live Chat
- 1-888-984-2011

My Garage
My Account
Cart
Genuine Honda Del Sol Fuel Injector
Gas Injector- Select Vehicle by Model
- Select Vehicle by VIN
Select Vehicle by Model
orMake
Model
Year
Select Vehicle by VIN
For the most accurate results, select vehicle by your VIN (Vehicle Identification Number).
5 Fuel Injectors found
Honda Del Sol Injector Set, Fuel
Part Number: 06164-P2A-000$284.38 MSRP: $405.10You Save: $120.72 (30%)Honda Del Sol Injector Set, Fuel
Part Number: 06164-P2J-000$317.19 MSRP: $451.83You Save: $134.64 (30%)
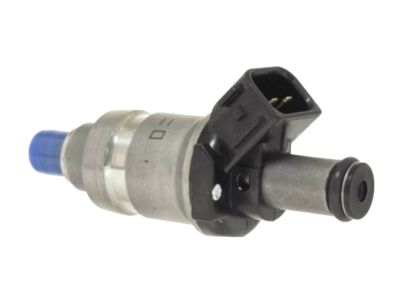
Honda Del Sol Fuel Injector
In search of affordable OEM Honda Del Sol Fuel Injector? Consider browsing through our extensive inventory of genuine Honda Del Sol Fuel Injector. Not only do we provide market-leading prices and a manufacturer's warranty, but we also pride ourselves on exceptional customer service and swift delivery.
Honda Del Sol Fuel Injector Parts Questions & Experts Answers
- Q: How do you properly test and replace automotive fuel injectors on Honda Del Sol?A: Start the engine and warm it to its normal operating temperature. With the engine idling, place an automotive stethoscope against each injector, one at a time, and listen for a clicking sound, indicating operation; if a stethoscope is unavailable, use a screwdriver to listen through the handle. Unplug each injector one at a time, noting the change in idle speed before reconnecting it; if the idle speed drop is consistent across cylinders, the injectors are functioning correctly. If unplugging a specific injector does not affect idle speed, proceed to the next step. Remove the nuts from the wiring harness straps and lift the harness rail for connector removal. Turn off the engine, disconnect the injector connector, and measure the resistance between the two terminals; it should be between 10 and 13 ohms, and if not, replace the injector. If the resistance is correct, connect a voltmeter to the injector harness connector and a good body ground, or use a special injector harness test light to confirm voltage presence. If battery voltage is present with the ignition on or the light flashes when the starter is activated, the injector is receiving proper voltage; if not, check the wiring harness for damage and inspect the wiring between the PGM-FI main relay and the injectors for any issues. Detach the cable from the negative battery terminal and relieve the fuel pressure. Unplug the injector connectors using a small screwdriver or sharp pick, detach the vacuum and fuel return hoses from the Fuel Pressure Regulator, remove any ground cables from the fuel rail, and detach the fuel feed line. Remove the mounting nuts and detach the fuel rail from the injectors, then remove the injectors from the intake manifold bore and discard the O-ring, cushion ring, and seal ring. For installation, coat the new cushion rings with clean engine oil and slide them onto the injectors, then coat the new O-rings with oil and install them before inserting each injector into its corresponding bore in the fuel rail. Coat the new seal rings with oil and press them into the injector bores in the intake manifold, then install the injector and fuel rail assembly on the intake manifold and tighten the mounting nuts. Complete the installation in reverse order, and after the injector/fuel rail assembly is installed, turn the ignition switch to ON without operating the starter to activate the Fuel Pump for about two seconds, building up fuel pressure in the lines and rail; repeat this a few times and check for fuel leakage.


